


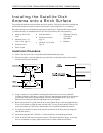
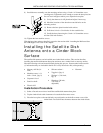
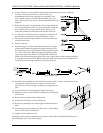
INSTALLING AND POINTING YOUR SATELLITE DISH ANTENNA
PAGE 4-3
Note: When “Satellite 1” is used in reference this is equivalent to “SAT A.” Likewise,
“Satellite 2” equates to “SAT B” and “Satellite 3” equates to “SAT C.” Choosing the
correct dish type is necessary to obtain correct pointing results.
After highlighting the appropriate dish type, press .
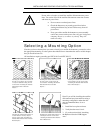
Next, move the highlight to the Position button and press . You will need to determine
your location by either ZIP code or by your latitudinal and longitudinal position. Press the or
keys on the remote control or receiver front panel until your preferred selection is highlighted,
then press .
You will now see a pop-up panel with space to enter your information. Enter your location. If you
are using the remote control, press the key, followed by the five appropriate digits. From
the remote control or receiver front panel you can also use the or keys to increase or decrease
the highlighted digit value, and the key to advance to the next digit. Use the key on the
remote control to back up to correct any mistakes. When you are finished, highlight the OK button
and press to continue.
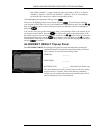
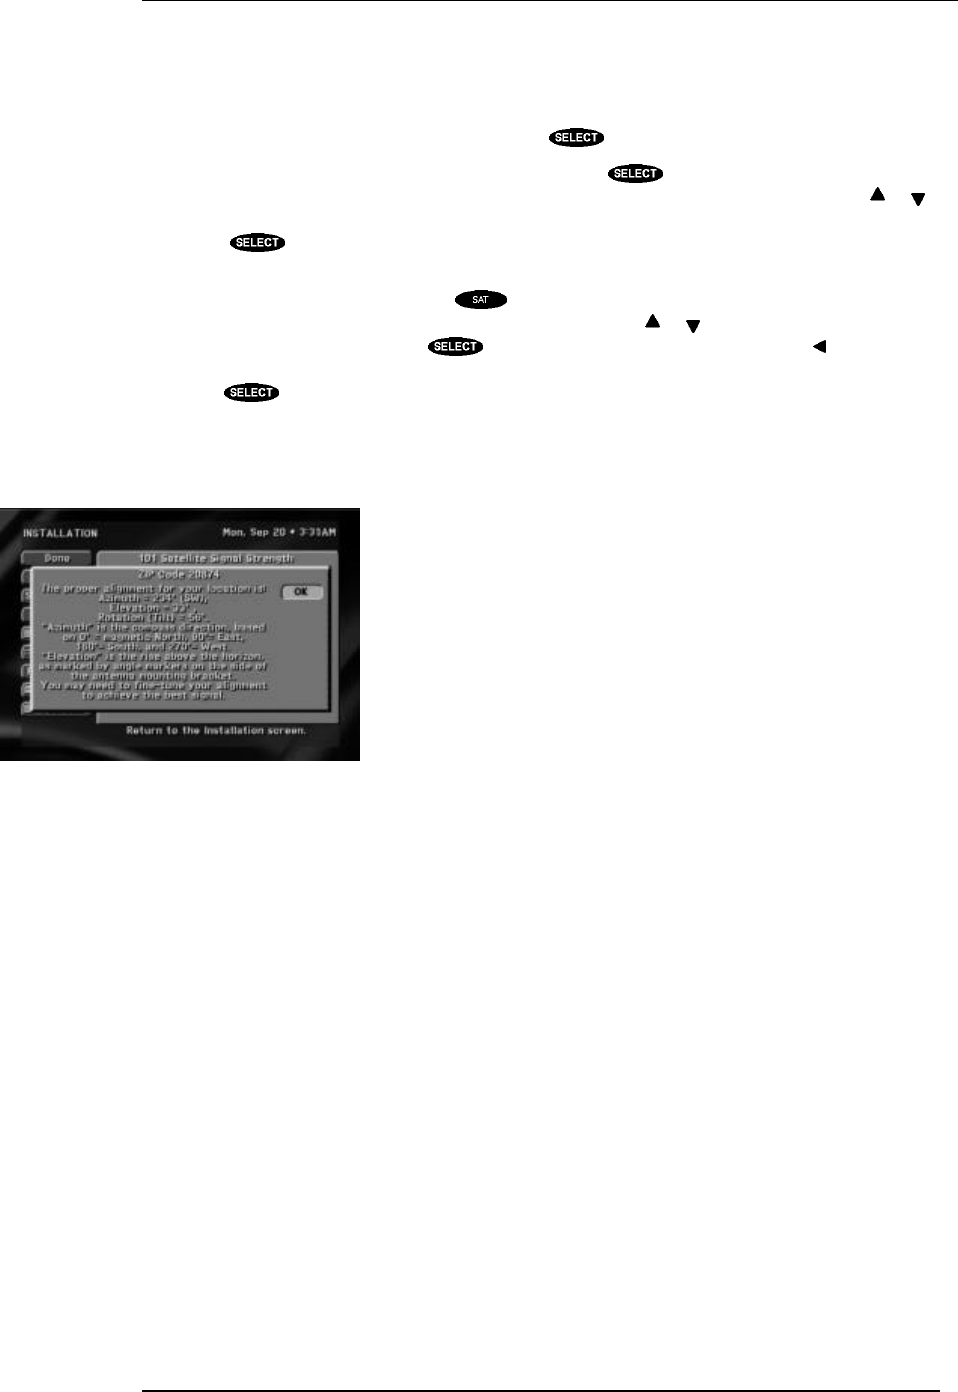
ALIGNMENT RESULT Pop-up Panel
The ALIGNMENT RESULT will display the proper elevation and azimuth for pointing the
satellite dish antenna calculated from the information you entered.
Take a moment to write down the pointing results.
AZIMUTH: _________
ELEVATION: _________
ROTATION (Tilt): _________ (Dual and Triple dishes only)
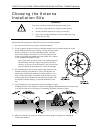
The values displayed are fairly accurate; however some fine-tuning
may be necessary. Use these values when choosing a mounting
location for your satellite dish antenna and remember that you will
need an unobstructed view in that direction.
The Alignment Result pop-up panel.