www.clarksynthesis.com
TA0.1 Amplier
14
SETTING UP YOUR AMPLIFIER
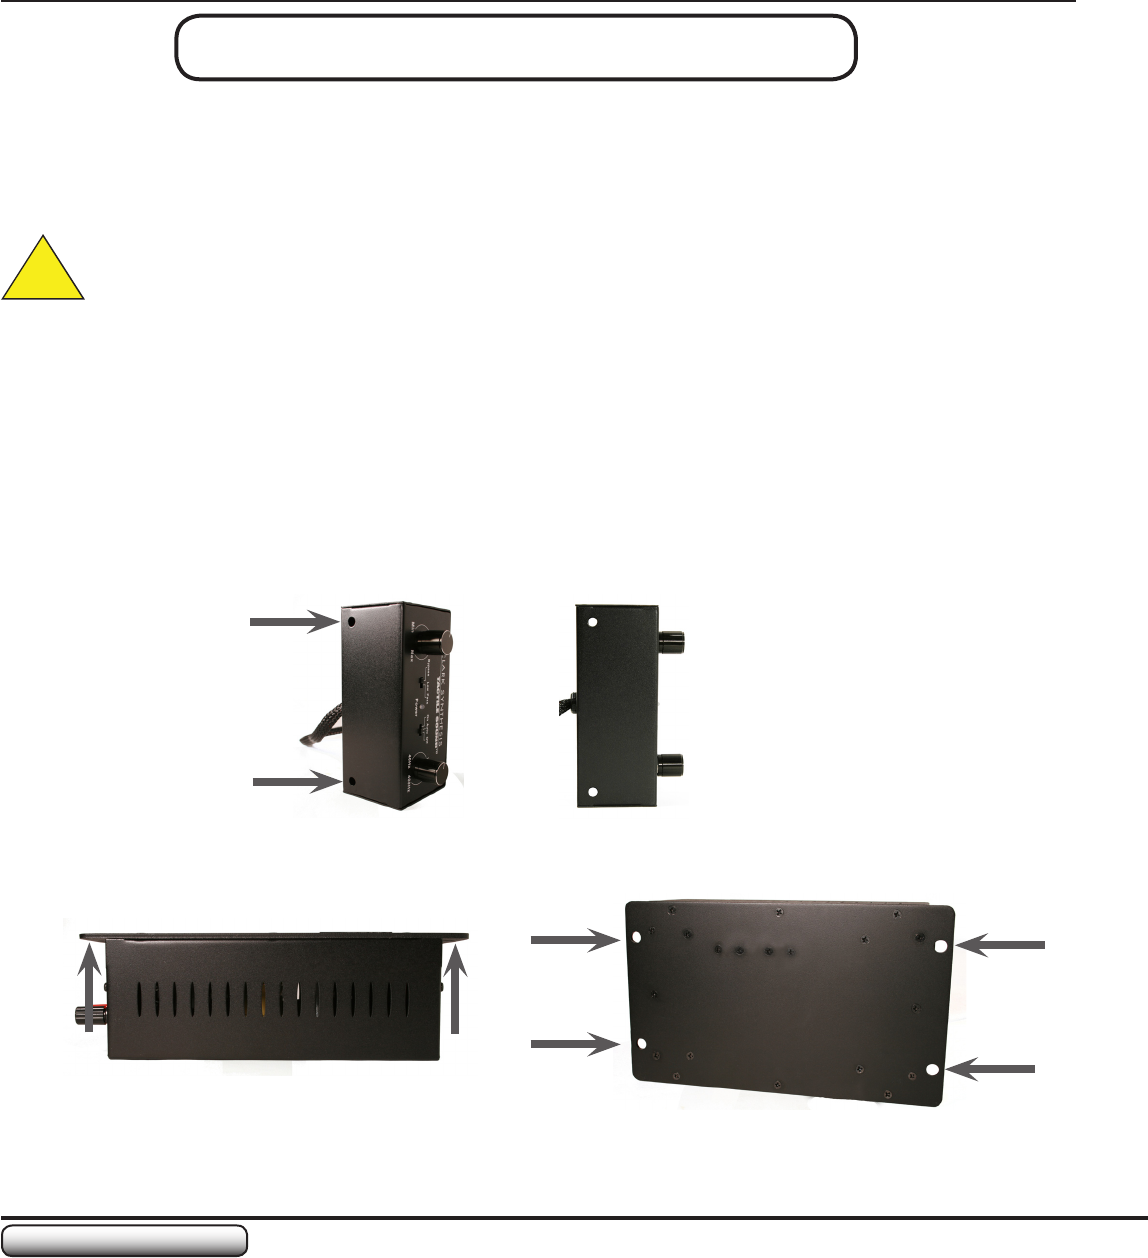
The TA0.1 can be custom mounted for use in a variety of applications. By utilizing the pre-drilled holes
in the mounting plate and the Remote Control, the user can mount the amplier to almost any surface
that provides 1) access to the Remote Control, 2) access to the Input/Output Panel and the AC Panel, 3)
adequate ventilation for the amplier, and 4) the ability to remove the amplier or the Remote Control for
servicing should that become necessary.
CAUTION: Insure there are two (2) inches of clearance around the amplier. DO NOT block the
air vents. The amplier will overheat if it does not have adequate ventilation.
The following steps describe the process for mounting your TA0.1 amplier:
Determine where you want to mount/place the Remote Control.1.
Determine where you want to mount/place the amplier.2.
Holding the Remote Control in the position you determined in #1, extend the wire from the 3.
Remote Control Interface box to the amplier’s prospective location to determine if it can reach
the amplier without being overstretched or pinched in any way. If the wire cannot reach, or will be
overstretched/pinched, adjustments will need to be made in the mounting location(s).
Once an adequate location for the Remote Control and the amplier is found, attach the Remote 4.
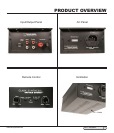
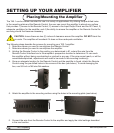
Control using the pre-drilled holes in the corners of the box (see below). To avoid damaging the
box, use 5/8 inch or M8 size at washers.
Attach the amplier to the mounting surface using the holes in the mounting plate (see below).5.
Connect the wire from the Remote Control to the amplier and apply the initial settings described 6.
in the next section.
!
Placing/Mounting the Amplier


