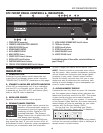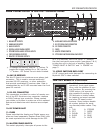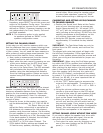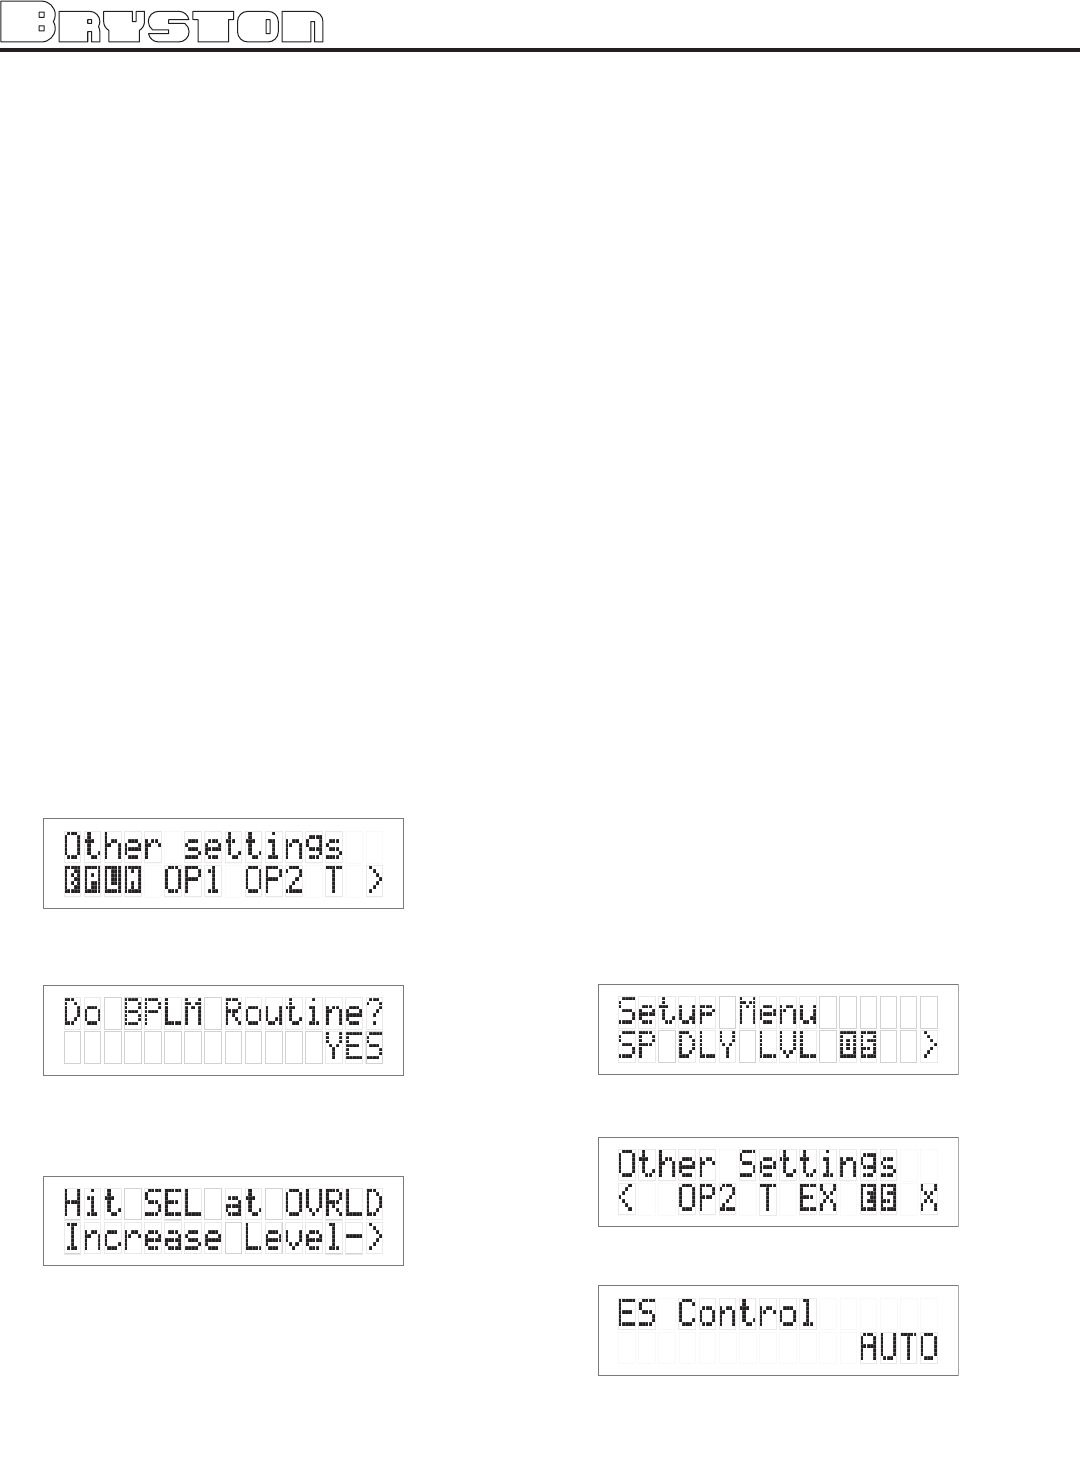
2: Next move the cursor to “LVL”. Hit ‘SELECT’ -
You are now in the Level Trim Menu.
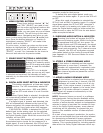
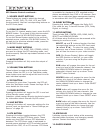
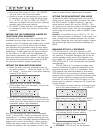
3: Move the cursor to the speaker(s) you want
to change the level for using the arrow keys
(L, C, R, RS, LS, RB, LB, SUB). Hit ‘SELECT’.
Now you can adjust the Level for the selected
speaker using the arrow buttons.
4: Hit ‘SELECT’ when finished, and repeat Step 3
to change the Level Trim for any of the other
speakers.
SETTING THE THX SUBwOOFER LIMITER OR
“BASS PEAK LEVEL MANAGER”
To diminish the chance that your subwoofer will
overload from the large amount of bass, often
present in the LFE channel the system uses a Peak
Management circuit which works with the data
you supplied during speaker setup to help match
the subwoofer output to your specific subwoofer’s
capabilities. Please note that the factory default
for the BLPM is -10 dB since the capabilities of
your specific subwoofer are unknown. In the SP2
setup and calibration section above, the final step
you should have performed was to set the BLPM
for your sub-woofer’s specific capabilities.
SETTING THE BPLM wITH PINK NOISE
1: Enter the main menu by pressing on one of
the menu buttons. Move the cursor to “OS”.
Hit ‘Select’ - You are now in the Other Settings
(Optical/THX) Menu.
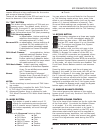
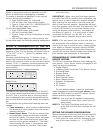
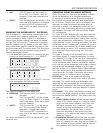
2: Move the cursor to ‘BPLM’. Hit Select.
[BPLM=Bass Peak level Manager] You will see
the following screen.
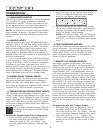
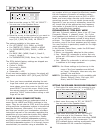
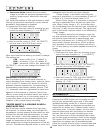
3: Hit ‘SELECT’ and you will see the adjustment
screen picture below appear, and you will hear
a low level Pink Noise signal coming from your
subwoofer and/or large speakers.
Now you can adjust the value of the subwoofer
limiter (-24 to 0 dB). Slowly increase the level by
pressing the “>” button (display counting up from
-24) until you hear overload/ distortion/bottoming/
popping from your sub-woofer(s). When you do,
reduce the value shown by 1dB and Hit ‘SELECT’
to save the setting. You can always return to this
menu to make further adjustments if needed.
SETTING THE BPLM wITHOUT PINK NOISE
To adjust the BPLM setting without running the
Noise routine, Enter the BPLM as above, but when
the SP2 prompts “Do BPLM Routine?”, use the
arrow keys to select ‘NO’ and hit ‘SELECT’. This
will bring up the numeric value of the BPLM setting
without the noise signal. You can now adjust the
value using the arrow keys, and hit ‘SELECT’ when
finished.
Caution: If the BPLM is set to “OFF” or “0”, the
Bass Limiting function is disabled. In this case, you
may run the risk of speaker damage due to bass
overload. Please be sure that your speaker system
can handle high bass levels before disabling the
BPLM.
ENABLING DTS-ES 6.1 DECODING
DTS-ES Discrete 6.1 will only operate on DTS
source bitstreams that have a discrete sixth chan-
nel encoded. If the Back Speakers are turned on
via the speaker config menu (See Speaker con-
fig on page 19.) and the input bitstream permits,
DTS-ES Discrete 6.1 will be detected and enabled
automatically.
DTS-ES Matrix 6.1 processing creates back
channel material from material contained in the
surround channels of DTS 5.1 bitstreams. Some
DTS material has been formatted so that when
DTS-ES Matrix 6.1 processing is applied, specific
material will be placed on the back channels, while
other specific material remains on the surround
channels. To control when DTS-ES Matrix 6.1 pro-
cessing will be applied, change the ES Control set-
ting as follows:
1: First enter the main menu by pressing on any
one of the menu buttons (< - > or SELECT)
2: Next move the cursor to “OS”. Hit ‘SELECT’;
You are now in the ‘Other Settings’ menu.
3: Move the cursor to “ES”. Hit ‘SELECT’; you can
now change the ES Control setting.
The options available in this menu are:
● DISABLE: DTS-ES will not be decoded
13


