ENGLISH
9
En
SOUND
REMOTE CONTROL
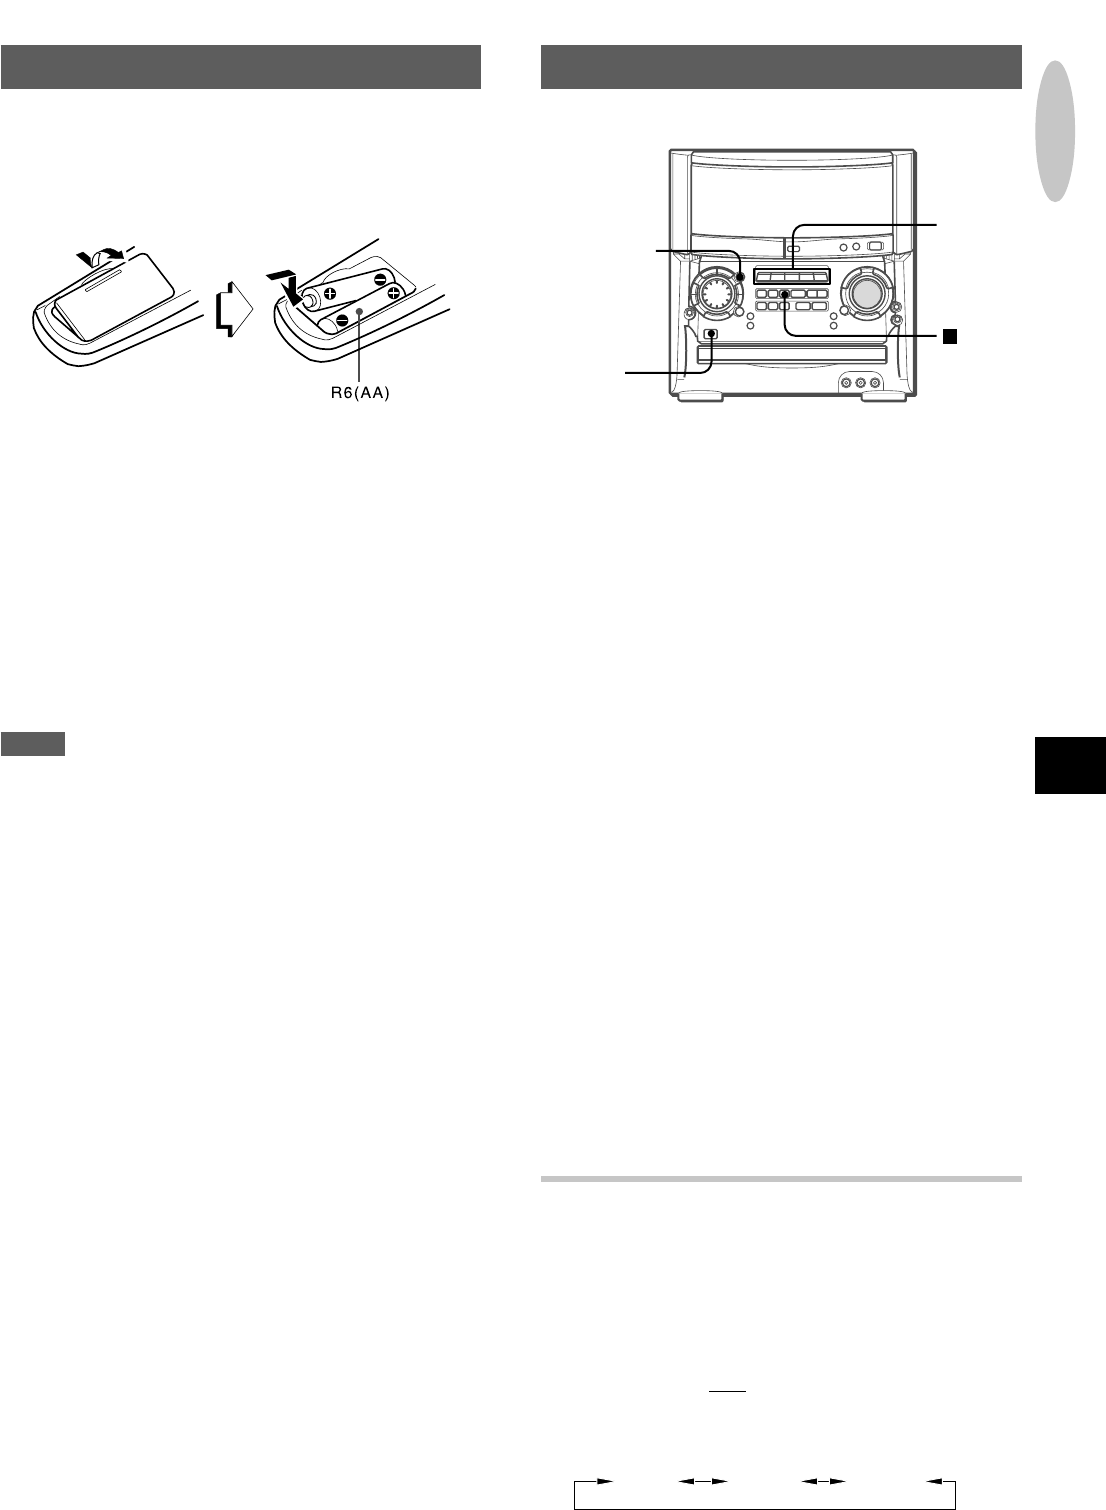
Inserting batteries
Detach the battery cover on the rear of the remote control and
insert two R6 (size AA) batteries.
When to replace the batteries
The maximum operational distance between the remote control
and the sensor on the main unit should be approximately 5 meters
(16 feet). When this distance decreases, replace the batteries
with new ones.
Using the remote control
The instructions in this manual refer mainly to the buttons on the
main unit. Buttons on the remote control with the same names
as those on the main unit can be used as well.
c/d PRESET on the remote control
The function is the same as that of d on the main unit.
NOTE
• If the remote control is not going to be used for an extended
period of time, remove the batteries to prevent possible
electrolyte leakage.
• The remote control may not operate correctly when:
- The line of sight between the remote control and the remote
sensor inside the display window is exposed to intense light,
such as direct sunlight
- Other remote controls are used nearby (those of a television,
etc.)
BEFORE OPERATION
To turn the power on
Press one of the function buttons (TAPE, TUNER/BAND, VIDEO1/
2/3, AUX/PHONO/5.1CH or CD).
Playback of the inserted disc or tape begins, or the previously
tuned station is received (Direct Play Function).
POWER is also available.
To turn the power off
Press POWER.
Illumination guide
Whenever POWER or one of the function buttons is pressed,
the buttons for the selected operation light up or flash.
Example:
When CLOCK is pressed, f and g light as a
guide to setting the current time.
Demo mode
When the AC cord is plugged into an AC outlet for the first time
after purchase, the Demo mode will begin in the display window.
When the power is turned on, the Demo mode will end. When
the power is turned off, the Demo mode will begin again.
Until the clock is set, the Demo mode will begin whenever the
power is turned off.
When the clock is set, the Demo mode will not begin even if the
power is turned off. (See “SETTING THE CLOCK” on page 29
to set the clock.)
To activate the Demo mode
Press DEMO while the power is turned on or off. The Demo mode
will begin in the display window.
When one of the button is pressed or the control is turned, the
Demo mode will end.
SETTING DISPLAY MODE
By pressing FL DISPLAY as following, the illumination color,
brightness level of the display and the spectrum analyzer display
can be changed.
To change the illumination color
The lighting color around the function buttons and above the CD
compartment can be changed.
1 Press FL DISPLAY
once so that the current mode is displayed.
2 Within 4 seconds, turn MULTI JOG to select the illumination
color. The modes are displayed cyclically as below.
The color will be automatically set after 4 seconds.
FL DISPLAY
Function
buttons
POWER
BLUE UMBER PURPLE
PREPARATIONS


