


This section explains how to record from the tuner, CD player, or
external equipment.
Preparation
● Use Type I (normal) tapes only.
● Set the tape to the point where recording will start.
● Note that recording is done on only one side of the tape
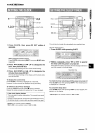
1
2
3
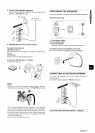
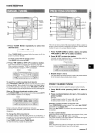
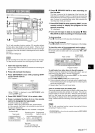
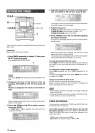
Insert the tape to be recorded on into deck 2.
Insert
the tape with the side to be recorded on first facing out
from the unit.
\
\
*
Press function (CD, TUNER, VIDEO/AUX or MD)
and prepare the source to be recorded.
To recordfrom a
CD, press CD and load the disc(s).
To record from a radio broadcast, press
TUNER and tune
in to a station.
To
record from a connected source, press VIDEO/AUX or
MD,
Press @ REC/REC MUTE to start recording.
When the selected function is CD, playback and recording
start simultaneously.
When recording from a connected source, start playback of
the source.
To stop recording, press 9.
To
pause recording, press II. (Applicable when the source is
TUNER, VIDEO/AUX or MD) To resume recording, press it again.
Sound adjustment during recording
The output volume and tone (except BBE) of the speakers or
headphones are freely varied without affecting the level of the
recording.
,-, ,.! ,. ..,, ,. .,.. ,,. ,,. ,,,
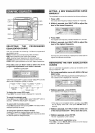
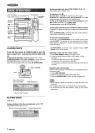
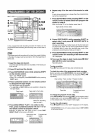
INSERTING BLANK SPACES
.:
Insertion of 4-second blank spaces enables you to activate the
;Z
Music Sensor function, (Applicable when the source is TUNER,
:;$
VIDEO/AUX or MD.)
,,
1
Press ‘@ REC/REC MUTE during recording or while in
x-
recording pause mode.
.-m:
~
on the display flashes for4 seconds and 4-second blank
-g
space is made. Then, the deck enters the recording pause
●
mode.
2
Press II to resume recording.
‘~
To insert a blank space of less than 4 seconds,
press @
‘“E
REC/REC MUTE again while ~ is flashing.
To insert blank s~aces of more than 4 seconds,
after the deck
::f,+;
enters recording pause mode, press @
REC/REC MUTE again. ~
Each time the button is pressed,
a 4-second blank space is ‘~
added
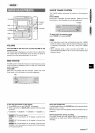
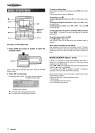
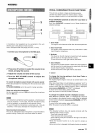
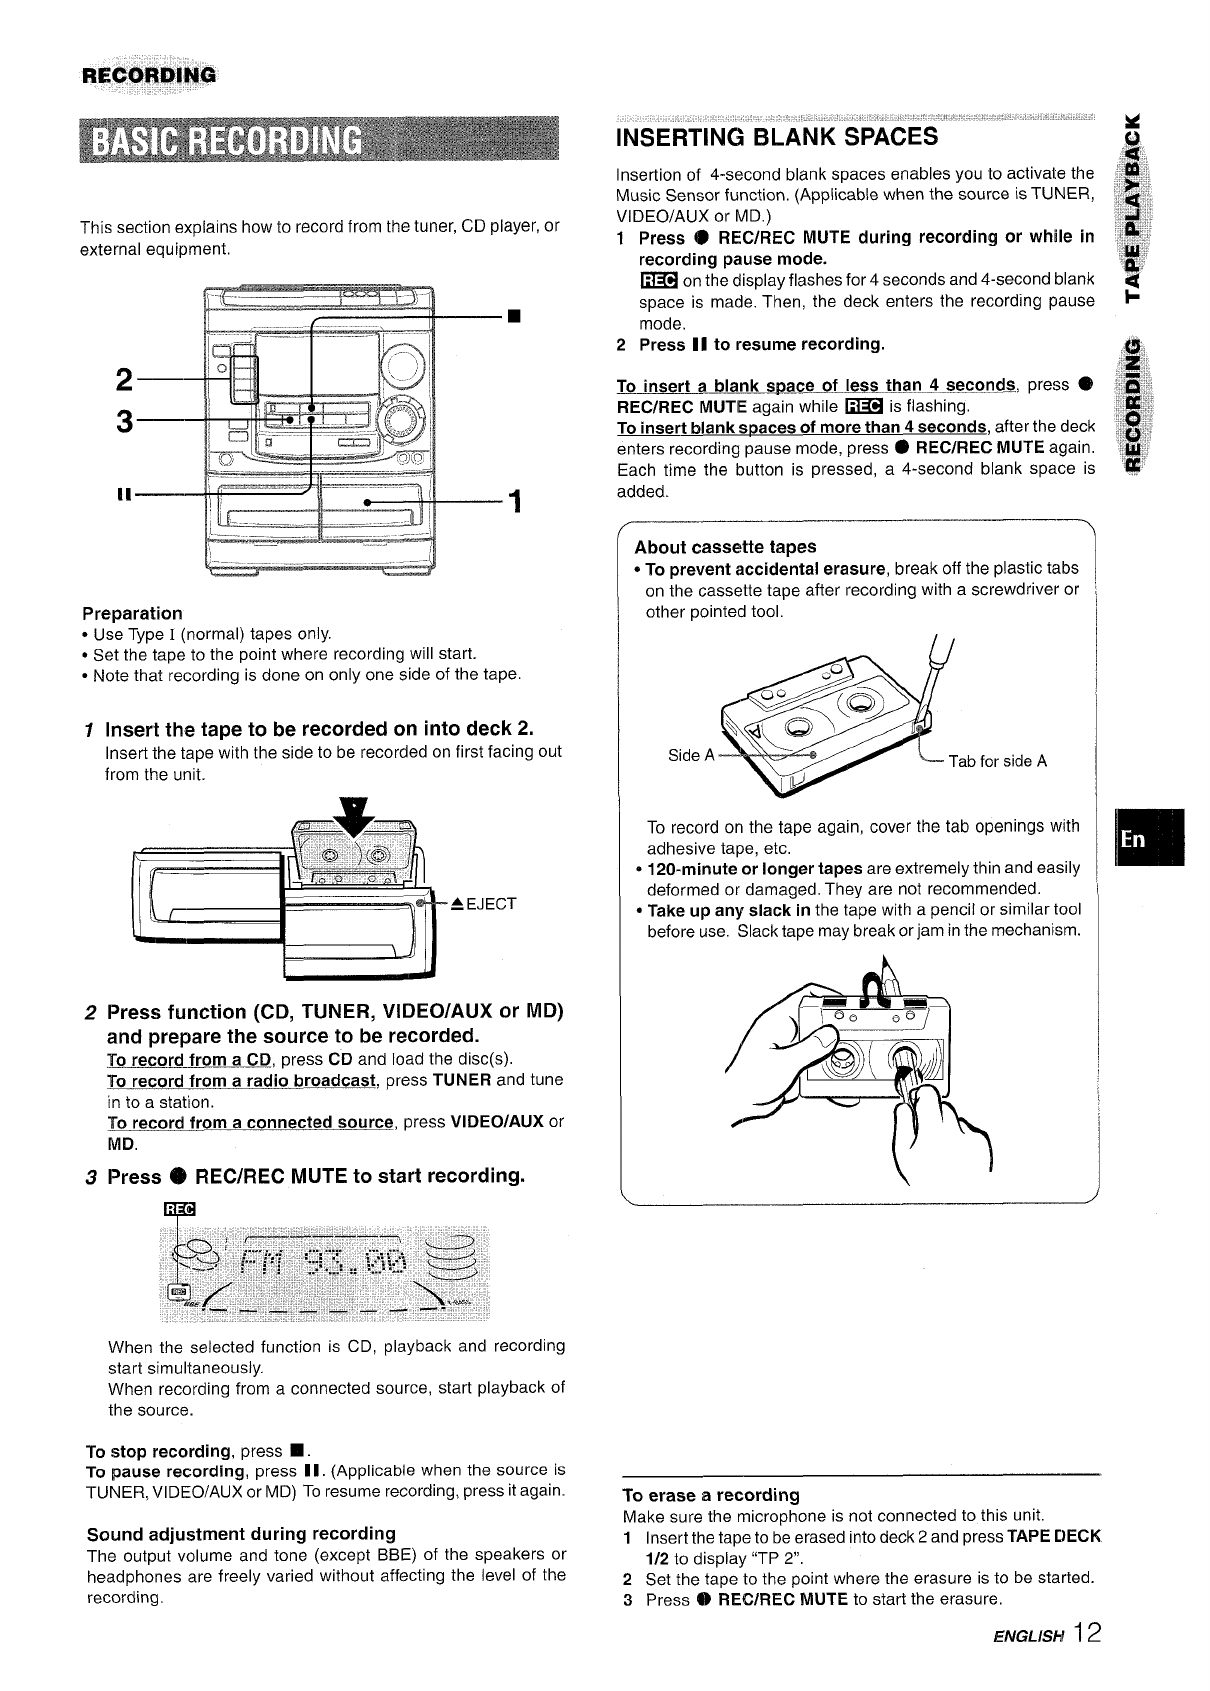
About cassette tapes
* To prevent accidental erasure,
break off the plastic tabs
on the cassette tape after recording with a screwdriver or
other pointed tool.
Side A
ab for side A
To record on the tape again, cover the tab openings with
adhesive tape, etc.
* 120-minute or longer tapes are extremely thin and easily
deformed or damaged. They are not recommended.
● Take up any slack in the tape witha pencil or similar tool
before use. Slacktape may breakorjam inthe mechanism.
-,
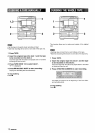
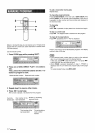
To erase a recording
Make sure the microphone is not connected to this unit.
1 Insert the tape to be erased into deck 2 and press TAPE DECK
1/2
to display ‘(TP 2“.
2 Set the tape to the point where the erasure is to be started.
3 Press @
REC/REC MUTE to startthe erasure.
ENGL/SH I
2