


System Administrator’s Guide to Installing DataMgr
2-8 Installation
• If you respond with y (default), the installation
script will continue.
• If you respond with n, the installation script will
terminate. You can Start DataMgr, perform a full
BFS Database backup, then run the installation
script again.
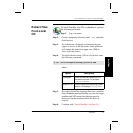
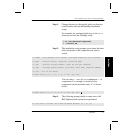
Step 4. The installation script prompts you to enter both the
User ID and Group ID. The specified GID should
already exist, but DataMgr will add the UID to the
machine’s
passwd file. A sample answer is shown
in bold:
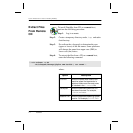
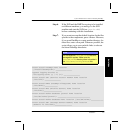
Step 5. DataMgr uses the standard
syslog function of the
operating system for all of its error messages. All
messages are sent using the
local1 facility.
Through the
syslog.conf file, you can control the
destination of these messages.
Please enter the numeric user ID (uid) for the dmfs account: 357
Please enter the base group ID (gid) for the dmfs account: 86
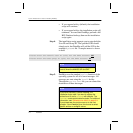
Note
When you install the DMFS component, you
need to know the AMASS UID and GID.
Note
If you have previously installed DataMgr, the
installation script asks if you want to replace the
entries found in root’s crontab with defaults. The
crontab contains administrative tasks, For additional
information, see “Schedule cron Jobs” on page 3-4.
If you answer NO, the script moves on to the next
question. You will not be given the chance to select
specific entries or configure values.