Model MX88 Page: 19
© 2010 Xantech LLC
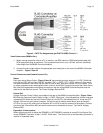
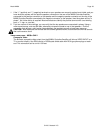
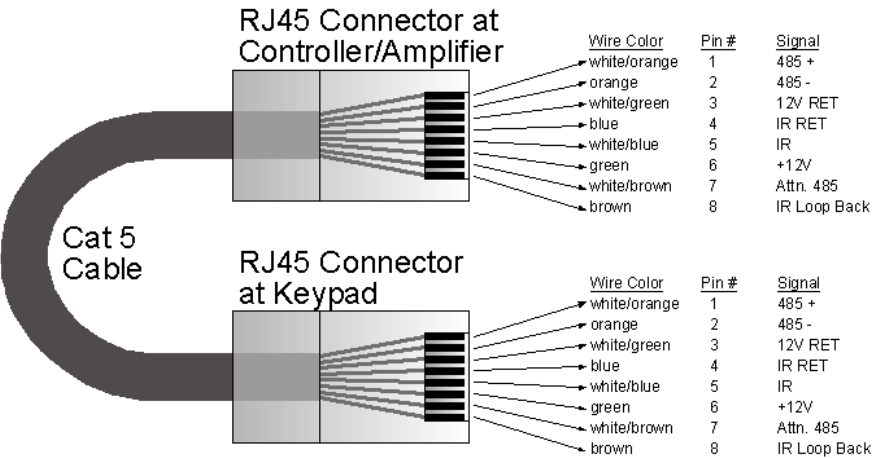
Figure 4 - CAT5 Pin Assignments (per EIA/TIA 568B) Pinned 1:1
VIDEO CONNECTIONS (MX88VI ONLY)
1. When running composite video to a TV or monitor, use RG6 coaxial or RG59 quad-shield cable with
RCA-type phono plugs on each end. This connection can be run up to 150 feet, as this is a buffered
video output from the MX88 Controller/Amplifier.
2. Connect the zone video cable to the appropriate zone video jack on the rear of the MX88vi Controller/
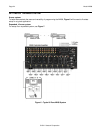
Amplifier – Figure 3 item 18.
STATUS CONNECTIONS AND COMMON CONTROL OUT
Status
Each zone has a Status Output –Figure 3 item 19, that provides a control output of +12 VDC, 50mA that
turns ON and OFF with the zone ON/OFF condition. ON = +12VDC, OFF = 0VDC. Using a 3.5mm mono
mini phone connector, this control can be used to close a relay, such as a Xantech CC12, to raise a TV lift
or drop a projection screen automatically when a zone is turned ON. Connect one end of the 3.5mm Mono
Mini jack to the appropriate zone Status connector on the rear of the MX88 Controller/Amplifier and the
other end to the device to control. Tip=Control Voltage; Sleeve=GND
Control Out
A single Common Control Output is provided on the rear of the MX88 Controller/Amplifier –Figure 3 item
20. When the Common Control Output is High (+12VDC, 50mA max.), this indicates that „at least‟ one zone
is powered ON. When the Common Control Output is Low (0VDC), this indicates that „all‟ zones are OFF.
Using a 3.5mm mono mini phone connector, this control can be used to close relays (such as Xantech
CC12) or turn on an AC outlet (such as Xantech AC1 or AC2) for activity common to the system. Connect
one end of the 3.5mm Mono Mini jack and the other end to the device to control. Tip=Control Voltage;
Sleeve=GND
Expanded, 16-zone system:
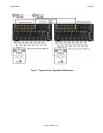
When at least one zone on either the PRIMARY or SECONDARY controller is turned ON, the Control Out
on the PRIMARY Controller is High (+12VDC, 50mA max.). The Control Out on the Secondary Controller is
inactive in Expanded mode.


