Velodyne Digital Drive User’s Manual Page 22
from the digital servo, and thus the least amount of distortion possible from the subwoofer. The
“theatrical” setting relaxes the servo a bit to allow a bit more distortion to enter the playback, making
an overall louder and more impressive sub for explosions and other theatrical content. The scale
is 1 for theater (least amount of servo gain) and 8 for music (most amount of servo gain).
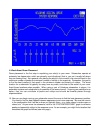
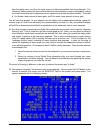
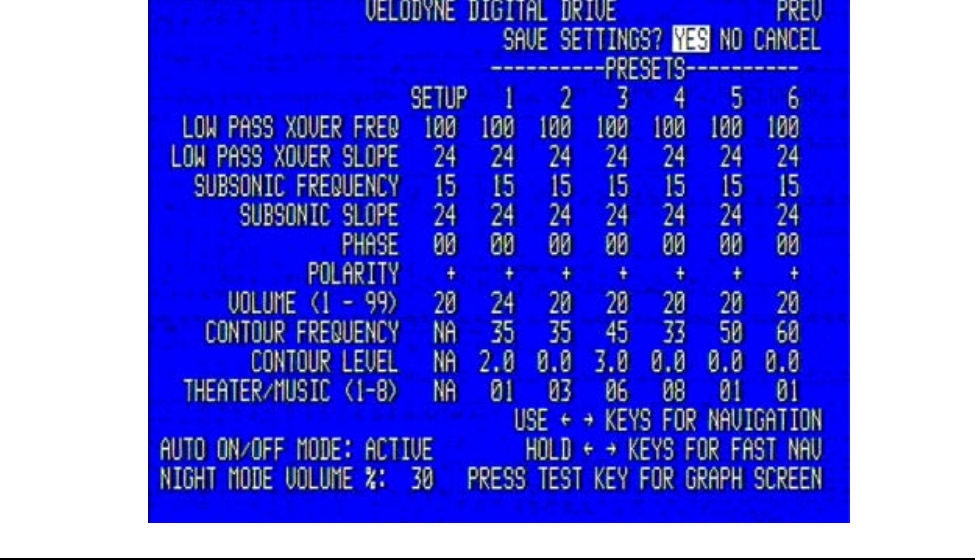
You will note that presets 1-4 are shipped from the factory with predetermined settings, preset 5’s
contour is set at 0 level from the factory and customizable by the user (i.e. flat), and preset 6 defeats
all the EQs to demonstrate the effect the equalization of the subwoofer has on room response.
24. As a final thought on matching your Digital Drive subwoofer to your room, don’t forget the “objective
listening” test. That is, make sure the unit sounds good to you! Often, you may want to add a bit
more bass than what would normally be considered “flat” even after you remove the major peaks
and valleys to achieve a flat frequency response. This is quite normal because human hearing
“rolls off” rapidly below 100Hz, causing the bass not to sound as loud. This is the basis for the
“loudness contour” switch included on many receivers and preamps. In order for the bass to
sound flat, especially at lower levels, you may need to increase the subwoofer volume in relation
to the satellite speakers. An increase of about 5-8dB is usually adequate. There are two methods
to accomplish this:
1. Raise the internal volume control for the subwoofer in your surround receiver or processor,
or,
2. Raise the volume of your Digital Drive subwoofer after you have finished your room
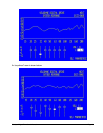
equalization and other settings. You can observe this difference by watching the system
response graph as you raise the volume.
Of course, all hearing is different, so be sure to perform the above step “to taste.”
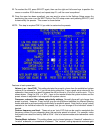
25. Your setup is complete! You are now ready to save settings. You can press the EXIT button on the
remote, or position the cursor over the SAVE/EXIT field on the screen and press select. The
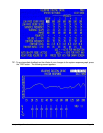
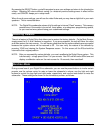
system responds with the following screen:


