Utilities
3–Screens and Menus
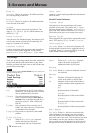
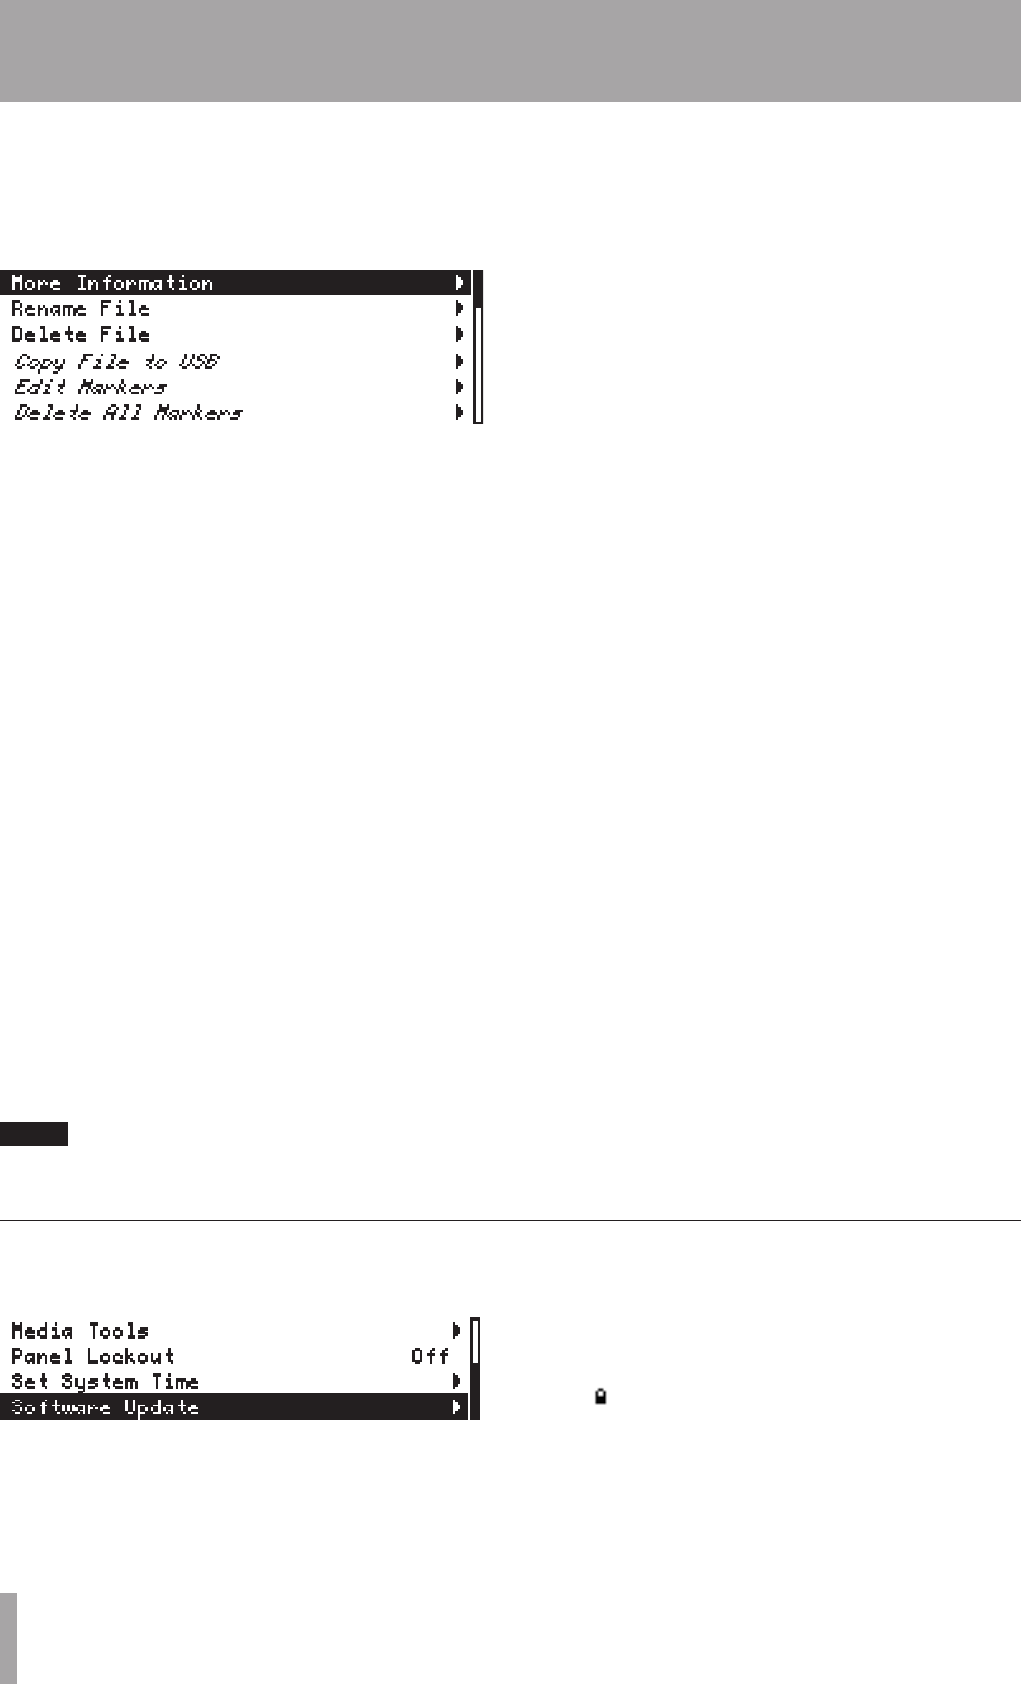
This menu provides access to several utilities.
Media Tools
Leads to a submenu containing media-related tools
and information screens. Only available when a CF
card is mounted.
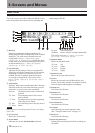
Panel Lockout
This feature provides a way of keeping unauthorized
people from operating the HD-R1 via the front panel.
When
Panel Lockout
is
ON
, the HD-R1 will
show , the panel lockout icon . The HD-R1’s front
panel will remain locked even if the power is turned
off and turned back on again. To unlock the front
panel, hold down the
ENTER
,
CANCEL
, and
MENU
keys simultaneously. When the front panel is locked,
external control via RS-232, parallel, and LAN are
still possible.
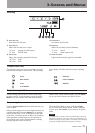
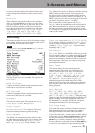
Select
View Files
and press the ENTER key to
open a list of audio les in the folder.
Highlight an audio le and press
ENTER to see a menu
listing the things that can be done with that le. The
options are:
More Information
Leads to the detailed le information screen
containing le name, le type, le size, and creation
date. Additional information will be shown for audio
les, including sample rate, number of channels,
duration, sample bit width (for WAV), and bit rate
(for MP3).
Rename File
Used to rename the le (up to 8 characters).
Delete File
Prompts for conrmation and then permanently
deletes the audio le.
Copy File to CF/USB
This item is only available when USB media is
attached to the unit.
If Compact Flash is selected in the rst menu of the
Manage Folders/Files Menu, the le is copied from
the CF card to the USB media. If USB is selected, the
le is copied from the USB media to the CF card.
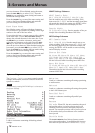
Edit Markers
Provides a way to edit an audio le’s markers. This
menu option will not be selectable if there are no
markers for this le.
Simultaneously pressing SHIFT+MARK keys is a shortcut to
Edit Markers list.
Delete All Markers
Select this and press the ENTER key to open a
conrmation screen. Press the ENTER key again to
delete all the markers for an audio le. This item
cannot be selected if there are no markers.
Edit Markers Submenu
Select Edit Markers from the File Menu and press the
ENTER key to open a list showing all the markers for
the audio le. The list shows the names and times of
the markers. Select the marker that you want to edit
and press the ENTER key to display the following
items that can be edited.
Rename Marker
Used to change the name of the marker. If you select
this item, a screen opens to allow editing of the
name. Use the SHUTTLE/DATA wheel to change the
selected character in the name box. Press the ENTER
key to conrm a character setting and select the next
character to the right. Press the SKIP µ key to select
the next character to the left and clear the previous
character. When nished setting the name, press the
SKIP ≤ key to select
SAVE
. Press the ENTER key
to conrm the name setting and return to the Edit
Markers submenu.
Press the
CANCEL key to cancel the name setting and
return to the Edit Markers submenu. The previous
marker name is retained.
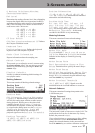
Edit Marker
Select this item to open the marker editing screen.
On this screen, use the SKIP (µ/≤) keys to move
between data elds and use the SHUTTLE/DATA wheel
to change the time values. When nished editing the
values, use the SKIP (µ/≤) keys to select
SAVE
and press the ENTER key. This conrms the edited
time values and returns to the Edit Markers menu.
Press the
CANCEL key to cancel the editing. This
returns to the Edit Markers menu and restores the
previous marker time values.
Delete Marker
Permanently deletes the marker.