


TASCAM HD-R1 15
3–Screens and Menus
be played is determined by the playback modes and
repeat settings and could be the same as the current
track.
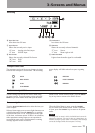
Auto Cue
When enabled, entering the ready-to-play transport
state, or using the SKIP keys to move to a new track,
will cause the HD-R1 to cue up the track; that is, the
HD-R1 will look ahead for audio that exceeds the
given threshold and pause the transport at that point.
The choices are
Off
,
-72 dBFS
,
-66 dBFS
,
-60 dBFS
,
-54 dBFS
,
-48 dBFS
,
-42
dBFS
,
-36 dBFS
,
-30 dBFS
,
-24 dBFS
.
Off
disables the Auto Cue function. All other settings
(dBFS values) enable the Auto Cue function with
the selected value as the threshold at which the unit
recognizes the start of the sound. For example, if –36
dBFS is selected, the unit cues to the point in the track
just before a sound of at least –36 dBFS.
This is especially useful together with
Auto
Ready
, where the combination causes each track to
play, then automatically cue up the next track where
the audio passes the specied threshold level so that
it is waiting to be triggered (by the PLAY button) from
ready-to-play mode.
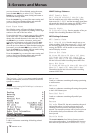
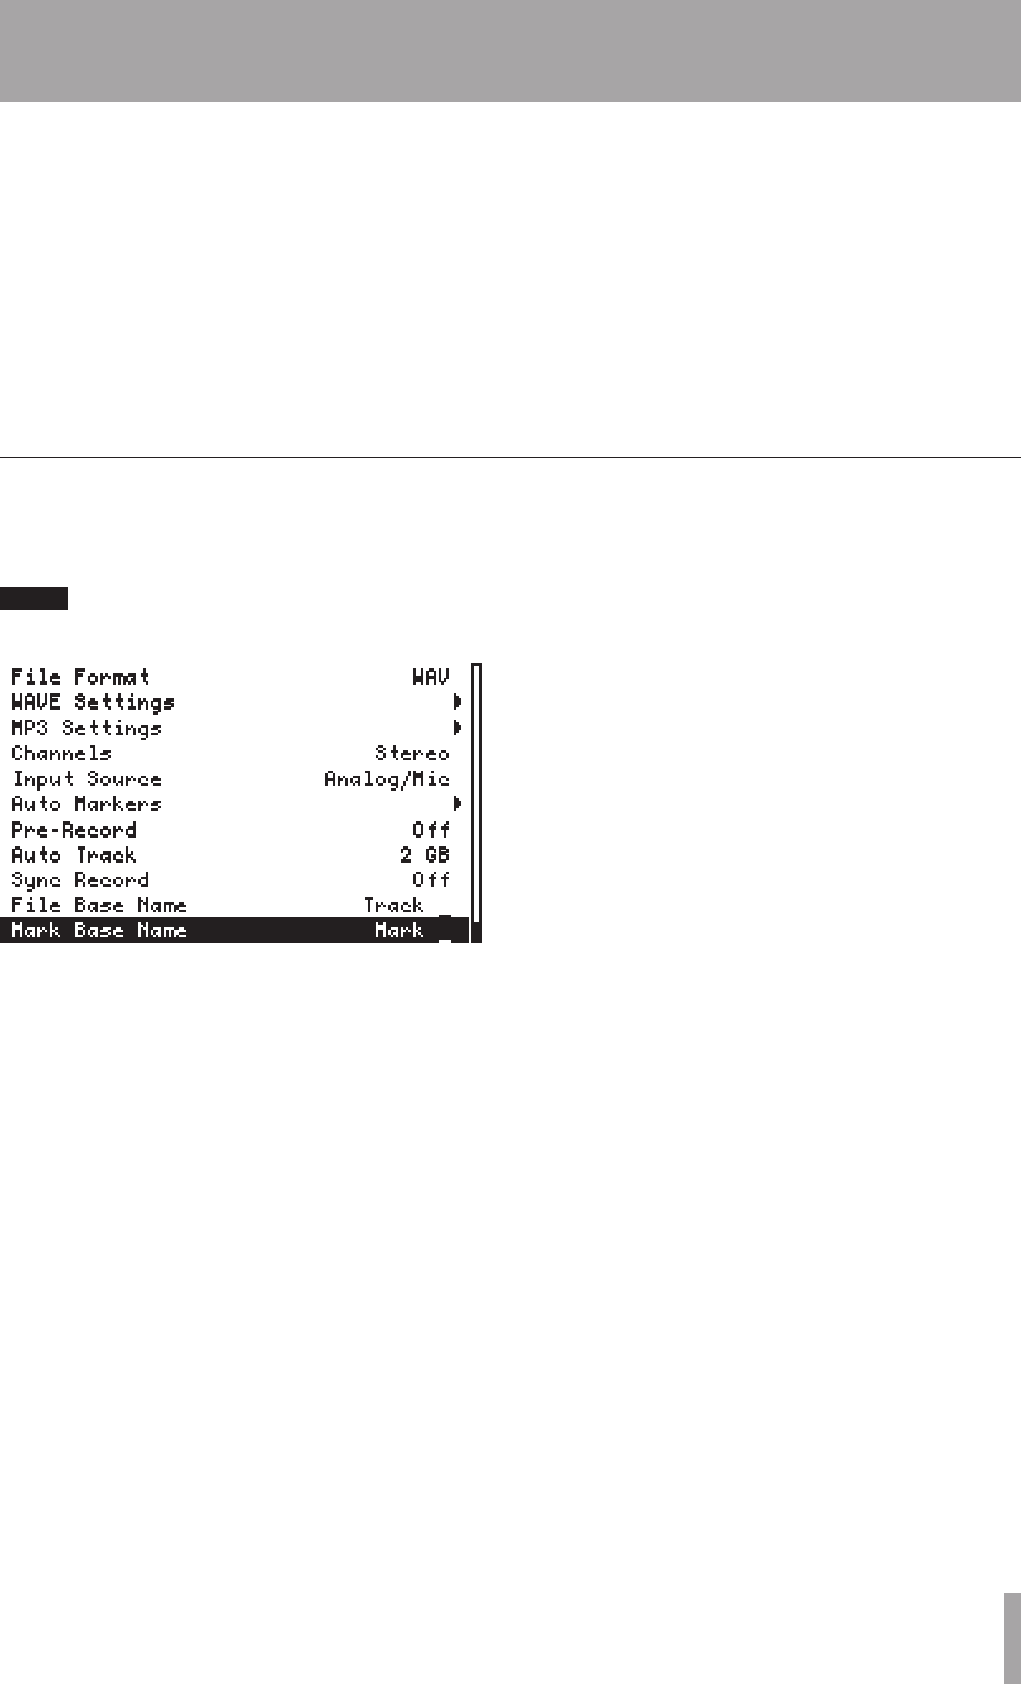
This menu provides access to all of the settings related
to recording. Settings are listed with their name on the
left side and current value on the right.
NOTE
Simultaneously pressing SHIFT+ENTER keys is a shortcut
to the Record Settings Menu.
File Format
The le format to use for recording. The options are
WAV
or
MP3
.
WAVE Settings
Leads to a submenu which contains parameters that
control how wave les are recorded.
MP3 Settings
Leads to a submenu which contains parameters that
control how MP3 les are recorded.
Channels
This sets the record mode. The options are:
Mono
Left
,
Mono Right
and
Stereo
.
Input Source
Analog/Mic
or
S/PDIF
(digital). The input
signal used during monitoring and recording.
Auto Markers
The HD-R1 can automatically drop markers when
an audio input overload occurs or at a specic time
interval. The eld options are:
Audio Overs
and
Time Interval
. When enabled,
Time
Interval
can be set to
Off
, 1,
2
,
3
,
4
,
5
,
10
,
30
,
or
60
minutes. Markers created by
Audio Overs
are given names beginning with “
Over
”.
Markers
created by
Time Interval
are given names
beginning with “
Time
”.
Pre-Record
Off
or
On
. When
On
, the HD-R1 will store up to the
last 20 seconds (when at 44.1 kHz) of incoming audio
when the input monitor is enabled. When RECORD is
pressed, this material is stored to media as well as the
following audio. This helps you capture unexpected
and important material.
Auto Track
This setting allows the user to determine the
maximum audio le (track) size recorded by the
HD-R1 either in bytes or in time. The choices are
512 MB, 1 GB, 1.5 GB, 1.8 GB,
2 GB, 5 min, 10 min, 15 min, 30
min, 1 hour.
The default setting is
2 GB.
If
Playback Mode
is set to
Playlist
,
transitions between recorded audio les will be
seamless for les of the same sample rate; otherwise,
there will be a short fade in/out between audio les
during playback.
Sync Record
Off
,
-72 dBFS
,
-66 dBFS
,
-60 dBFS
,
-54 dBFS
,
-48 dBFS
,
-42 dBFS
,
-36
dBFS
,
-30 dBFS
,
-24 dBFS.
When the input
signal exceeds the selected threshold, the HD-R1 will
begin recording. If the input signal then falls below
the threshold for 5 seconds, the HD-R1 will pause,
awaiting the threshold to be exceeded again.
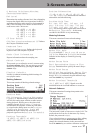
File Base Name
New audio le names will start with these characters.
Recorded audio les are given names by adding a
three-digit number to the end of this base name.
If you select this item, a screen opens to allow editing
of the name. Use the
SHUTTLE/DATA wheel to change
the selected character in the name box. Press the
ENTER key to conrm a character setting and select
the next character to the right. Press the SKIP µ key
to select the next character to the left and clear the
Record settings