– 17 –
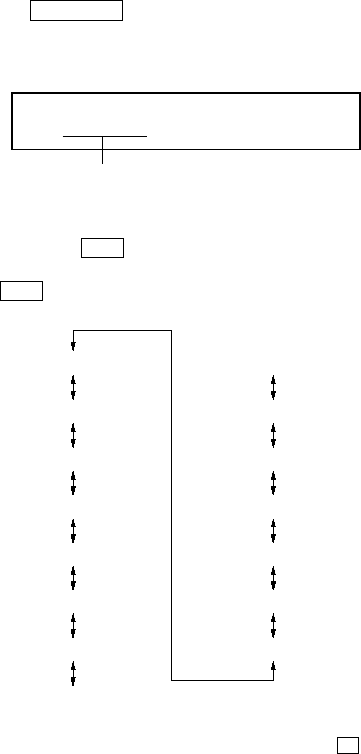
4-6. SELF-DIAGNOSIS DISPLAY MODE
• This set uses the self-diagnosis system in which if an error oc-
curs in recording/playback mode, the error is detected by the
model control and power control blocks of the microprocessor
and information on the cause is stored as history in EEPROM.
By viewing this history in test mode, it helps you to analyze a
fault and determine its location.
Total recording time has been recorded as optical pick-up using
time, and it is compared with the total recording time in the
self-diagnosis display mode to find when an error occurred.
Clear both total recording time and the time in self-diagnosis
display mode, when the optical pick-up was replaced.
1. Setting the test mode. (See page 13)
2. Press the MENU
. key on the set or press the [DISPLAY]
key on the remote commander activates the self-diagnosis dis-
play mode where the LCD display as shown below.
3. Then, each time > key is pressed, LCD display descends
by one as shown below. Also, the LCD display ascends by one
when . key is pressed.
4. Quit the self-diagnosis display mode, and press the
x key to
return to the test mode (display check mode).
LCD display
** : Self-Diagnosis Data
1st0**
000
history code
1st0**
000
1st1**
000
1st2**
000
N 0**
000
N 1**
000
N 2**
000
N-10**
000
N-11**
000
N-12**
000
N-20**
000
N-21**
000
N-22**
000
R ####
000
1
1
