


Chapter 4: Recording on MDs
16
Recording on an MD
Manually
When recording additional tracks on a
recordable MD, the MD deck will
automatically start recording from the end
of the existing sound.
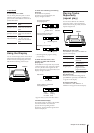
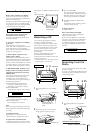
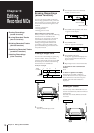
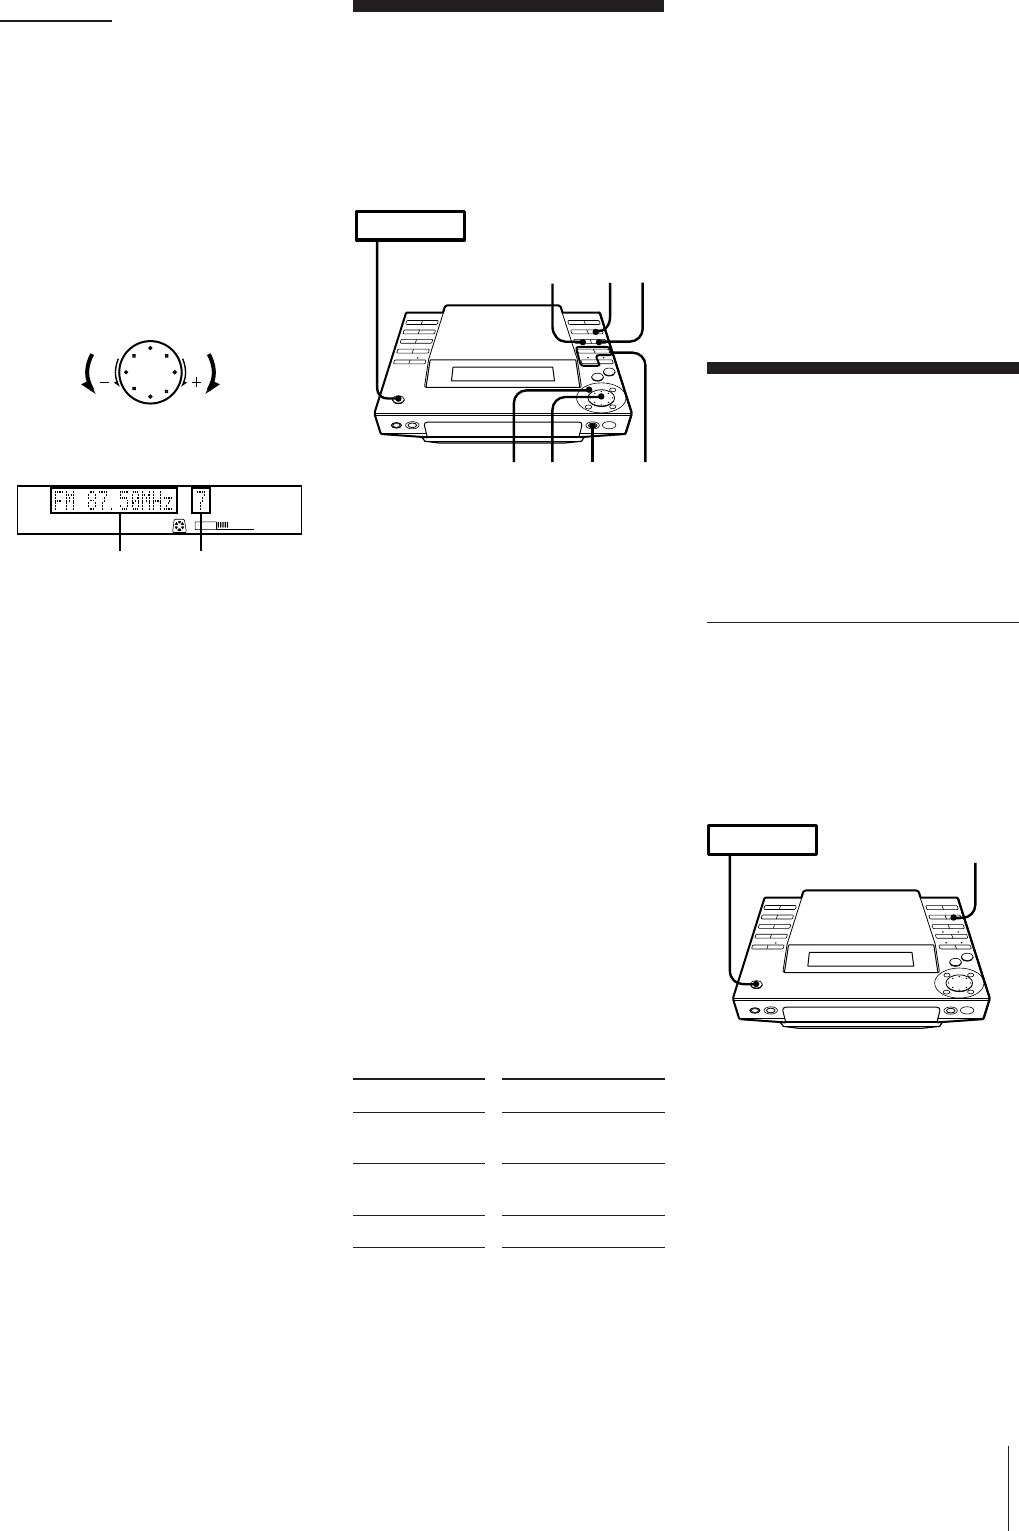
1 Press MD § and insert a recordable
MD.
2 Press one of the FUNCTION buttons
(TAPE, TUNER/BAND or CD) on the
unit to select a sound source you want
to record (or press FUNCTION
repeatedly on the remote).
3 Press REC (or MD r REC on the
remote).
The REC PAUSE indicator flashes and
the MD deck stands by for recording.
When recording from CD, track
numbers will be written automatically
in the same sequence as the CD.
When recording from a source other
than CD, see “Marking Track Numbers
Automatically” in order to write track
numbers automatically.
4 Press REC PAUSE (or MD P on the
remote).
The MD deck starts recording.
5 Start playing the sound source.
* Whenever you pause recording, the track
number increases by one. For example, if
you paused recording while recording on
track 4, the track number increases by one
and recording continues on the new track
when restarted.
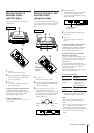
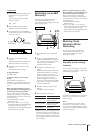
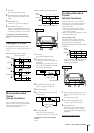
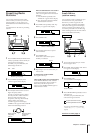
2 Press TUNER/BAND repeatedly until
the band you want appears in the
display.
As you press this button, the band
changes as follows:
FM ˜ AM
3 Press TUNING repeatedly until
“PRESET” appears in the display.
4 Turn the JOG dial (or press PRESET –/+
on the remote) to tune in a preset station
you want to record.
5 Press REC (or MD r REC on the
remote).
The REC PAUSE indicator flashes and
MD deck stands by for recording.
6 Press REC PAUSE (or MD P on the
remote).
The MD deck starts recording.
To stop recording
Press REC STOP.
To record a station you have not
stored
Press TUNING repeatedly until
“MANUAL” appears in the display, and
turn the JOG dial to tune in a station you
want.
When you stop recording, you can
start playback from the beginning of
the last track that was recorded
This is a convenient way to check the
contents of a recording. You might find it
useful right after recording a favorite song
from the radio, etc.
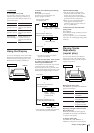
1 Press MD during recording.
Recording stops.
2 Press fl (or MD ( on the remote)
while the number of the last track flashes
in the display (about 15 seconds).
Playback starts from the beginning of the
last track that was recorded.
When you stop recording, you can
start playback from the beginning of
the last track that was recorded
This is a convenient way to check the
contents of a recording. You might find it
useful right after recording a favorite song
from the radio, etc.
1 Press MD during recording.
Recording stops.
2 Press fl (or MD ( on the remote)
while the number of the last track flashes
in the display (about 15 seconds).
Playback starts from the beginning of the
last track that was recorded.
Marking Track
Numbers While
Recording
The way in which track numbers are
written differs according to the sound
source being recorded. See “Track
Marking” for details.
Marking Track Numbers
Manually (track marking
function)
You can mark a track number at any time
while recording on an MD, no matter what
sound source you selected.
Press REC (or MD r REC on the remote) at
the place you want to add a track mark
while recording.
Note
If you decide the track number mark is
unnecessary, or the location is incorrect,
you can use the combine function to undo
the mark (see “Combining Recorded Tracks
(combine function)”) .
m continued
›–
PRESET
VOLUME
MD
Frequency Preset number
Go to previous
preset station
Go to next
preset station
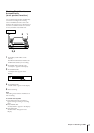
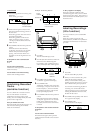
POWER m ON
4
5
REC
STOP
2
3
JOG
1
To
Pause recording*
Resume recording
Stop recording
Press
REC PAUSE (or MD
P on the remote)
REC PAUSE (or MD
P on the remote)
REC STOP
POWER m ON
REC