19
Connection and Setup
Positioning the Speaker System
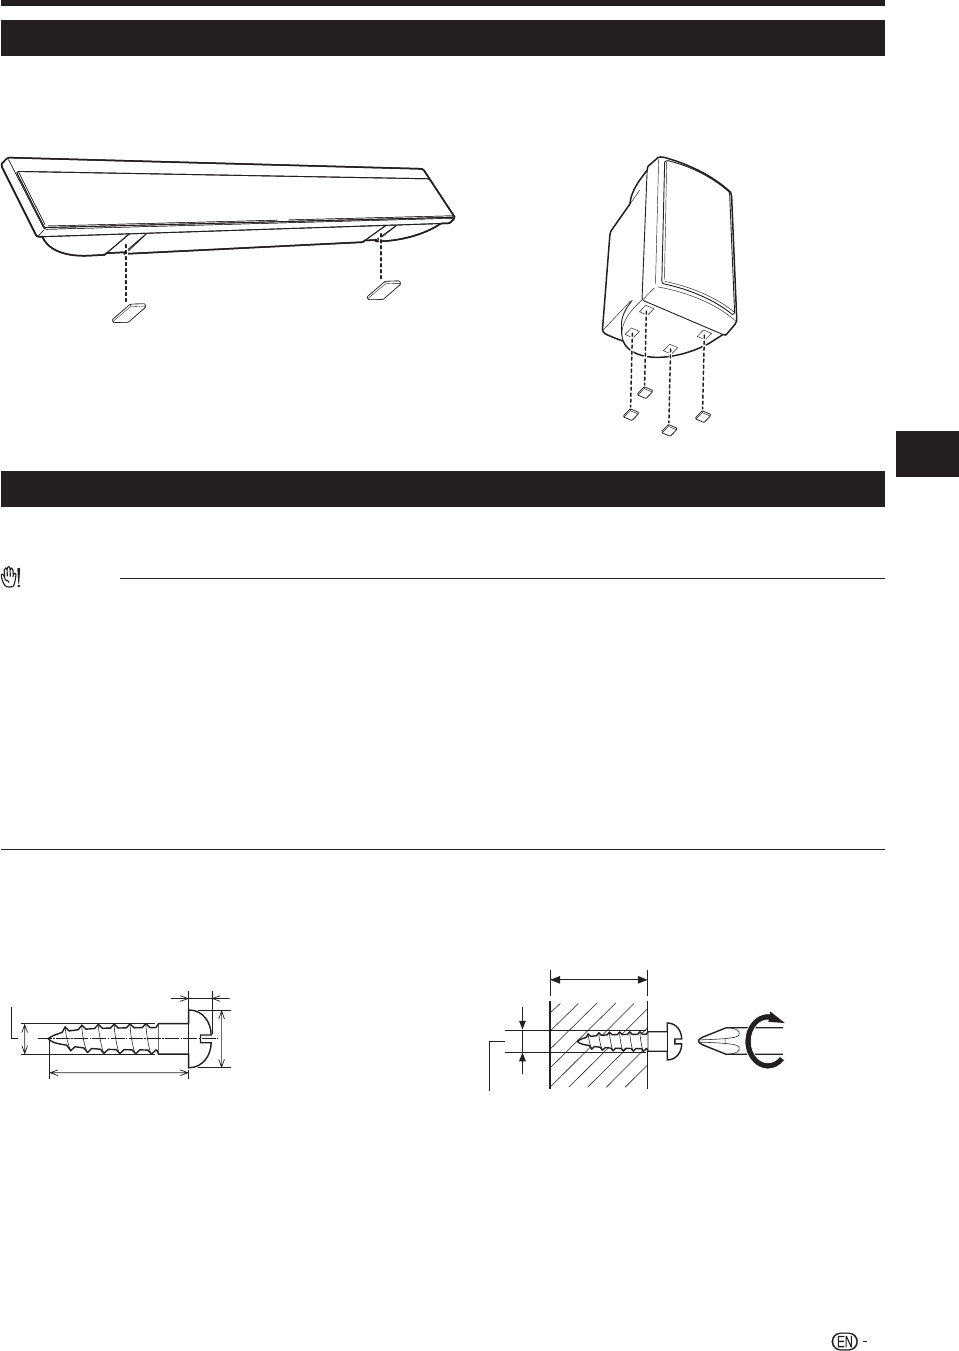
How to apply foot cushions
Affix the foot cushions (supplied) to the bottom of the speakers to prevent them from sliding or falling due to
vibration.
[Sound Bar Speaker] [Surround Speaker]
To mount the speakers on the wall
The Sound Bar speaker (left/center/right) and surround speakers can be mounted on the wall. The Sound Bar
speaker needs 8 screws and the surround speaker needs 2 screws to be mounted (not supplied).
CAUTION
Be very careful to prevent the speaker from falling when mounting on the wall.
Before mounting, check the wall strength. (Do not put on the veneer plaster or whitewashed wall. The speakers may fall.)
If unsure, consult a qualified service technician.
Mounting screws are not supplied. Use appropriate ones.
Check all mounting screws for looseness and that they are engaged in the speakers.
Mount the speakers on the wall using 2 screws each position.
Select a good location. If not, accidents may occur or the speaker may get damaged.
Avoid placing on a bed, sofa, water tank, sink and hallway wall.
To avoid accidents, fix the speaker wires to the wall. You may trip over them.
SHARP is not responsible for accidents resulting from improper installation.
The following may cause personal injury or speaker damage.
- Applying any other load to the fittings than the speaker.
- Modification or change of the fittings.
- Stepping on or hanging from the speakers. Especially pay attention to small children.
•
•
•
•
•
•
•
•
•
•
•
ε
Driving screws
SHARP designed the speakers so you may hang them on the wall.
Use proper screws (not supplied).See below for size and type.
1/4" (5-6 mm)
1/8"- 1/4"
(4-5 mm)
3/8"- 7/16"
(9-11 mm)
1-3/16"- 1-9/16"
(30-40 mm)
ε
Mounting on a wooden wall
Mount on a sturdy part with thickness of 2" (5 cm) or more.
Do not mount on a thin wall (plywood) or plaster board.
1/4" (5-6 mm)
2" (5 cm) or more
(Continued on the next page)


