Phoenix Gold iSeries
www.PHOENIXGOLD.com
7
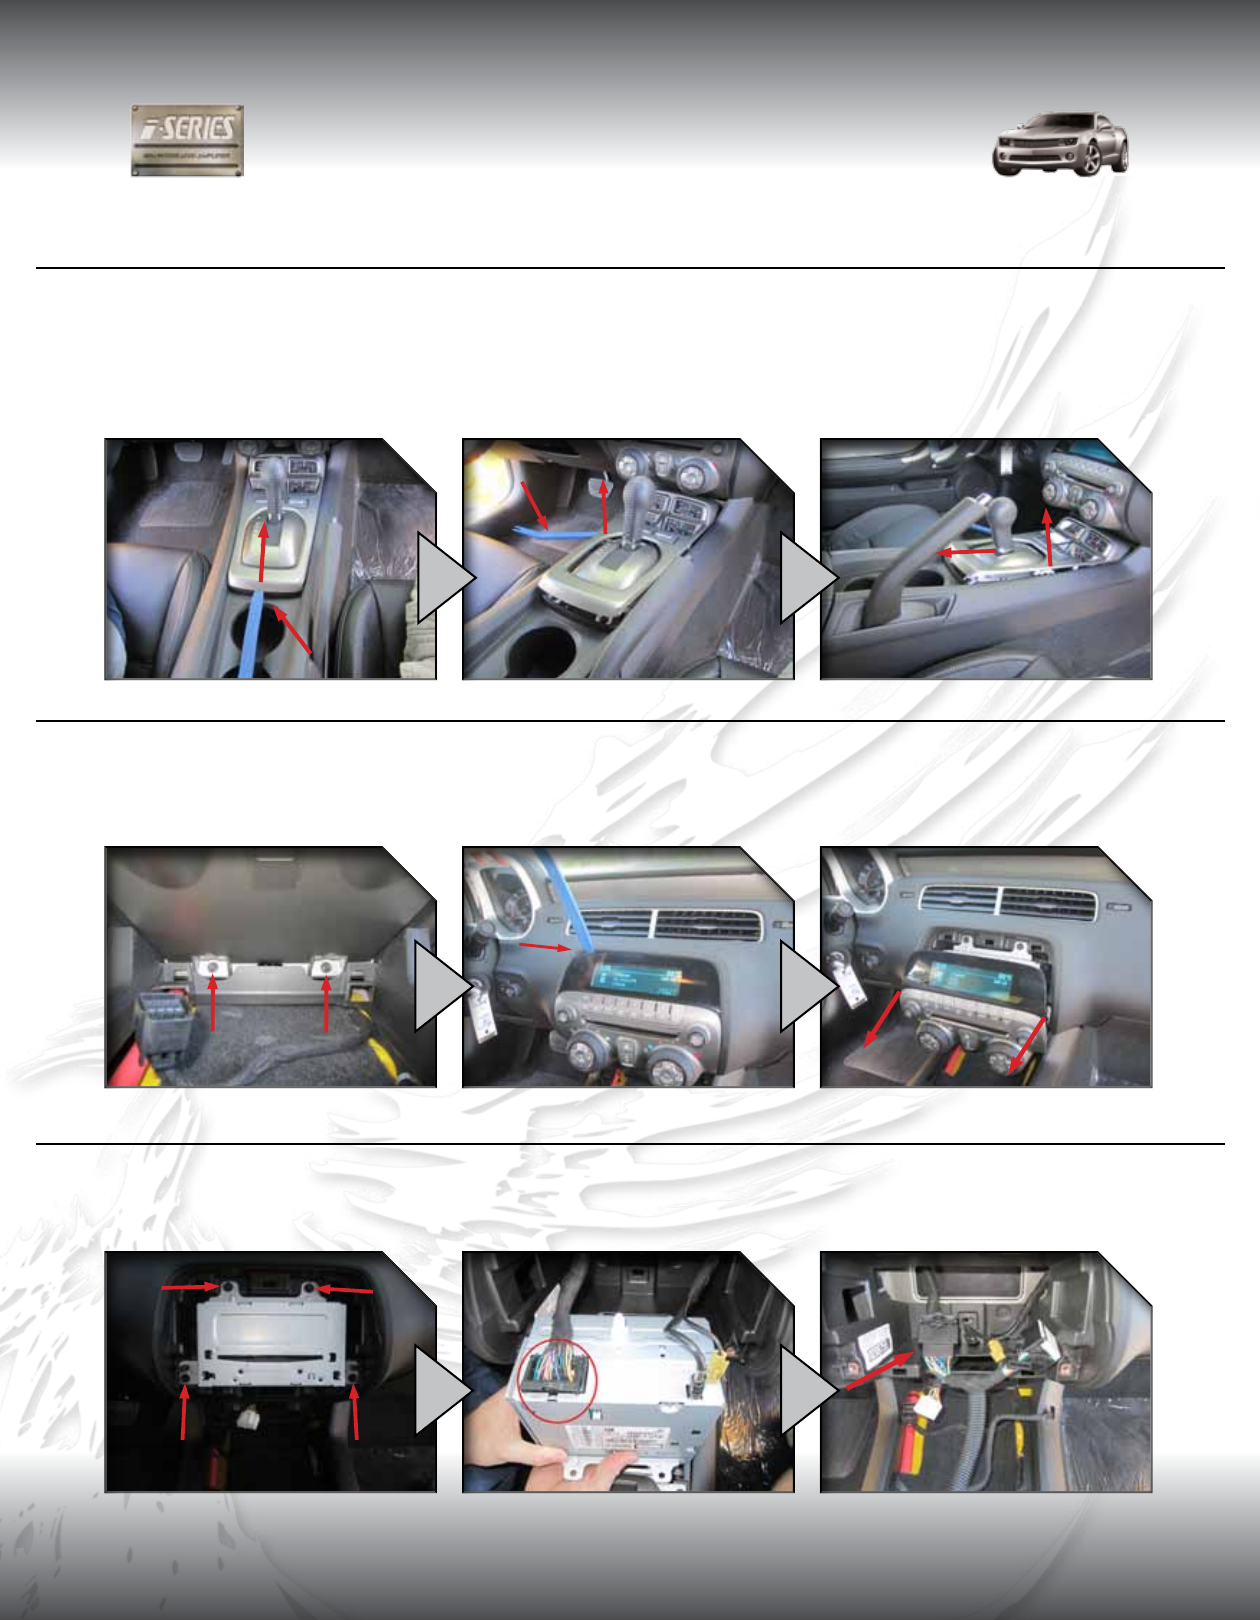
4. Removing the Radio and Making Connections
Fig. BFig. A
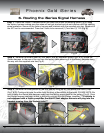
Step 2 – Remove the (2) 7mm bolts under the radio face and A/C control panel (Fig D). Using a
plastic pry tool work your way around the face of the radio to loosen (Fig E). Once loose, rmly hold
the radio/A/C control panel and pull away from the dash (Fig F). Unplug the connector from this
panel and set it aside.
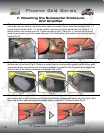
Step 3 - Remove the (4) 7mm bolts holding the radio into the dash (Fig G). Remove radio from dash
and unplug the main 44-pin harness (Fig H). Connect the iSeries T-harness into factory harness and
radio (Fig I).
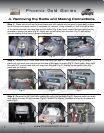
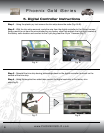
Step 1 - Make sure to pull up the hand-brake and shift vehicle into low gear (if applicable) to clear
the shift bezel and gauge cluster (if equipped) for removal. Using a plastic pry tool start at the back
of the center console trim panel (around the shifter) (Fig A) and work toward the front gently prying
upwards to loosen the panel (Fig B). Gently pull up and away from the dash (Fig C) and unplug
harness leading to the factory gauges (if equipped).
Fig. C
Fig. D Fig. E Fig. F
Fig. G Fig. H Fig. I


