


UNPACKING AND PLACEMENT GUIDELINES FOR THE P 3
Unpacking Your P 3
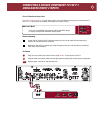
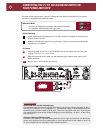
Carefully unpack your P 3 from the shipping carton and remove all the enclosed accessories:
• Remote control with two AAA batteries
• Detachable AC cord
• Two Trigger control wires with a 2.5 mm sub-mini plug on each end.
While you are unpacking your new preamplifier, inspect it thoroughly for possible shipping
damage. If you see any, contact your Parasound dealer right away. Be sure to save and store
both the inner and outer cartons and packing inserts for possible future transport. To save room
for storage, you can cut the seams on the bottom of the cartons and flatten them.
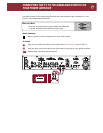
Placement Guidelines for Your P 3
For trouble-free operation and long-term reliability, follow the simple guidelines below to help
decide where to locate your P 3 in your system.
• Place the P 3 on a separate shelf that will adequately support its weight.
• Keep it away from heat sources such as air ducts or radiators.
• Leave at least 1” of space on all sides and the top. This helps facilitate passive
heat dissipation.
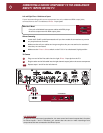
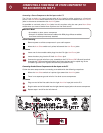
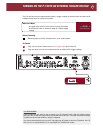
Rack Mounting Your Parasound P 3
If you plan to mount the P 3 into a standard 19” wide equipment rack, you will need to purchase
the optional Parasound HRA 2 Rack Mount Adapter. With its four feet removed, the P 3 chassis
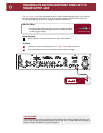
and front panel height occupies two rack spaces (3-1/2” or 88mm). When mounting equipment
below the P 3, you will also need to allow about 1/8” below the unit for the bottom chassis
screws. A standard single rack space is 1-3/4” high in a 19” wide equipment rack. This
measurement standard was developed by the EIA (Electronic Industries Association) so
manufacturers of electronic components and equipment racks could build products in
standardized heights that would fit in a uniform space. Please call your Parasound dealer or call
directly to Parasound Technical Services if you need additional advice about rack mounting the P 3.
1