OTHER OPERATIONS
ENGLISH
38
RQT8043
RQTX0038
Operating other equipment (continued)
Optional USB connection and operation (continued)Optional USB connection and operation (continued)
Compatible Devices
• Devices which are defi ned as USB mass storage
class:
– USB devices that support bulk only transfer.
– USB devices that support USB 2.0 full speed.
Supported Formats
File name File extension
Still pictures JPG .jpg .jpeg
Music MP3
WMA
.mp3
.wma
Video MPEG4
*
.asf
*
For Panasonic D-Snap/DIGA
Note
• CBI (Control/Bulk/Interrupt) is not supported.
• Digital Cameras that use PTP protocol or which require
additional program installation when connected to a PC are not
supported.
• A device using NTFS fi le system is not supported.
[Only FAT 12/16/32 (File Allocation Table 12/16/32) fi le system is
supported].
• Depending on the sector size, some fi les may not work.
• It will not operate with Janus enabled MTP (Media Transfer
Protocol) devices.
• Maximum folder: 400 folders
• Ma x i mu m fi l e : 4 0 0 0 fi l e s
• Maximum fi le name: 44 characters
• Maximum folder name: 44 characters
• Only one memory card will be selected when connecting a multi-
port USB card reader. Typically the fi rst memory card inserted.
For Australia and N.Z.
For Continental Europe
For Southeast Asia, Thailand, the Middle East, South Africa, Saudi
Arabia, Kuwait, Australia and N.Z.
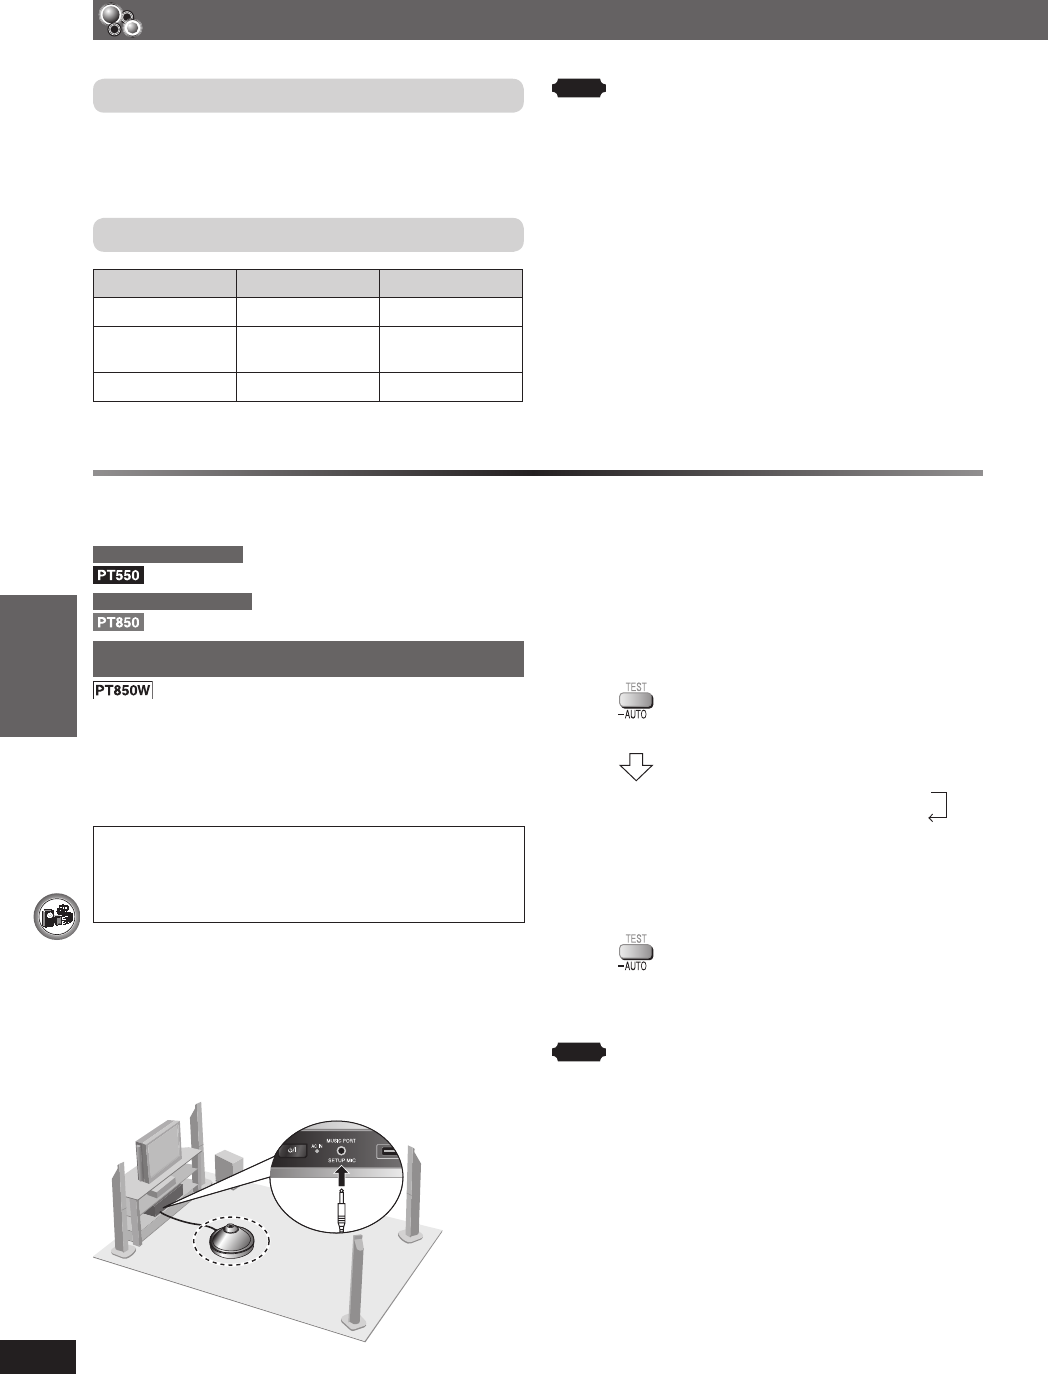
The speaker level settings can be optimized to
accommodate your room’s listening conditions so that you
can enjoy the ideal surround sound experience. Using
the supplied setup microphone, the main unit adjusts the
balance of the front speakers, and the volume level of the
center and surround speakers automatically.
Keep as quiet as possible during the Auto speaker
setup. Loud voices, air-conditioning noise, or
excessive wind current may lead to incorrect settings.
The speakers output loud test signals during the
setup.
Preparation
• Turn off the television before starting the Auto speaker
setup.
• Make sure that “DVD/CD” is selected as the source and
there are no discs in the tray.
• Ensure that headphones are disconnected.
• Speakers with wireless system, ensure that the speakers
are linked to the main unit.
1 While stopped
Connect the setup microphone.
2 Place the microphone at actual seating position.
(At ear level when seated).
3 To start the setup.
(Press and hold)
AUTO SPEAKER SETUP CENTER RIGHT
COMPLETE LEFT SRD L SRD R
• The test signal is output from each speaker.
• “COMPLETE” is displayed when Auto speaker setup
is completed.
To cancel the setup.
(Press and hold)
• “CANCEL” will be displayed if Auto speaker setup is
canceled.
Note
• Audio settings will be restored to default if the Auto speaker
setup is canceled.
• Please refer to the Troubleshooting guide if there is any error
message.
Adjusting the Speaker output level automatically: Auto speaker setupAdjusting the Speaker output level automatically: Auto speaker setup
RQTX0038-3B.indd 38RQTX0038-3B.indd 38 4/2/07 1:46:20 PM4/2/07 1:46:20 PM


