


5
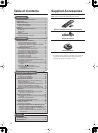
Supplied Accessories
—Continued
Notes:
• If the remote controller doesn’t work reliably, try
replacing the batteries.
• Don’t mix new and old batteries or different types of
batteries.
• If you intend not to use the remote controller for a long
time, remove the batteries to prevent damage from
leakage or corrosion.
• Expired batteries should be removed as soon as
possible to prevent damage from leakage or
corrosion.
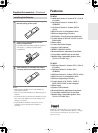
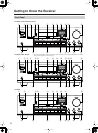
Features
TX-8522
❑
100 Watts/Channel @ 8 ohms (FTC) (USA &
CANADA)
❑
100 Watts/Channel @ 4 ohms (IEC)
(EUROPE)
❑
130 Watts/Channel @ 4 ohms (JEITA)
(ASIA)
❑
High-Current, Low-Impedance Drive
❑
Discrete Output Stage Circuitry
❑
XM Ready* (North American model only)
❑
3 Audio Inputs (CD,TAPE 1,TAPE 2) and 2
Video Inputs
❑
Phono Input
❑
2 Audio and Video Outputs
❑
Speaker A/B Terminals
❑
DIRECT &PURE AUDIO
❑
Brushed Hairline Aluminum Front Panel
❑
Compatible with RI Dock for the iPod
❑
Banana Plug-Compatible Speaker Posts
(USA & CANADA only)
TX-8222
❑
50 Watts/Channel @ 8 ohms (FTC) (USA &
CANADA)
❑
70 Watts/Channel @ 4 ohms (IEC)
(EUROPE)
❑
90 Watts/Channel @ 4 ohms (JEITA) (ASIA)
❑
High-Current, Low-Impedance Drive
❑
Discrete Output Stage Circuitry
❑
5 Audio Inputs (CD, TAPE 1, TAPE 2,
LINE 1/DVD, LINE 2) and 2 Outputs
❑
Phono Input
❑
Speaker A/B Terminals
❑
Brushed Hairline Aluminum Front Panel
❑
Compatible with RI Dock for the iPod
❑
Banana Plug-Compatible Speaker Posts
(USA & CANADA only)
*
XM Ready
®
, XM Public Radio™ are trademarks of XM
Satellite Radio Inc. ©2005 XM Satellite Radio Inc. All rights
reserved. All other trademarks are the property of their
respective owners.
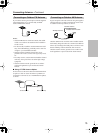
Installing the Batteries
1
Detach the battery cover by pressing the
tab and pulling up the cover.
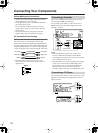
2
Insert two AA-size batteries into the
battery compartment.
Carefully follow the polarity diagram (positive +
and negative - symbols) inside the battery
compartment.
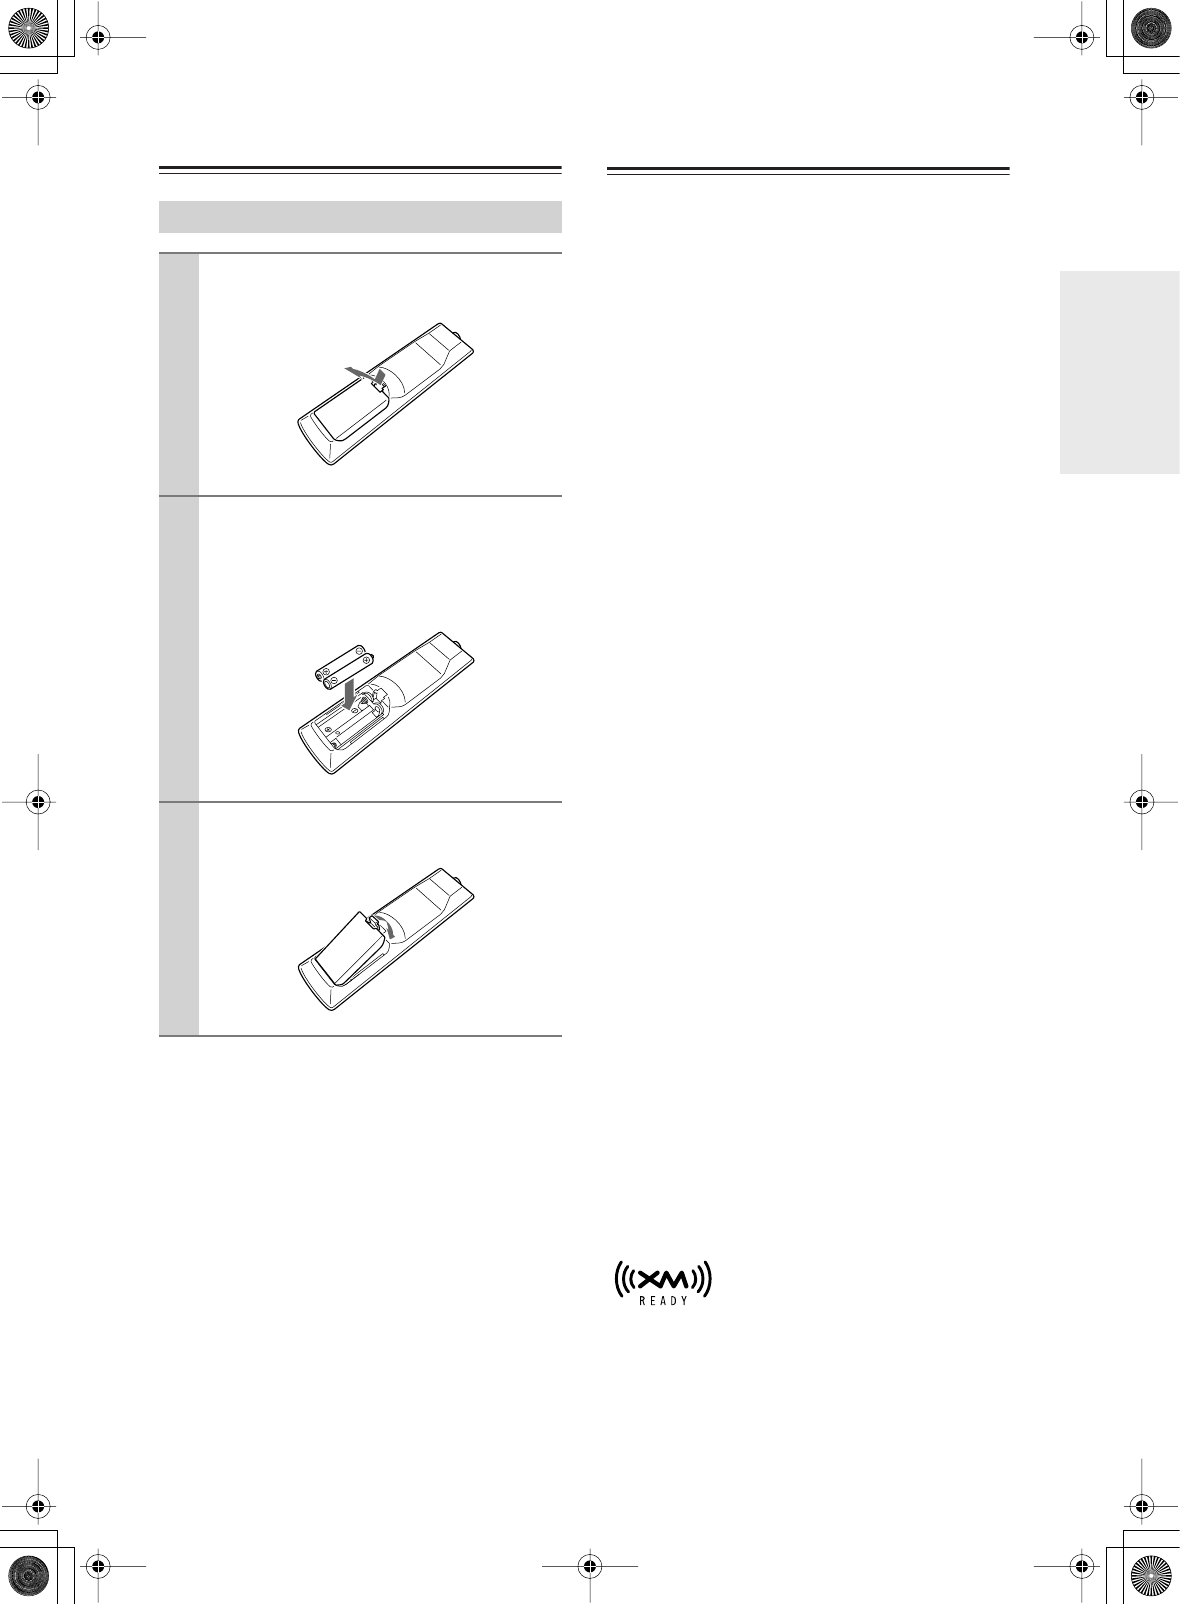
3
After batteries are installed and seated
correctly, attach the compartment cover.