


53
First Time Setup—Continued
If you connect a component to a digital audio input, you
must assign that input to an input selector. For example,
if you connect your CD player to OPTICAL IN 2, you
must assign OPTICAL IN 2 to the “CD” input selector.
Here are the default assignments.
Notes:
• Only FRONT can be assigned to the AUX 2 input
selector.
• This procedure can also be performed on the AV con-
troller by using its [SETUP] button, arrow buttons,
and [ENTER] button.
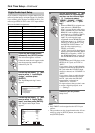
Digital Audio Input Setup
Input selector Default assignment
DVD COAX1
VCR/DVR COAX2
CBL/SAT COAX3
GAME/TV OPT1
AUX1 - - -
AUX2 FRONT (Fixed)
TAPE - - -
TUNER - - - (Fixed)
CD OPT2
PHONO - - -
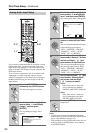
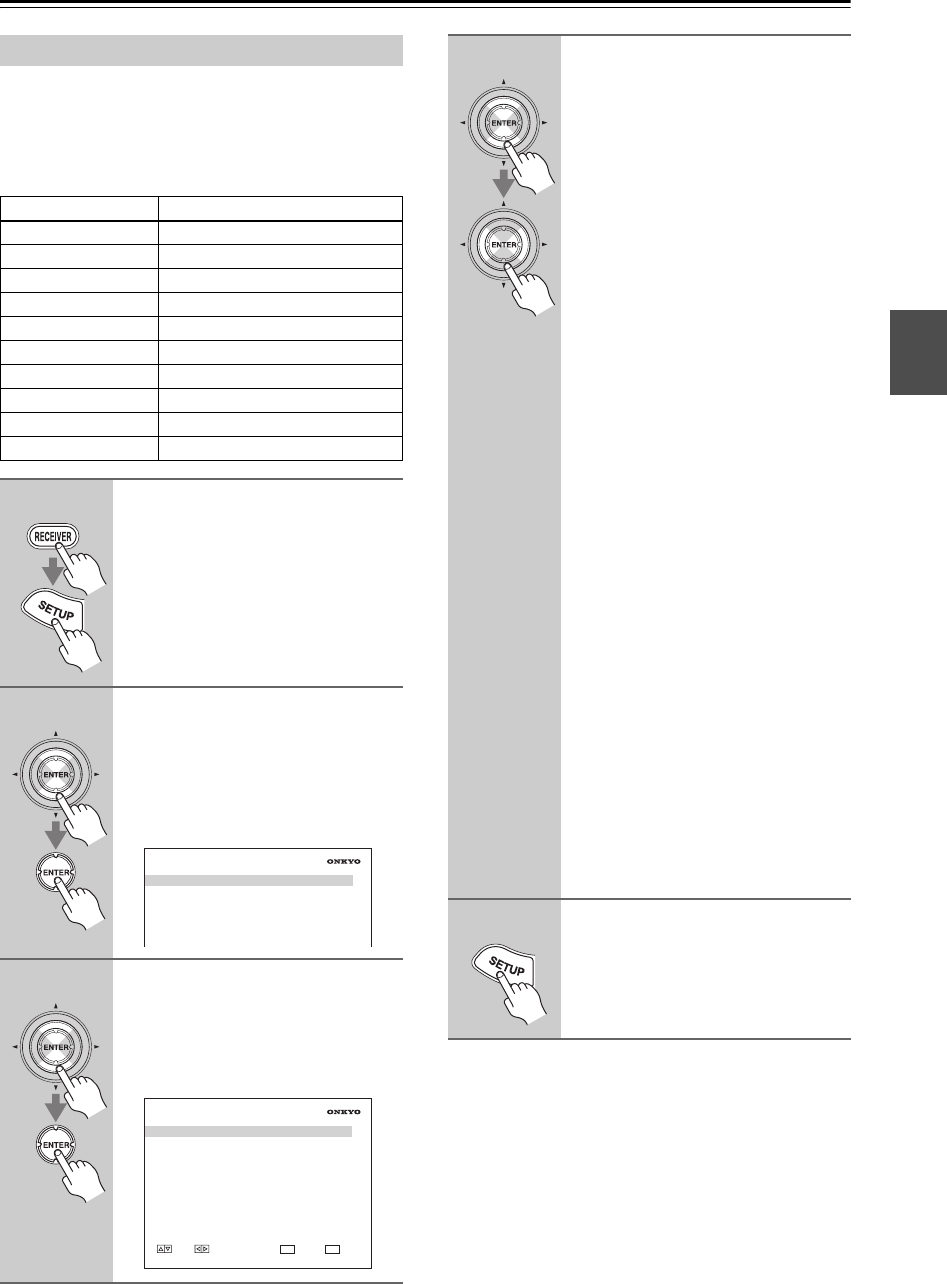
1
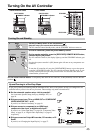
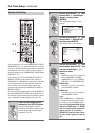
Press the [RECEIVER] button,
followed by the [SETUP] button.
The main menu appears onscreen.
If the main menu doesn’t appear, make
sure the appropriate external input is
selected on your TV.
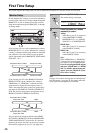
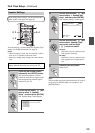
2
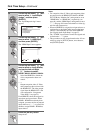
Use the Up and Down [ ]/[ ] but-
tons to select “1. Input/Output
Assign”, and then press
[ENTER].
The “Input/Output Assign” menu
appears.
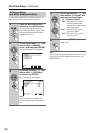
3
Use the Up and Down [ ]/[ ] but-
tons to select “4. Digital Audio
Input”, and then press [ENTER].
The “Digital Audio Input” menu
appears.
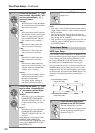
1. Input/Output Assign
1. Monitor Out
2. HDMI Input
3. Component Video Input
4. Digital Audio Input
5. Analog Audio Input
1–4. Digital Audio Input
DVD
VCR/DVR
CBL/SAT
GAME/TV
AUX
AUX2
TAPE
TUNER
CD
PHONO
COAX1
COAX2
COAX3
OPT1
- - -
FRONT
- - -
- - -
OPT2
- - -
MOVE VALUE RETURN
RETURN
EXIT
SETUP
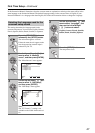
4
Use the Up and Down [ ]/[ ] but-
tons to select an input selector,
and then use the Left and Right
[ ]/[ ] buttons to select:
“COAX1”, “COAX2”, “COAX3”,
“OPT1”, “OPT2”, or “- - - (ana-
log)”.
• When an HDMI IN is assigned to an
input selector in “HDMI Input
Setup” on page 50, this input assign-
ment is automatically set to the same
HDMI IN. And in addition to the
usual inputs (e.g., COAX1, COAX2,
etc.), you can also select HDMI
inputs. If you change the input
assignment from an HDMI IN to one
of the other inputs (e.g., COAX1 or
COAX2), be sure to set the “Using
the DIGITAL INPUT Button” on
page 58 to the same input (e.g.,
COAX1 or COAX2).
• “AUX2” is used only for digital input
from the front panel terminals. When
HDMI IN is assigned to “AUX2” in
the “HDMI Input Setup” on page 50,
the same HDMI IN can be selected.
Examples:
If you connect your DVD player to the
OPTICAL IN 1 jack, set “DVD” to
“OPT1”.
If you want to listen to audio from the
component connected to the OPTICAL
IN 2 jack when the VCR/DVR input
selector is selected, set “VCR/DVR” to
“OPT2”.
If you want to listen to audio from the
component connected to the COAX-
IAL IN 1 jack when the CBL/SAT
input selector is selected, set
“CBL/SAT” to “COAX1”.
For input selectors that you don’t want
to assign a digital input jack, set to
“- - - (analog)”.
5
Press the [SETUP] button.
Setup closes.