


103
Advanced Setup—Continued
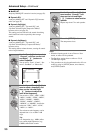
IntelliVolume
With IntelliVolume, you can set the input level for each
input selector individually. This is useful if one of your
source components is louder or quieter than the others.
Use the Left and Right [ ]/[ ] buttons to set the level.
If a component is noticeably louder than the others, use
the Left [ ] button to reduce its input level. If it’s notice-
ably quieter, use the Right [ ] button to increase its
input level. The input level can be adjusted from –12 dB
to +12 dB in 1 dB steps.
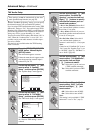
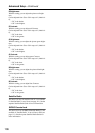
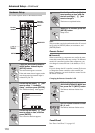
A/V Sync
When using your DVD player’s progressive scanning
function, you may find that the picture and sound are out
of sync. With the “A/V Sync” setting, you can correct this
by applying a delay to the audio signal. The delay can be
set from 0 to 250 milliseconds (msec) in 5 millisecond
steps.
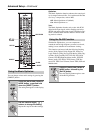
Use the Up and Down
[ ]/[ ] buttons to
select an input selector,
and use the Left and
Right [ ]/[ ] buttons
to set the delay.
To view the TV picture
while setting the delay,
press [ENTER].
If HDMI Lip Sync is enabled (see page 111), and your TV
or display supports HDMI Lip Sync, the displayed delay
time will be the A/V Sync delay time. The HDMI Lip
Sync delay time is displayed underneath in parentheses.
Note:
A/V Sync cannot be set when the Pure Audio listening
mode is selected, or when the Direct listening mode is
used with an analog input source.
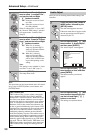
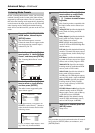
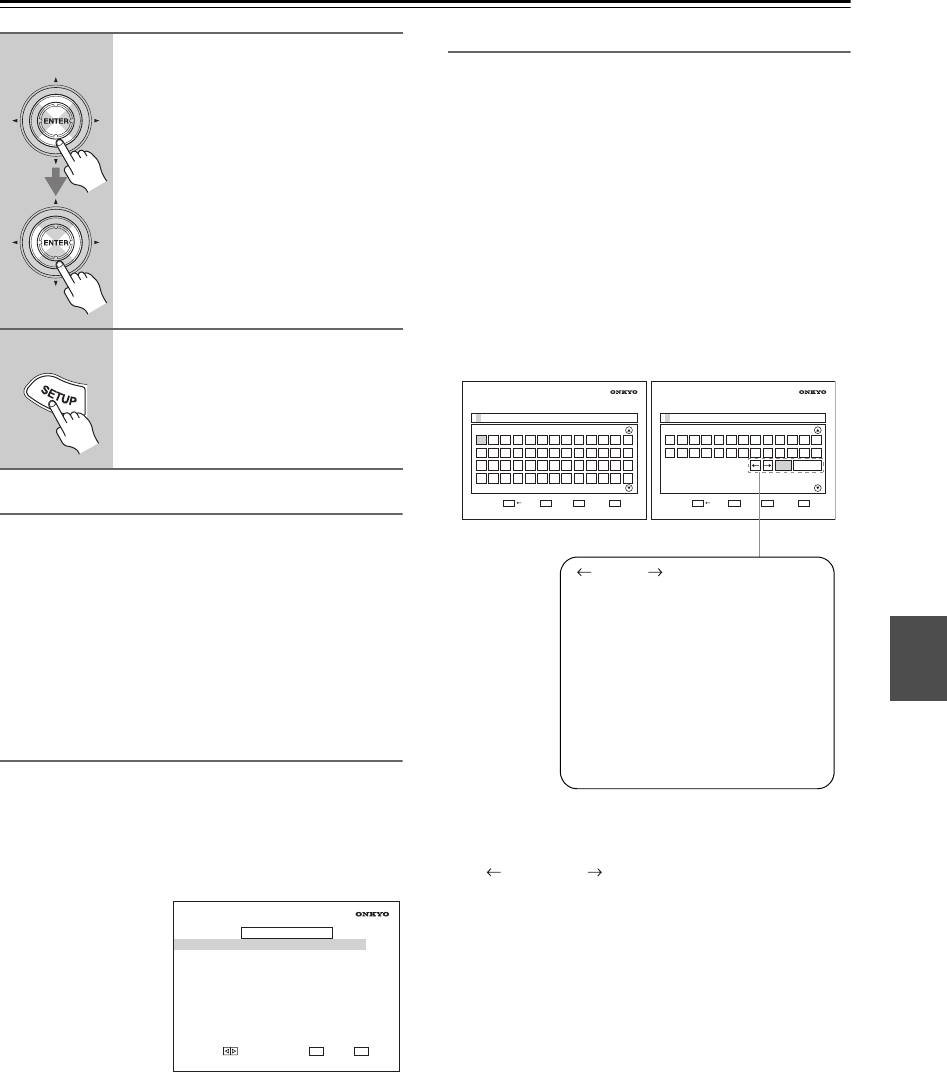
Name Edit
You can enter a custom name for each individual input
selector and radio preset for easy identification. When
entered, the custom name will appear on the display.
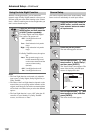
The custom name is edited using the character input
screen.
1. Use the arrow [ ]/[ ]/[ ]/[ ] buttons to select a
character, and then press [ENTER].
Repeat this step to enter up to 10 characters.
2. When you’ve finished, to store a name, be sure to
use the arrow [ ]/[ ]/[ ]/[ ] buttons to select
“OK”, and then press [ENTER]. Otherwise it will
not be saved.
To correct a character:
1. Use the arrow [ ]/[ ]/[ ]/[ ] buttons to select
“ ”(Left) or “ ”(Right) and then press [ENTER].
2. Press [ENTER] several times to select the incorrect
character (The cursor moves one letter each time
[ENTER] is pressed).
3. Use the arrow [ ]/[ ]/[ ]/[ ] buttons to select the
correct character, and then press [ENTER].
Notes:
• To name a radio preset, use the [TUNER] button to
select AM or FM, and then select the preset (see step
1 on page 102).
• You cannot enter a custom name for XM or SIRIUS
radio presets.
• To restore a custom name to the default, erase the cus-
tom name by entering an empty white space for each
letter.
• This procedure can also be performed on the AV con-
troller by using its [SETUP], [ENTER], and arrow
buttons.
5
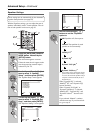
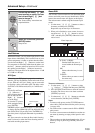
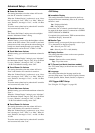
Use the Up and Down [ ]/[ ] but-
tons to select an option, and use
the Left and Right [ ]/[ ] but-
tons to change it.
The “Source Setup” menu items are
explained below.
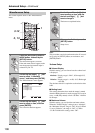
6
When you’ve finished, press the
[SETUP] button.
Setup closes.
RETURN
RETURN
EXIT
SETUP
DVD
Press Enter to see picture.
4–2. A/V Sync
A/V Sync 100msec
VALUE
Name input area
(Left)/ (Right):
Selected when the cursor is
moved within the Name input
area.
OK:
Selects when the entry is com-
plete.
CANCEL:
Selects when you want to cancel
the name entry.
RETURN
RETURN
EXIT
SETUP
4-3. Name Edit
Name
A B C D E F G H I J K L M
N O P Q R S T U V W X Y Z
a b c d e f g h i j k l m
n o p q r s t u v w x y z
INPUT
ENTER
DISPLAY
RETURN
RETURN
EXIT
SETUP
4-3. Name Edit
Name
0 1 2 3 4 5 6 7 8 9 - . '
( ) + * = / , : ; ! ? _
OK
CANCEL
INPUT
ENTER
DISPLAY