12
ONYX 800R
ONYX 800R
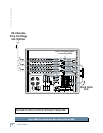
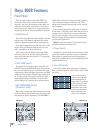
Rear Panel
The rear panel is where you make all your analog and
digital audio connections to the Onyx 800R (except for
the high-impedance instrument jacks on the front).
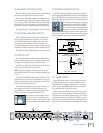
14. MIC Inputs
These are female XLR connectors, which accept a
balanced microphone input from almost any type of
microphone. The microphone preamps feature our new
Onyx design, with higher fi delity and headroom rivaling
any standalone mic preamp on the market today.
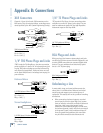
The XLR inputs are wired as follows:
Pin 1 = Shield or ground
Pin 2 = Positive (+ or hot)
Pin 3 = Negative (– or cold)
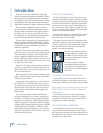
A CLOSER LOOK AT MID/SIDE RECORDING
The Onyx 800R has a decoder built-in, which is
activated by pushing in the MID/SIDE DECODE but-
ton on the rear panel. Connect the MID microphone
to channel 1 and the SIDE microphone to channel
2. The signals pass through the decoder just prior to
the A/D converters and the analog line outputs.
Stereo recording reproduces the instruments in
the same relative locations within the stereo image
as they were in the original performance. The side
to side stereo image and, to some extent, the front to
back depth of image are preserved.
The M-S stereo recording technique allows you
to adjust the width of the stereo image by varying
the ratio between the mid and side signals. With
the 800R, this is accomplished by adjusting the gain
controls on channels 1 and 2.
Notice that the adjustments are made prior to the
decoder. Adjusting the ratio of the left and right sig-
nals after the decoder will not have the same effect.
If you want to adjust the stereo image later during
mixdown, record the raw MID and SIDE signals to
tape with the decoder turned off. Then, when you are
doing the fi nal mix, run the recorded MID and SIDE
signals through channels 1 and 2 with the decoder
turned on and experiment with the gain controls on
channels 1 and 2 to adjust the stereo image to your
liking.
Another benefi t of this recording technique is that
the stereo recording is mono compatible. This is
especially important for broadcast and fi lm produc-
tion applications.
A number of stereo recording techniques have
been developed over the years including Blumlein,
ORTF, spaced pair, and coincident pair, of which X-Y
and M-S are a subset. They each have their advantag-
es, depending on the application. Let’s look at what
the M-S method has to offer.
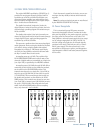
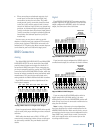
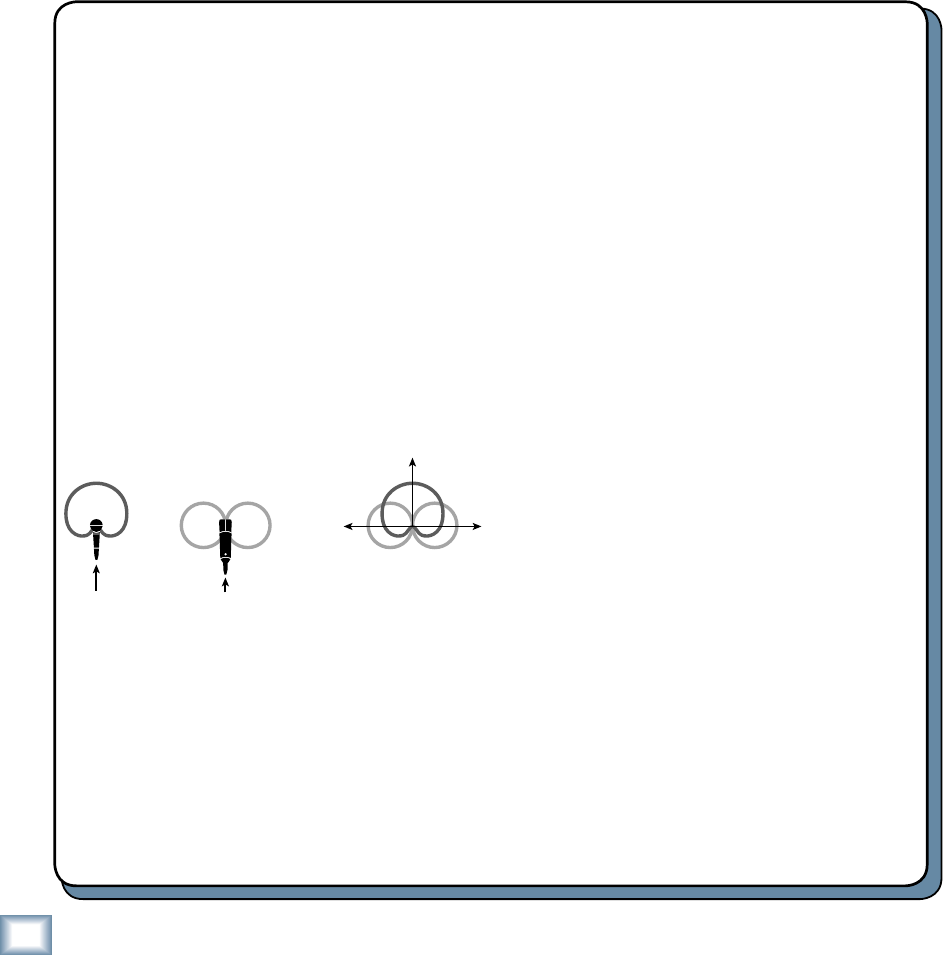
M-S (Mid-Side) requires the use of two micro-
phones, one with a cardioid pickup and one with
a fi gure-8 (bidirectional) pattern. The cardioid
microphone (mid) faces straight forward toward the
center of the sound source, while the fi gure-8 (side)
microphone’s two elements face sideways, perpendic-
ular to the mid microphone. It is important that the
null of the fi gure 8 mic aligns with the zero degree
line of the cardioid.
Some microphone manufacturers make stereo mics
designed specifi cally for M-S recording, with all three
elements properly aligned in one housing. There’s
nothing wrong with using two separate microphones,
however, as long as the capsules are as coincident
(occupying the same space) as possible.
The M-S technique requires a special decoder
that produces a left and right stereo signal. The left
channel is the sum of the mid and side microphones
(M+S), and the right channel is the difference be-
tween the mid and side microphones (M-S).
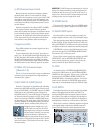
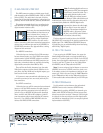
15. MID/SIDE DECODE
The Onyx 800R has a built-in Mid/Side decoder for
stereo mic’ing. The Mid/Side (or M-S) stereo mic’ing
technique not only provides a stereo image of the
source, but allows you to adjust the width of the image
by varying the balance between the Mid (or mono) and
Side signals. See “A Closer Look at Mid/Side Recording”
below for more info.
When using this technique, connect a cardioid (mid)
microphone to channel 1 and a fi gure 8 (side) micro-
phone to channel 2. Push in the MID/SIDE DECODE
button, and the left signal from the decoder is sent to
the channel 1 output, and the right signal from the
decoder is sent to the channel 2 output.
MID
0°
SIDE
+–
FIGURE 8CARDIOID
+=


