6
Section 1: Assembly & Set-up
LR0548, LR0560, LR1560, LR1572, LR1584 & LR1596 Landscape Rakes 302-185M
11/01/12
Table of Contents
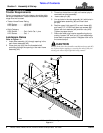
LR05 and LR15 Assembly
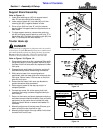
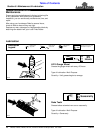
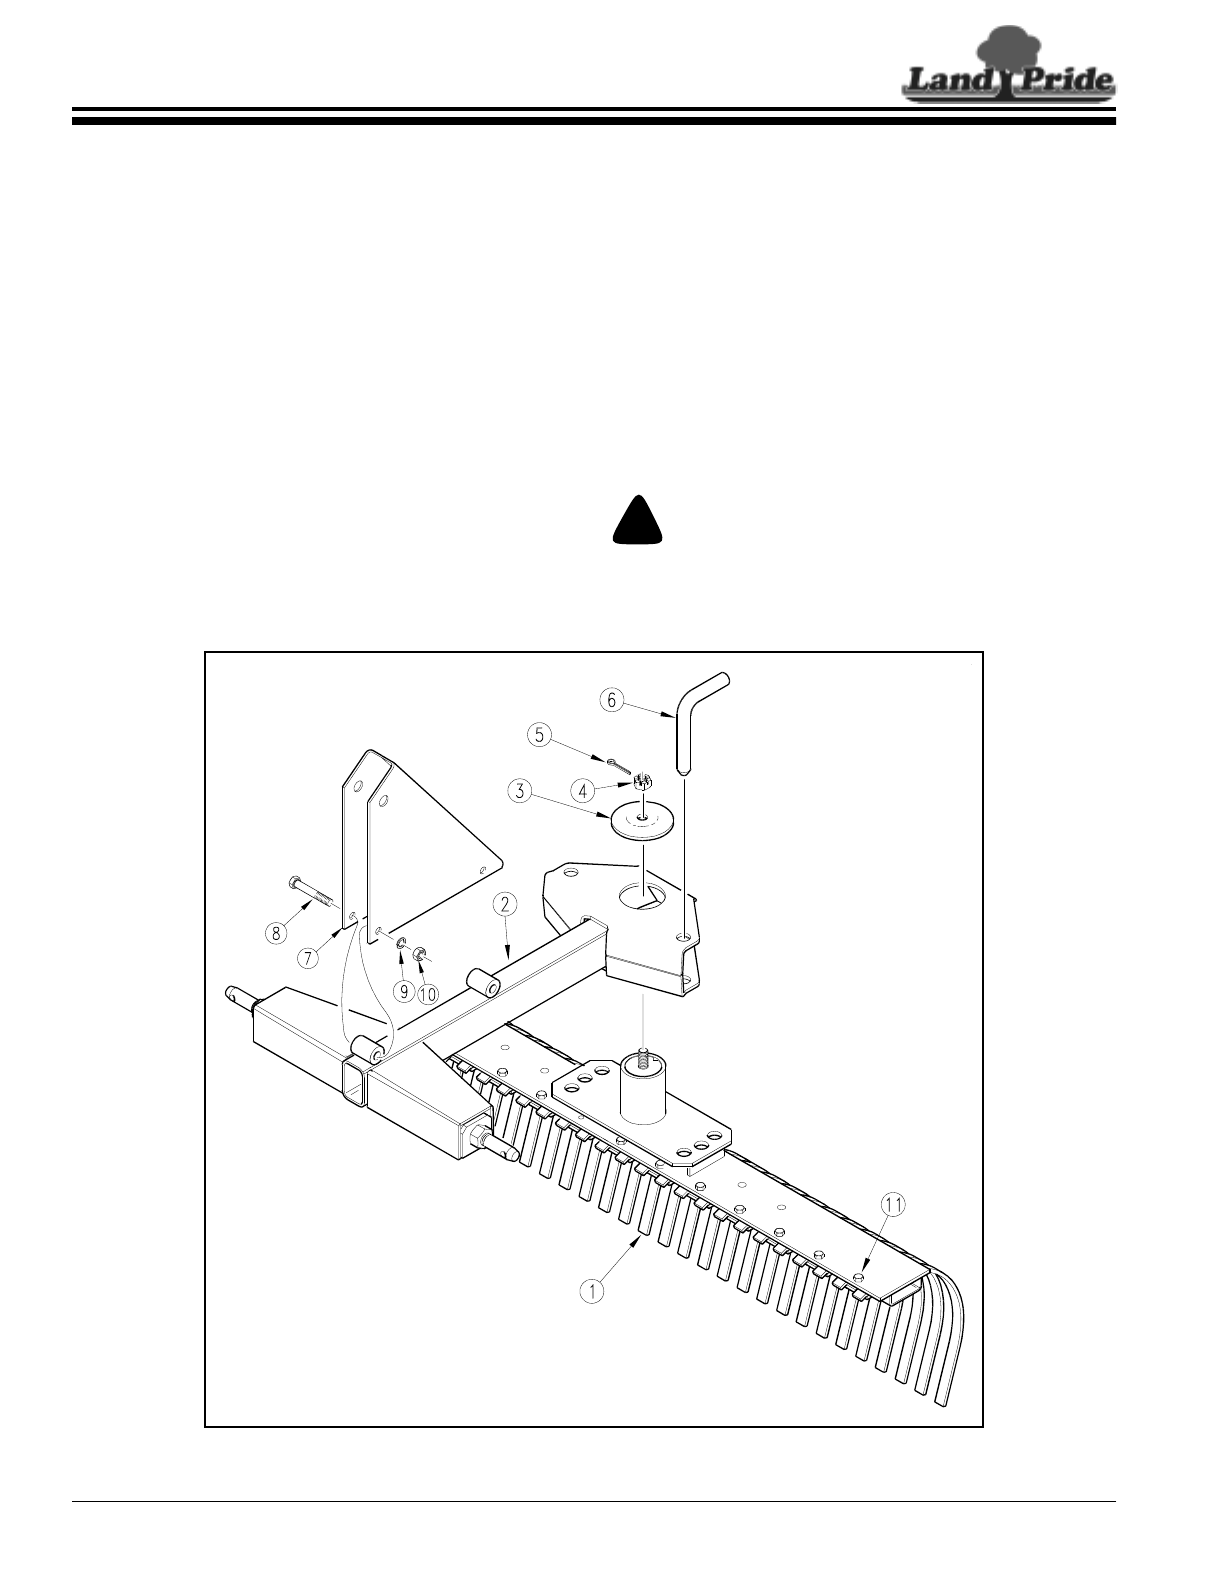
Figure 1-1
12060
Tractor Requirements
Tractor horse power and hitch category should be within
the range noted below. Tractors outside the horsepower
range must not be used.
• Tractor Horse Power Rating
LR05 Series . . . . . . . 15-20 HP
LR15 series . . . . . . . 20-35 HP
• Hitch Category
LR05 Series . . . . . . . Cat. 0 with Cat. 1 pins
LR15 Series . . . . . . . Cat. 1
Landscape Rakes
Refer to Figure 1-1:
1. Insert rake assembly (#1) through opening in the
main frame assembly (#2).
2. Place pivot cap (#3) over the threaded shaft
protruding through the opening in the main frame
assembly (#2).
Section 1: Assembly & Set-up
3. Thread on slotted hex nut (#4) until vertical play is
removed from pivot assembly.
4. Insert cotter pin (#5).
5. Line up holes in the rake assembly (#1) with holes in
the mainframe assembly (#2) and insert lock
pin (#6).
6. Position upper hitch mast (#7) on main frame (#2)
and insert 1/2"-13 GR5 hex head cap screws (#8).
Retain with lock washers (#9) and hex nuts (#10).
Tighten to proper torque.
7. Some rake teeth may require repositioning due to
crating. Loosen 3/8" lock nut (#11) and adjust/align
these teeth to proper position. Retighten lock nut to
the correct torque.
!
CAUTION
Always check to be sure slotted hex nut (#4) and cotter pin (#5)
are in place before angling or reversing the rake. If they are
missing, the rake will fall off while being rotated!


