


20
English
■ Use the Remote Control to carry out this function.
■
1. Insert an MD to be edited with its label side up.
■
2. Press the MD
#8
button.
• You can also perform this function in Stop mode.
■
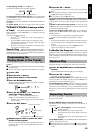
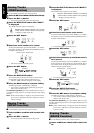
3. Press the EDIT/TITLE button until “JOIN ?”
is displayed.
The “EDIT” indicator appears on the display.
DIVIDE
=JOIN=MOVE=ERASE=ALL ERASE
=DISC TITLE*=TITLE=(Back to the beginning)
*: Displayed in Stop mode only.
■
4. Press the SET button.
■
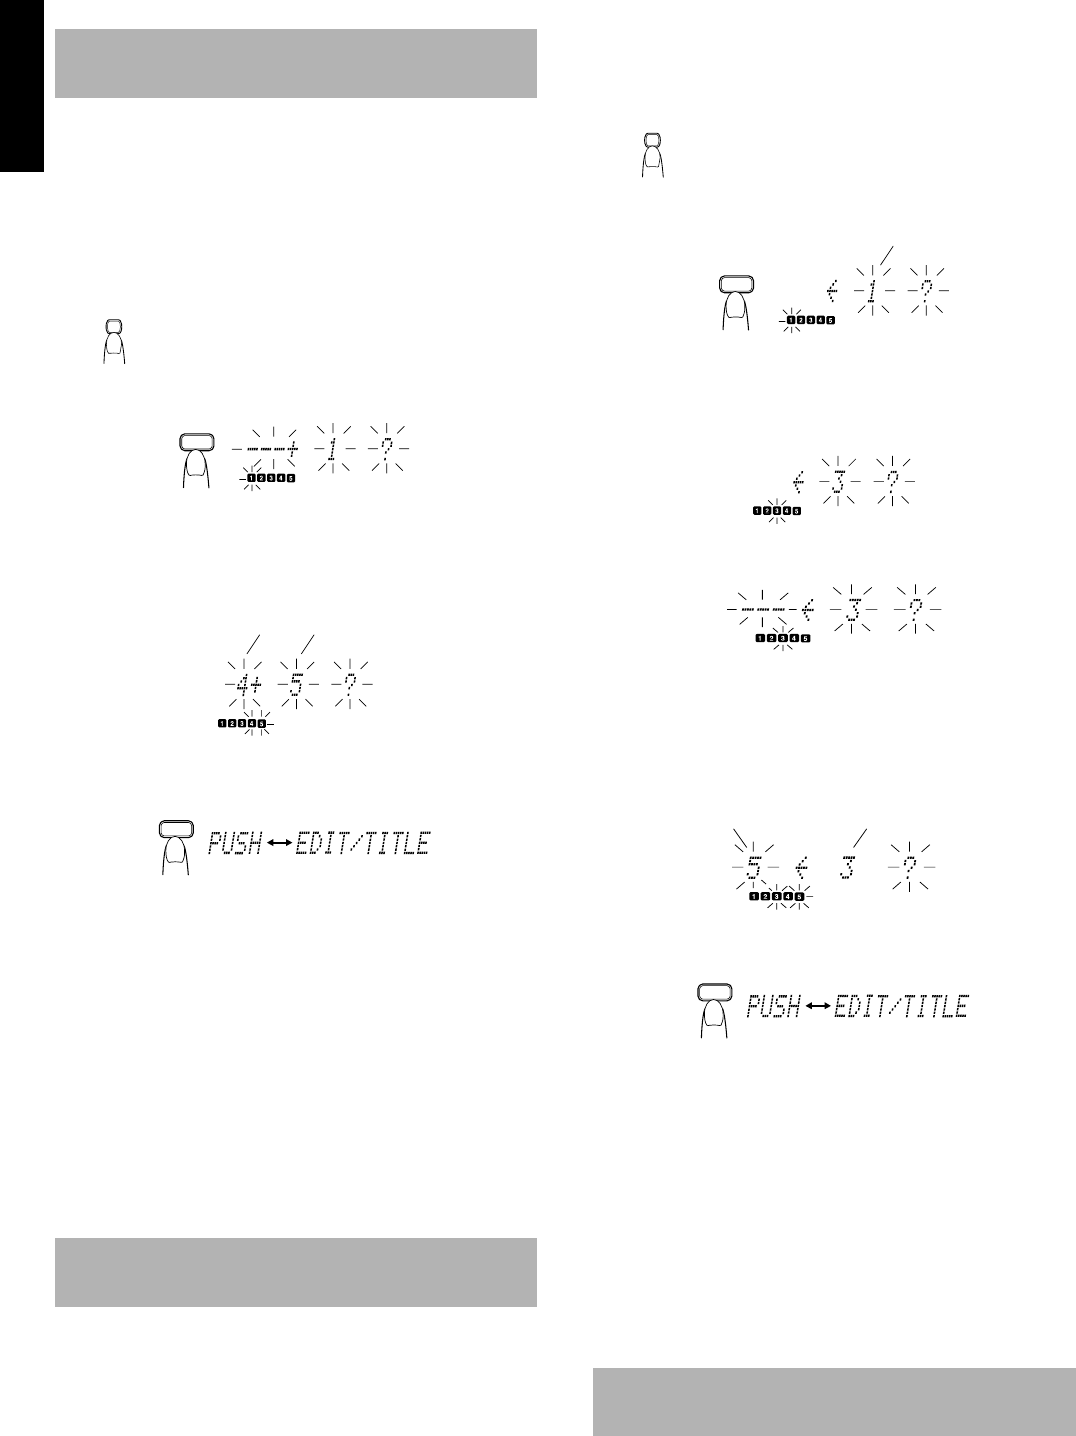
5. Select the track number to be joined.
To select the track number, press the UP, DOWN, >, or < button.
(For details, see step 5 in “Dividing Tracks (DIVIDE Function)”.)
Example: Track number 4
• The selected track is repeatedly played.
■
6. Press the SET button.
■
7. Press the EDIT/TITLE button.
The selected track and the previous track are joined and the
track numbers in the music calendar will decrease by 1.
• Then the “EDIT” indicator disappears on the display.
■
8. Press the MD
0
button to complete editing.
The MD is ejected after “UTOCwriting” is displayed.
• You can also complete editing operation by pressing the
button to turn off the power.
To cancel the operation, press the CANCEL button in step 4, 5,
or 6 until the display returns to the original display before editing
the track.
Note: While “UTOCwriting” is displayed, do not disconnect the
power cord or subject the Unit to the vibration to avoid in-
correct recording.
■ Use the Remote Control to carry out this function.
■
1. Insert an MD to be edited with its label side
up.
■
2. Press the MD
#8
button.
• You can also perform this function in Stop mode.
■
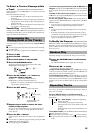
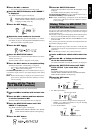
3. Press the EDIT/TITLE button until “MOVE ?”
is displayed.
The “EDIT” indicator appears on the display.
DIVIDE
=JOIN=MOVE=ERASE=ALL ERASE
=DISC TITLE*=TITLE=(Back to the beginning)
*: Displayed in Stop mode only.
■
4. Press the SET button.
■
5. Select the track number to be moved.
To select the track number, press the UP, DOWN, >, or < button.
(For details, see step 5 in “Dividing Tracks (DIVIDE Function)”.)
Example: Track number 3
• The selected track is repeatedly played.
■
6. Press the SET button.
■
7. Select the destination to which the track is
to be moved.
To select the track number, press the UP, DOWN, >, or < button.
In this example, the 3rd track will move to the 5th track. (Since,
the 3rd track is lost, the upper tracks than the 3rd one will be
shifted toward the younger tracks.)
• The selected track is repeatedly played.
■
8. Press the SET button.
■
9. Press the EDIT/TITLE button.
The “EDIT” indicator disappears on the display.
■
10.
Press the MD
0
button to complete editing.
The MD is ejected after “UTOCwriting” is displayed.
• You can also complete editing operation by pressing the
button to turn off the power.
To cancel the operation, press the CANCEL button in step 4
through 8 until the display returns to the original display before ed-
iting the track.
Note: While “UTOCwriting” is displayed, do not disconnect the
power cord or subject the Unit to the vibration to avoid in-
correct recording.
■ Use the Remote Control to carry out this function.
■
1. Insert an MD to be edited with its label side
up.
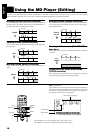
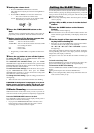
Joining Tracks
(JOIN Function)
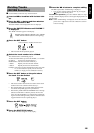
Moving Tracks
(MOVE Function)
EDIT
/TITLE
SET
Selected trackTrack to be joined
SET
Alternates
Erasing Tracks
(ERASE Function)
EDIT
/TITLE
SET
Track to be moved
Destination track Track to be moved
SET
Alternates