


17
English
Activating and Adjusting the
Subwoofer Sound
You can cancel the subwoofer sound even though you have
connected a subwoofer and have set “SUB WOOFER” to “YES”
(see page 25). This is useful when enjoying surround sound at night.
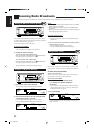
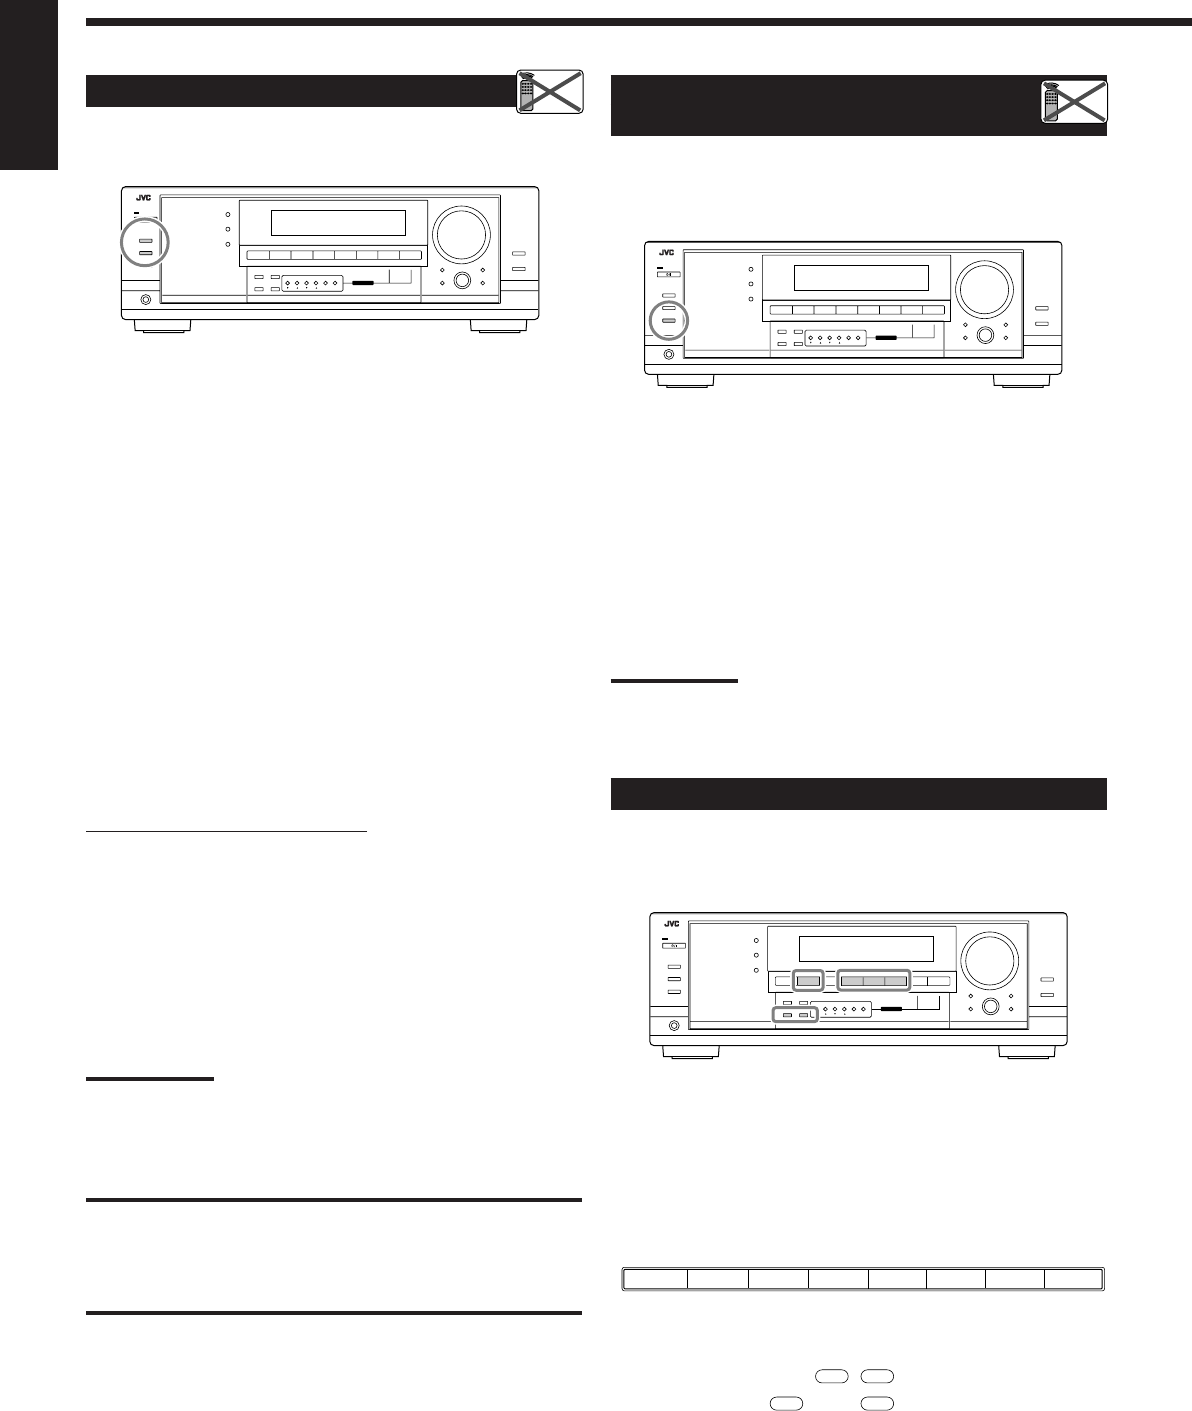
Press SUBWOOFER OUT ON/OFF to cancel the subwoofer
sound output.
Each time you press the button, subwoofer sound output is
deactivated (“SUBWFR OFF”) and activated (“SUBWFR ON”)
alternately.
• When subwoofer sound output is activated, subwoofer output level
can be adjusted using the remote control.
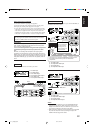
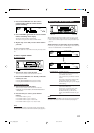
1 Press SOUND.
2 Press SUBWOOFER.
3 Press LEVEL + or – to adjust the output level
(–10 dB to +10 dB).
Note:
You cannot deactivate the subwoofer sound output when you set
“SMALL” for the front speakers on the speaker size setting (see page
25) or Quick Speaker Setup (see page 23).
Listening with headphones only:
Deactivate both sets of the front speakers, and connect headphones
to the PHONES jack.
You can enjoy the sound effects through the headphones when
Surround or DSP mode is activated—3D HEADPHONE
(3D H PHONE) mode.
•“3D H PHONE” appears on the display and the DSP and
HEADPHONE indicator lights up on the display. (For details, see
page 36.)
Note:
When you select “DVD MULTI” as the source or any one of the
Surround/DSP mode which activates the center and/or surround
speaker(s), you can use only one set of the speakers.
CAUTION:
Be sure to turn down the volume:
• Before connecting or putting on headphones, as its high volume can
damage both the headphones and your hearing.
• Before turning on speakers again, as its high volume may come out
of the speakers.
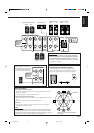
Selecting the Front Speakers
When you have connected two pairs of the front speakers, you can
select which to use.
To use the speakers connected to the FRONT SPEAKERS 1
terminals, press SPEAKERS ON/OFF 1 so that the SPEAKERS 1
indicator lights up on the display. Make sure that the SPEAKERS 2
indicator is not lit on the display.
To use the speakers connected to the FRONT SPEAKERS 2
terminals, press SPEAKERS ON/OFF 2 so that SPEAKERS 2
indicator lights up on the display. Make sure that the SPEAKERS 1
indicator is not lit on the display.
To use both sets of the speakers, press SPEAKERS ON/OFF 1 and
SPEAKERS ON/OFF 2 so that the SPEAKERS 1/2 indicators light
up on the display.
To use neither sets of the speakers, press SPEAKERS ON/OFF 1
and SPEAKERS ON/OFF 2 so that the SPEAKERS 1/2 indicators
go off from the display.
The HEADPHONE indicator lights up and “HEADPHONE”
appears on the display.
• Activating the speakers turns on the Surround and DSP modes
previously selected.
Selecting the Analog or Digital Input Mode
When you have connected digital source components using the
digital terminals (see page 14), change the input mode for these
components to the digital input mode.
Before you start, remember...
The digital input terminal setting should be correctly done for
the sources you want to select the digital input mode (see
“Setting the Digital Input Terminals” on page 28).
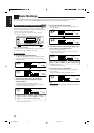
1. Press one of the source selection buttons for which you
want to change the input mode.
DVD, TV (SOUND)/DBS, CD, or TAPE/CDR*
*
If “TAPE” has been assigned as the source name, digital input
mode is not available. To change the source name, see “Changing
the Source Name” on page 19.
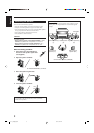
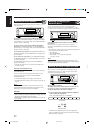
Remote
NOT
Remote
NOT
RX-7032V
AUDIO/VIDEO CONTROL RECEIVER
RX-7032V
AUDIO/VIDEO CONTROL RECEIVER
1
RX-7032V
AUDIO/VIDEO CONTROL RECEIVER
2
On the unit
On the remote
TV SOUND/DBSVCR
DVDDVD MULTI AMFMTAPE/CDRCD
CD
TAPE/CDR
TV/DBS
DVD
15-20_7032[US]f.pm6 03.3.13, 4:31 PM17