


31
English
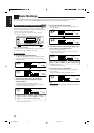
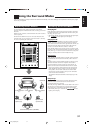
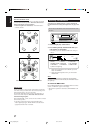
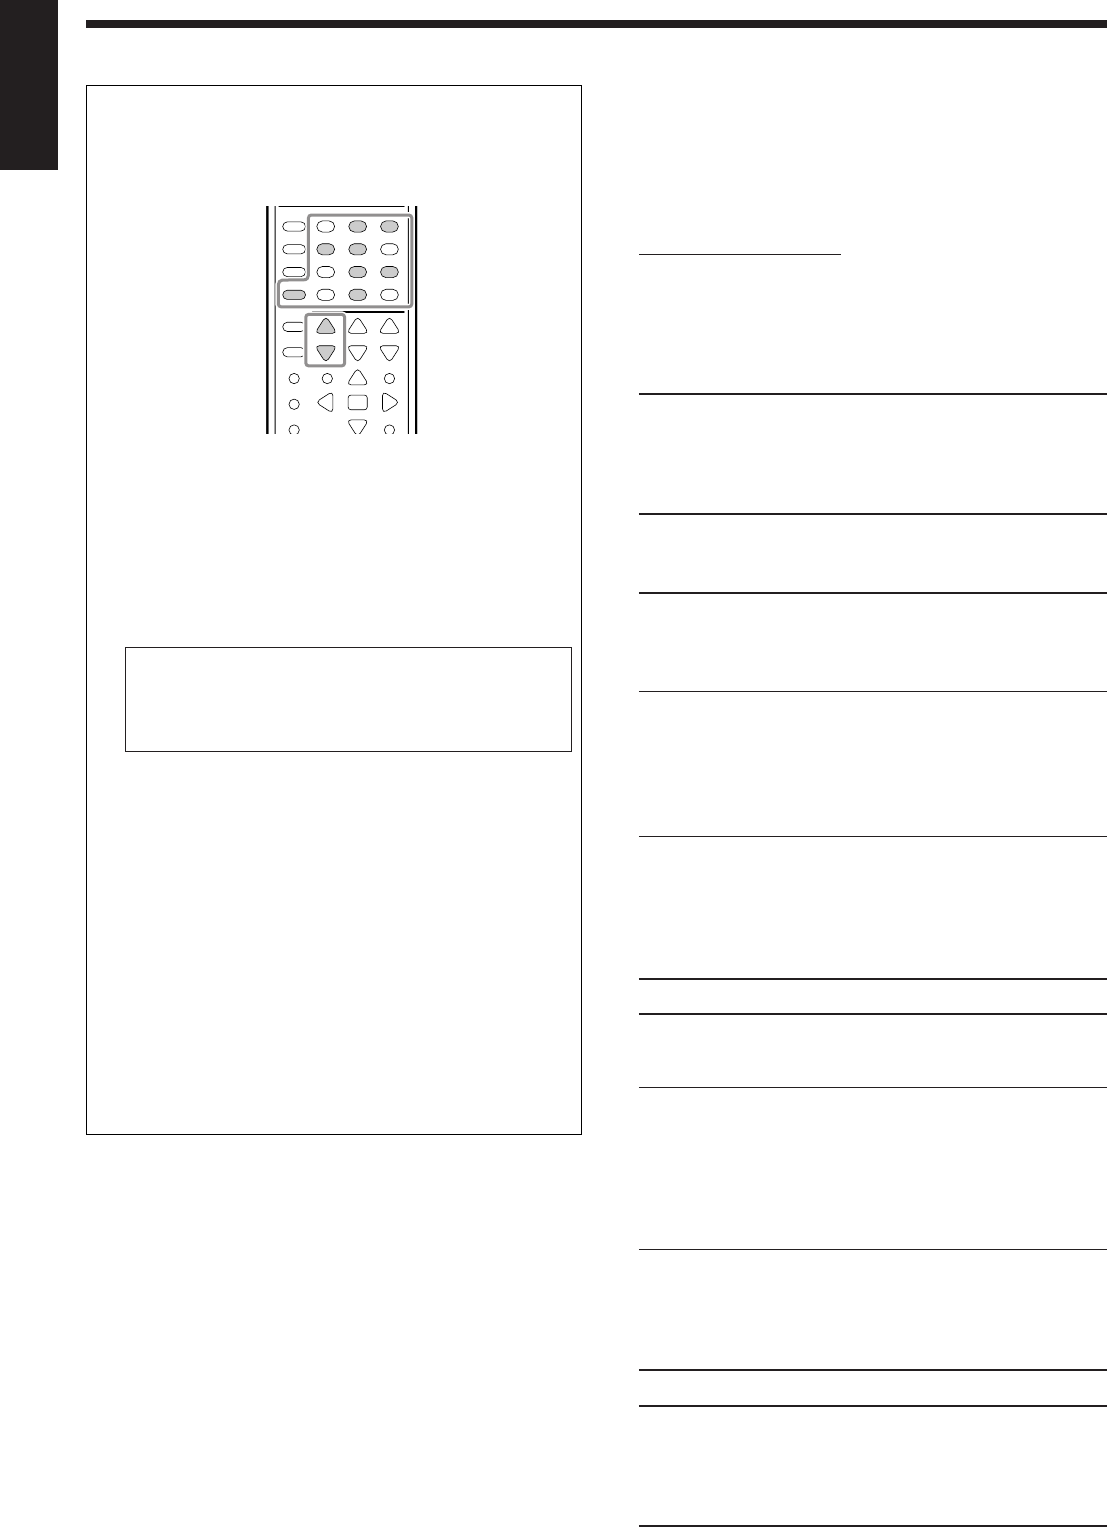
You can also use the remote control for adjusting the speaker
output level.
When using the remote control, you can make an adjustment
while listening to test tone.
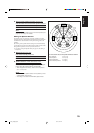
1. Press SOUND.
The 10 keys are activated for sound adjustments.
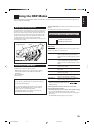
2. Press TEST to check if you can hear the sounds through
all the speakers at equal level.
Test tone comes out of the speakers in the following order.
• No test tone comes out of the speakers which are set to
“NONE” in the speaker setting, and the subwoofer.
FRNT L (Left front speaker)
=
CENTER (Center speaker)
=
FRNT R (Right front speaker)
=
SURR R (Right surround speaker)
=
SBACK (surround back speaker)
=
SURR L (Left surround speaker)
=
(Back to the beginning)
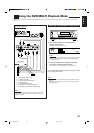
3. Select a speaker you want to adjust.
• To select the left front speaker, press FRONT•L.
• To select the center speaker, press CENTER.
• To select the right front speaker, press FRONT•R.
• To select the right surround speaker, press SURR•R.
• To select the surround back speaker, press SURR BACK.
• To select the left surround speaker, press SURR•L.
4. Press LEVEL + or – to adjust the speaker output level
(–10 dB to +10 dB).
5. Repeat steps 3 and 4 to adjust the other speaker’s output
levels.
6. Press TEST again to stop the test tone.
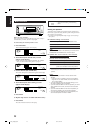
Adjusting the Sound Parameters for the
Surround and DSP Modes
You can adjust the Surround and DSP sound parameters to your
preference.
• When center speaker is set to “NONE,” CTR TONE, CNTR
WIDTH, and CNTR GAIN are not available.
7
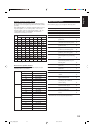
Adjustable parameters
You can adjust the following parameters:
For Surround, DAP, and All Channel Stereo modes (when the
center speaker is connected)
• This setting is common to all surround modes, and is
memorized separately for DSP modes.
CTR TONE: Adjust the center tone. As the number
increases, the dialogue becomes clearer so
that the human voices change from soft to
sharp. Normally select “3 (initial setting).”
Adjustable range: 1 to 5
For DAP modes
• Once you have made an adjustment, it is memorized for each
DAP mode.
EFFECT: Adjust the DAP effect level. As the number
increases, the DAP effect becomes stronger.
Normally select “3 (initial setting).”
Adjustable range: 1 to 5
ROOMSIZE: Adjust the virtual room size. As the number
increases, the interval between reflections
increases so that you will feel as if you were
in a larger room. Normally select “3 (initial
setting).”
Adjustable range: 1 to 5
LIVENESS: Adjust the liveness effect. As the number
increases, the attenuation level of reflections
over time decreases so that acoustics change
from “Dead” to “Live.” Normally select “3
(initial setting).”
Adjustable range: 1 to 5
For Pro Logic II Music only
PANORAMA: Select “ON” to add “wraparound” sound
effect with side-wall image. (Initial setting:
“OFF”)
CNTR WIDTH: Adjust the center channel localization
between the center speaker and the left/right
front speakers. As the number increases, the
center channel sound moves toward the left
and right front speakers. Normally select “3
(initial setting).”
Adjustable range: OFF and 1 to 7
DIMENSION: Adjust sound localization position. As the
number increases, the sound localization
moves towards forward from backward.
Normally select “4 (initial setting).”
Adjustable range: 1 to 7
For Neo:6 Music only
CNTR GAIN: Adjust the sound localization of the center
channel. As the number increases, center
channel will be localized clearly. Normally
select “0.2 (initial setting).”
Adjustable range: 0 to 0.5
231
564
89
7/P
0
+10
10/0
29-31_7032[US]f.pm6 03.3.13, 4:31 PM31