


12
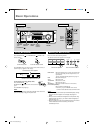
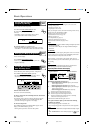
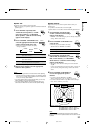
The following are the analog/digital signal indicators on the display to
indicate what type of the signal comes into the receiver.
ANALOG : Lights when the analog input is selected.
LINEAR PCM : Lights when Linear PCM signals come in.
DIGITAL : • Lights when Dolby Digital signals come in.
• Flashes when “DOLBY DIGITAL” is
selected for software not encoded with Dolby
Digital signals.
: • Lights when DTS signals come in.
• Flashes when “DTS SURROUND” is
selected for software not encoded with DTS
signals.
Note:
When “DIGITAL AUTO” cannot recognize the incoming signals, no
digital signal indicator lights up on the display.
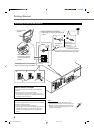
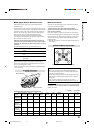
Setting the Speaker Information
To obtain the best possible sound or effect from Surround modes
(see page 21-23), register the following speakers and subwoofer
information after all connections are completed.
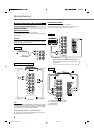
The following are items you can set:
• Subwoofer information—SUBWOOFER
• Speaker size—FRNT SP, CNTR SP, REAR SP
• Speaker distance—UNIT, FRNT DIS, CNTR DIS, REAR DIS
• Crossover frequency—CROSS
• Low frequency effect attenuator—LFE ATT
• Dynamic range compression—D. COMP
Before you start, remember...
There is a time limit in doing the following steps. If the setting is
canceled before you finish, start from step
1
again.
“NO” for the subwoofer, “LARGE” for the front speakers,
and “SMALL” for the center and rear speakers are initial
settings. To get best possible sound, change the subwoofer and
speaker settings to fit your listening conditions.
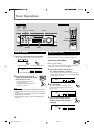
Subwoofer information
Register whether you have connected a subwoofer or not.
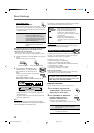
1
Press SETTING repeatedly until
“SUBWOOFER” (with the current
setting) appears on the display.
2
Press CONTROL UP 5/DOWN ∞
to register whether you have
connected a subwoofer or not.
• Each time you press the button, the
subwoofer setting alternates between “YES” and “NO.”
YES : Select this when you have connected a subwoofer.
You can adjust the subwoofer output level
(see page 15).
NO : Select this when you have not connected or have
disconnected a subwoofer.
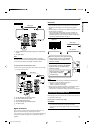
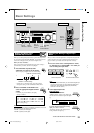
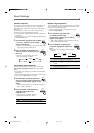
From the remote control:
Press ANALOG/DIGITAL.
The current setting indication appears on the display.
• Each time you press the button, the input mode alternates
between the analog input (“ANALOG”) and the digital input
(“DIGITAL AUTO”).
DIGITAL AUTO : Select this for the digital input mode. The
receiver automatically detects the
incoming signal format. (The DIGITAL
AUTO indicator lights up on the display,
then the digital signal indicator for the
detected signals lights up.)
ANALOG : Select this for the analog input mode.
(Initial setting when shipped from the
factory.)
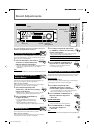
If the following symptoms occur while playing Dolby Digital or
DTS Digital Surround software with “DIGITAL AUTO”
selected, follow the procedure below:
– Sound does not come out at the beginning of playback.
– Noise comes out while searching or skipping chapters or tracks.
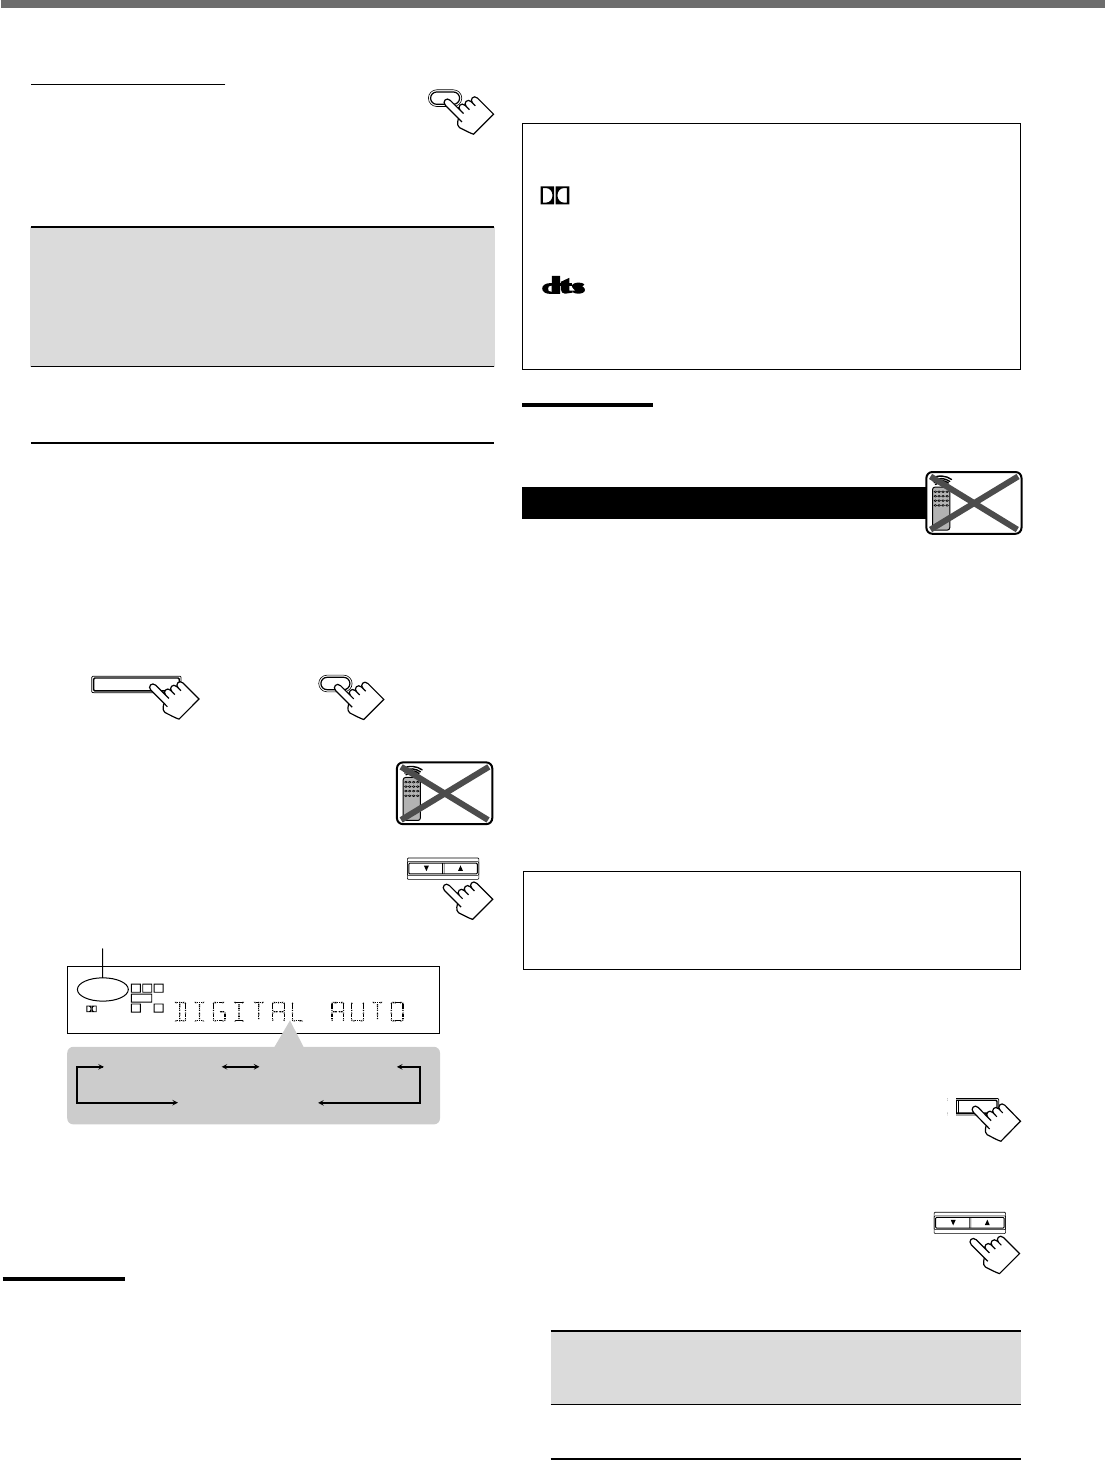
1
Press INPUT DIGITAL (or ANALOG/DIGITAL on the remote
control).
“DIGITAL AUTO” appears on the display.
On the front panel From the remote control
2
Press CONTROL UP 5/DOWN ∞ to select
“DOLBY DIGITAL” or “DTS SURROUND”
while “DIGITAL AUTO” still remains on the
display.
• Each time you press the button, the digital input
mode changes as follows:
When “DOLBY DIGITAL” or “DTS
SURROUND” is selected, “DIGITAL AUTO” goes off.
• To play back software encoded with Dolby Digital, select
“DOLBY DIGITAL.”
• To play back software encoded with DTS Digital Surround,
select “DTS SURROUND.”
Note:
When you turn off the power or select another source, “DOLBY
DIGITAL” and “DTS SURROUND” are canceled and the digital input
mode is automatically reset to “DIGITAL AUTO.”
Basic Settings
ANALOG
/DIGITAL
ANALOG
/DIGITAL
INPUT DIGITAL
Remote
NOT
CONTROL
DOWN UP
LC
S.WFR
LS RS
CH-
S
LFE
SPK
DIGITAL AUTO
DIGITAL
R
DIGITAL AUTO
DTS SURROUND
DOLBY DIGITAL
T
SETTING
Remote
NOT
CONTROL
DOWN UP
EN08-17.RX-6020V/6022V[J]_f 3/4/02, 4:24 PM12