


5
TAPE 2
L
R
__
L
R
L
R
L
R
PHONO
CD
VCR/
LD
INPUT
TAPE/DCC
PLAY
REC
PLAY
REC
DIGITAL OUT
OPTICAL
CONTROL
IN
OUT
CONTROL
OUT
R
L
R
L
CD•DECK
SYNCHRO
RL
LINE OUT
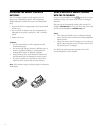
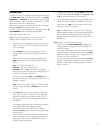
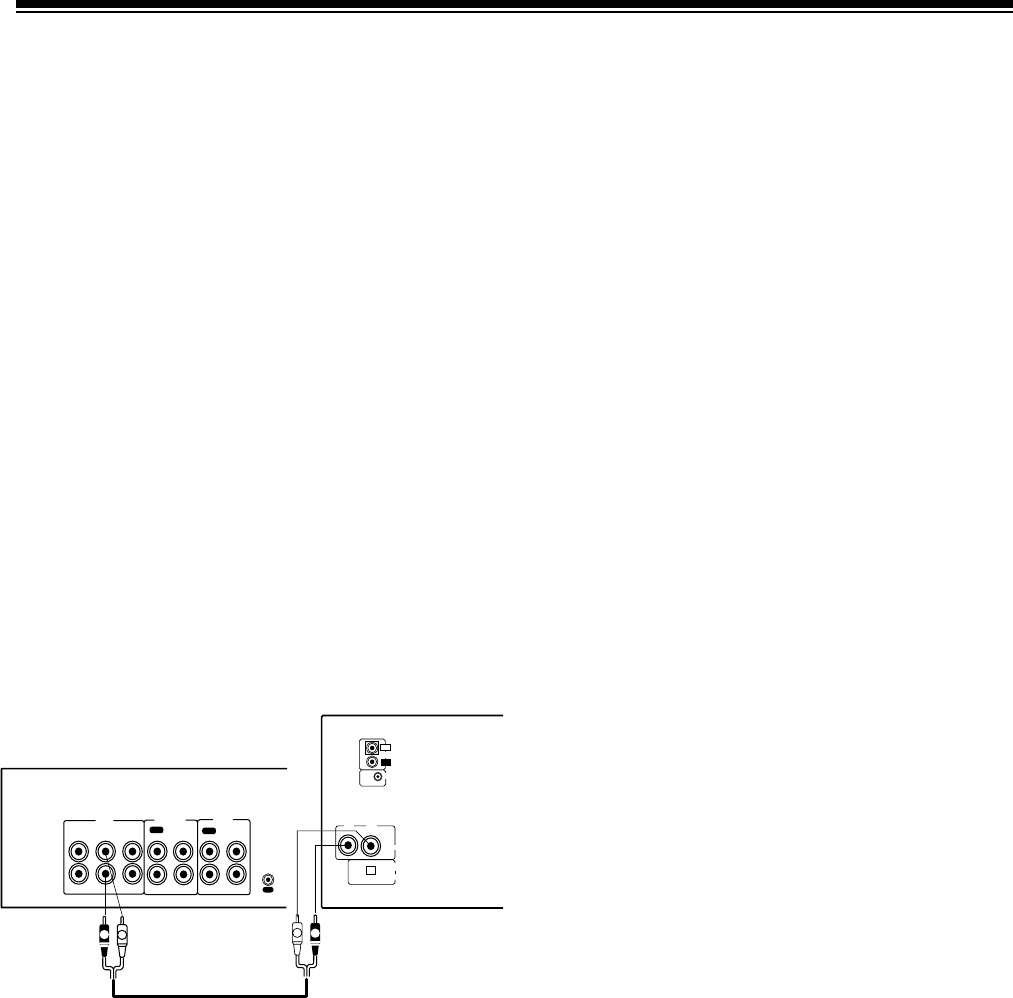
CONNECTING THE CD CHANGER TO YOUR
RECEIVER/AMPLIFIER
Caution: Do not connect the CD changer to AC power
until you complete all other connections.
1. Select a location for your CD changer that is near your
receiver/amplifier and a standard AC outlet.
2. Plug one end of the supplied audio cable into the CD
changer’s L (left) and R (right) LINE OUT jacks,
matching the red plug to the red R LINE OUT jack and
the white plug to the white L LINE OUT jack.
3. Plug the other end of the audio cable into the receiver’s
or amplifier’s left and right CD, AUX, or TAPE input
jacks.
Cautions
• Do not connect the CD changer to the receiver’s or
amplifier’s PHONO inputs.
• Do not place the CD changer on top of the receiver/
amplifier or any other component that gets hot.
Note: If you place the CD changer too near other audio
components or their wires, you might hear a hum when you
play a CD. Move the components or their wires to eliminate
the hum.
PREPARING YOUR CD CHANGER
Receiver/Amplifier
CD Changer
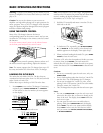
CONNECTING TO ANOTHER DIGITAL AUDIO
PRODUCT
You can connect the CD changer to another digital audio
product such as a digital recorder. You need an optical
cable (available through your local RadioShack store) for
this connection. To make the connection, remove the
protective dust cap from the digital jacks, and connect the
optical cable to the jacks.
Note: Be sure to leave the dust cap in place when you are
not using the jack.
CONNECTING POWER
After you have connected the CD changer to your receiver
or amplifier, plug the CD changer’s power cord into a
standard AC outlet.
Caution: To prevent electric shock, the plug’s blades are
polarized and fit only one way. If the plug does not fit easily,
turn it over and try again. Do not force the plug into any AC
outlet.
Note: Do not connect the CD changer’s power cord to an
amplifier or other switched outlet. The CD changer loses
memorized settings when power is removed.
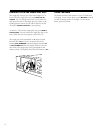
CONNECTING TO A CASSETTE DECK’S
SYNCHRO JACK
The Synchro-Record feature lets you easily copy CDs to
cassette tapes. If you have a cassette deck that has a
CD•DECK SYNCHRO jack, the CD changer can
automatically start and stop with the cassette deck. Connect
the CD•deck synchro-cord, supplied with the cassette deck,
to the CD changer’s and cassette deck’s CD•DECK SYNCHRO
jacks.
For details on connection and operation refer to the cassette
deck’s owner’s manual.