4
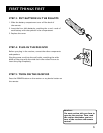
First Things First
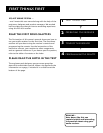
Step 1: Unpack the Receiver
Unpack the receiver and the accessories. The accessories
packed with the receiver include the remote (CRK67G1), four
AAA batteries, an AM loop antenna, an FM wire antenna,
and Important Safeguards.
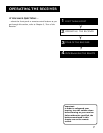
Step 2: Connect the Receiver
Before you plug in and turn on your audio/video receiver,
connect the receiver to the components in your system and
connect the speakers.
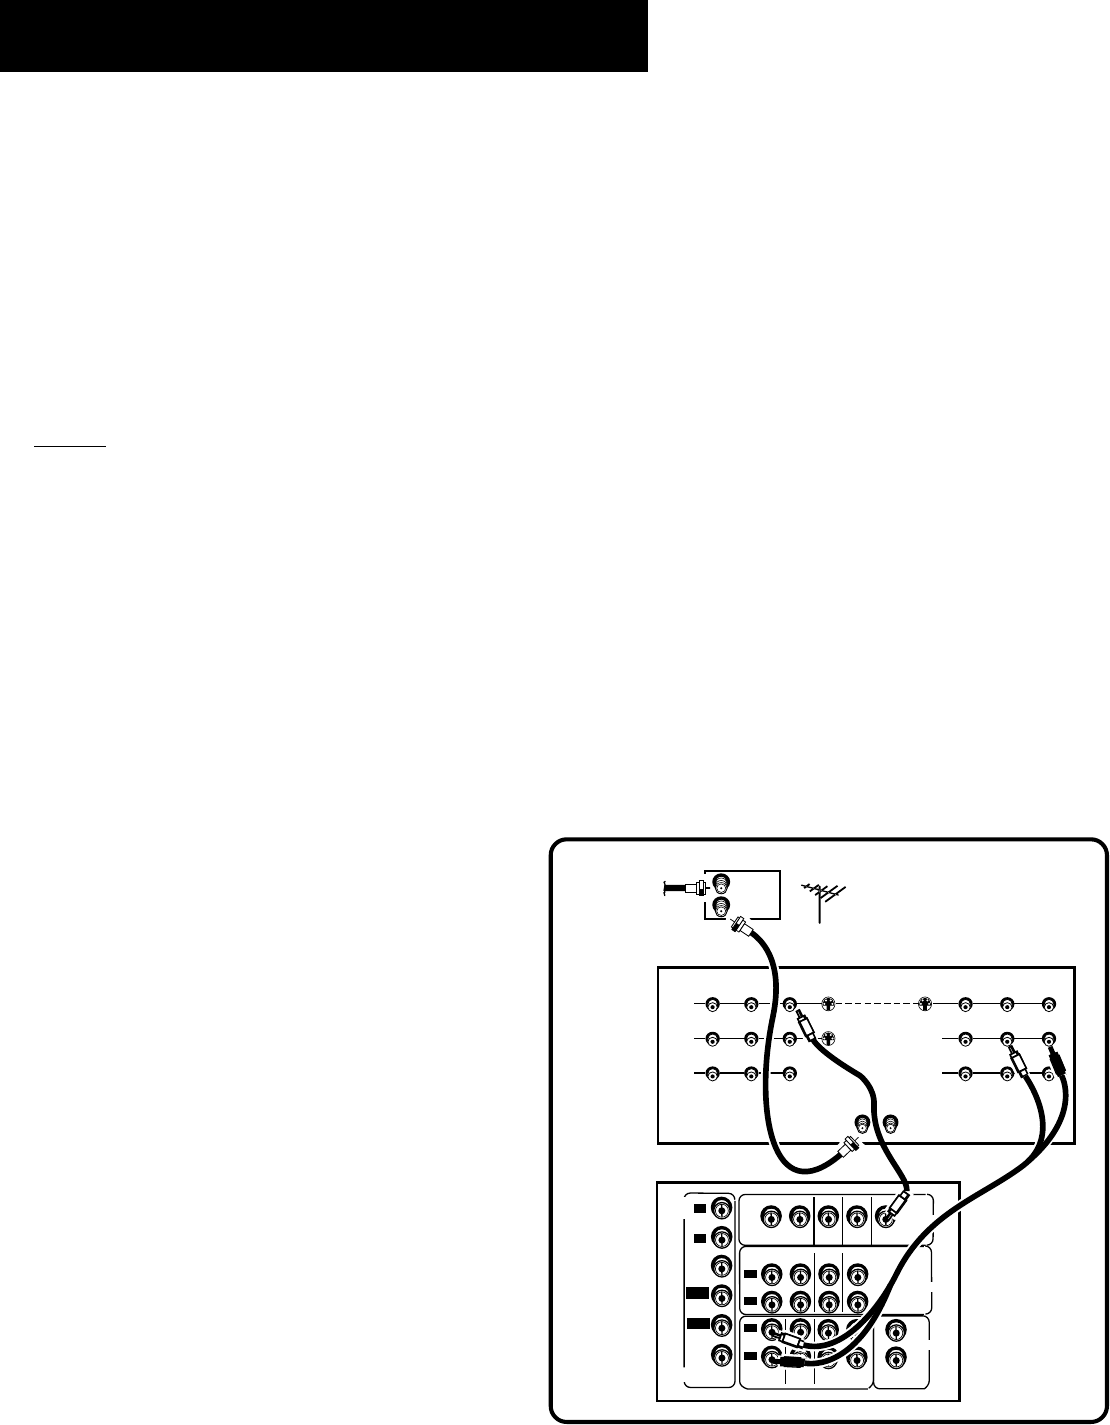
The next section shows how to connect the receiver to a TV
only. If you are going to connect the receiver to a TV and
VCR, laserdisc player or other component, see Appendix A:
Connecting the Receiver. (Page 37)
For information on connecting your speakers, see Appendix
A: Connecting the Receiver. For three suggestions on placing
your speakers for the best sound, see Appendix B: Speaker
Placement. (Page 47.)
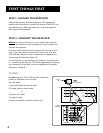
TV Only
Do not plug your TV or VCR into the “switched”
outlet on the back of the receiver.
You will need:
(1) paired (red/white) stereo cable
(1) single (yellow) video cable
or
(1) stereo A/V cable
(1) coaxial cable.
Connect the cables as shown to the right.
VCR
(MONO)
1
2
SUB WOOFER
OUT
AUDIO
IN OUT
DVD/
LD
SAT
AUDIO
L
R
IN OUT
CD
TAPE/MD
TV
L
R
VCR SAT
IN OUT
VIDEO
DVD/
LD
MONITOR
OUT
DVD5.1
L
R
DVD
5.1
AUDIO
CENTER
L-SUR
SUB
WOOFER
REAR
R-SUR
CABLE
BOX
IN
OUT
OR ANTENNA
L/MONO RIGHT
S-VIDEO
INPUT 1
VIDEO
L/MONO RIGHT
S-VIDEO
INPUT 2
VIDEO
L/MONO RIGHT
INPUT 3
VIDEO
ANT A
SIGNAL
SOURCE
ANT B
L/MONO RIGHT
OUTPUT
BRIDGED
FROM
INPUT 1
VIDEO
L/MONO RIGHTVIDEO
L/MONO RIGHTVIDEO
FIXED
OUTPUT
TV TUNER
OUTPUT
TV
AUDIO
RECEIVER


