


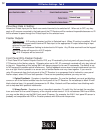
RS-232 Serial Macro Editor
RS-232 Serial Macro Editor
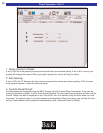
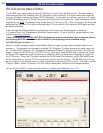
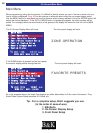
The RS-232 serial macro editor allows a CT Receiver to control other RS-232 devices. Specific examples
could include other B&K products, the CK1.2 keypad, or light controllers. The serial macro editor works by
using an IR trigger command to fire out RS-232 messages. In this editor, the user can specify the IR trigger,
the RS-232 message and the RS-232 transmit port the command will be sent out. These commands can be
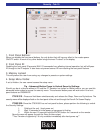
triggered by any B&K
IR command using Codes-Sets 0-0-0 through 1-2-8. Note: The macros will always be
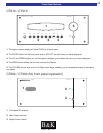
transmitted out the main RJ-45 jack on the back panel. The six zone RS-232 transmit (XMIT) ports are inde-
pendently selectable.
B & K provides RS-232 parameters for all products in the directory for documentation in BKcSuite.
c:\ Program Files\ B&K Components\ BKcSuite\ Documentation. Or go to the B&K support section of our
website at www
.bkcomp.com
.
**Note: Whenever ANY multiple
BKC-DIP commands are used in succession from an external source,
the following BKC-DIP command must be affixed to the beginning of the command string:
(0,S,I,80=6D;)(rest of macro.....;)
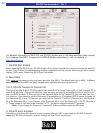
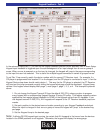
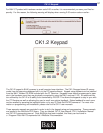
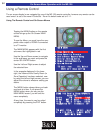
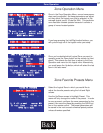
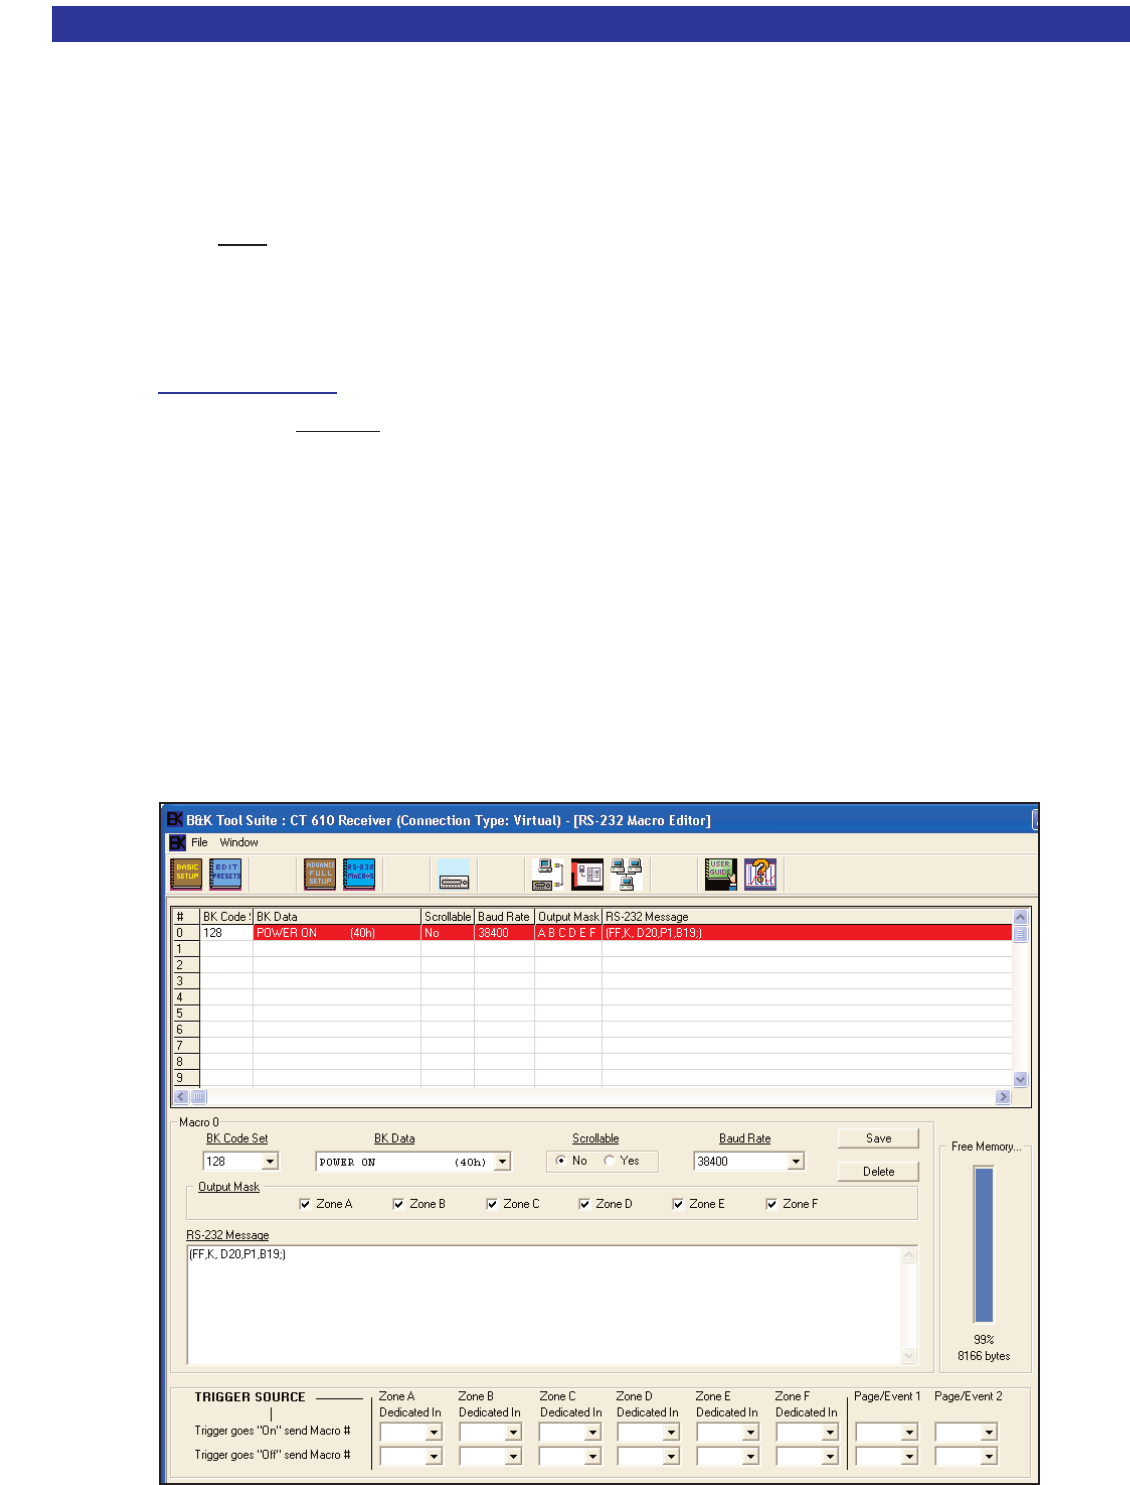
Below is a simple example using the Serial Macro Editor to trigger the zone status feedback when a zone
powers on. This example can be used on a default CK1.2 keypad. Create a macro in the serial macro edi-
tor. Choose the BK Code-set 128. Choose the IR command Power On (40h) from BK Data, this will be the
trigger. Create the RS-232 string (FF,K,D20,P1,B19;). Click Save. Allow RS-232 data to transmit out (mask)
all zone(s) 232 transmit ports (all zone boxes are checked). What you have done is specified a “trigger” for
the CT Receiver. When the CT product receives the ID128 Power ON command, the RS-232 serial macro
will be transmitted out zones A-F 232 transmit ports (and the main RJ-45 jack). The RS-232 macro will trig-
ger zone status on the keypad when any zone is powered on (assuming ID128 is used). This status (source
/ Volume / Bass / Treble / Loudness On or Off), will be displayed at the bottom of the keypad window.
To convert Hex to ASCII, include two back slashes (\\) before each nibble pair, (ex: \\FE ).
60