+10
LOOP
LOOP
TRACK M S F
REMAIN
CONTINU
_
_
+10
_
_
TRACK M S F
REMAIN
CONTINU
+10
LOOP
LOOP
TRACK M S F
REMAIN
CONTINU
_
_
+10
_
_
TRACK M S F
REMAIN
CONTINU
+10
LOOP
LOOP
TRACK M S F
REMAIN
CONTINU
_
_
+10
_
_
TRACK M S F
REMAIN
CONTINU
+10
LOOP
LOOP
TRACK M S F
REMAIN
CONTINU
_
_
+10
_
_
TRACK M S F
REMAIN
CONTINU
FUNCIONES BÁSICAS
(CONT)
12. RELEVO (FLIP-FLOP™)
Esta función es una suerte de “auto piloto”. El modo “Flip-Flop™” sólo funciona con ambas unidades del
DCD-PRO210. La función “Flip-Flop™” se puede usar tanto con una mezcladora American Audio® o una
American DJ® “Q” Deck como sin ella. Con esta función se puede comenzar la reproducción de una unidad
de CD cuando la otra finaliza. Además, se puede sincronizar el relevo FLIP-FLOP™ de pistas simples, todo el
CD o combinar ambos y también se pueden combinar las pistas programadas.
Para sincronizar el relevo FLIP-FLOP™ de pistas simples o programadas:
1) Conecte el sistema tal como se indica en la sección de conexiones, en la página 6.
2) Coloque el desvanecedor de la mezcladora en la posición central.
3) Coloque los CD de audio en las unidades.
4) Presione el botón RELAY (6). El botón RELAY se encenderá señalando que el modo de revelo Flip-Flop™
ha sido activado. Presione el botón SINGLE (14) para elegir entre los modos SIMPLE o CONTINUO.
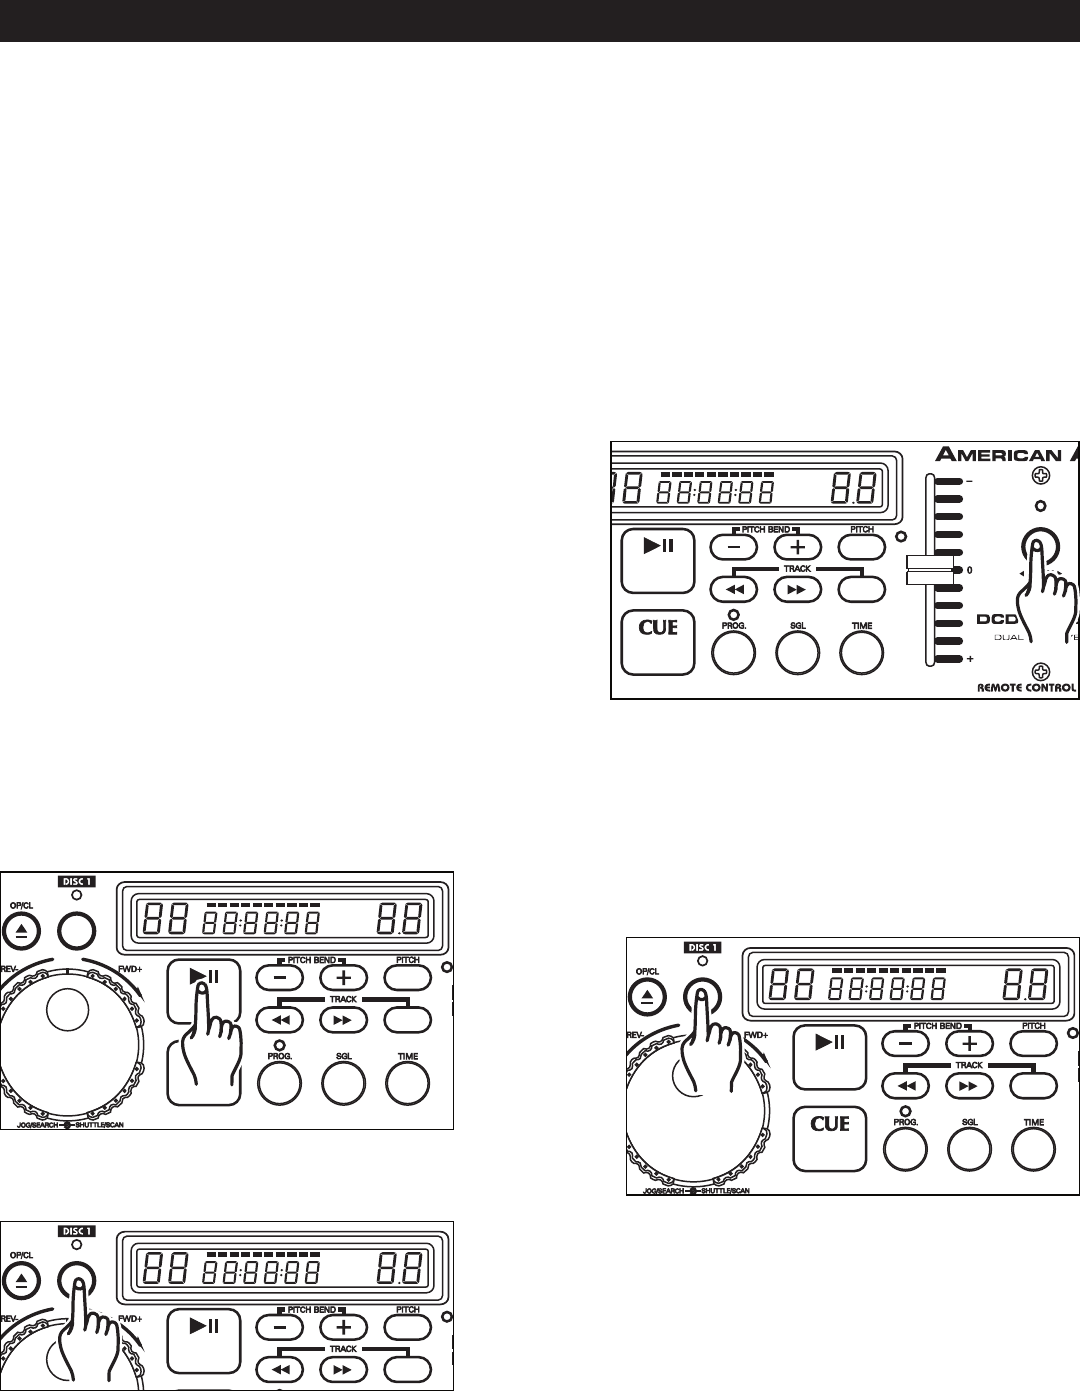
Figura 19
5) Luego de que ambos entren en espera, presione PLAY/
PAUSE (3) en una de las unidades para empezar la re-
producción.
6) Inmediatamente después de que termine de eje cutarse
la pista de la primera unidad, la pista de la segunda uni -
dad comenzará a reproducirse.
7) La modalidad de relevo FLIP-FLOP™ seguirá funcio-
nando hasta que el usuario la interrumpa o hasta que se
apague la unidad.
8) Para desactivar la modalidad de relevo FLIP-FLOP™,
presione el botón RELAY.
©American Audio® - www.AmericanAudio.us - DCD-PRO210™ Instruction Manual Page 18
Presione el botón LOOP (2). Esto fijará el punto de inicio
del RULO CONTINUO (figura 21). El LED que se encuentra
arriba del botón LOOP(2) titilará.
Presionar el botón PLAY/PAUSE (3) para activar el modo
de reproducción.
13. CÓMO CREAR Y REPRODUCIR UN RULO
Un rulo continuo es un efecto que simula un golpeteo repetido sin interrupción del sonido. Puede emplearse
para crear un efecto impactante mientras se está mezclando. No tiene límite de tiempo; es más, puede “loo
-
pearse” la totalidad del CD. El rulo continuo se crea entre dos
puntos continuos de un CD.
2)
Presione el BOTÓN LOOP (2) nuevamente para fijar el
punto de finalización del rulo continuo (Figura 22). El LED
que se encuentra arriba del botón LOOP permanecerá
encendido indicando que el rulo está en reproducción.
Presione el BOTÓN LOOP nuevamente para cancelar el
efecto de rulo.
3)
1)
Figura 22
Figura 21
Figura 20
