


AVR350
5
English
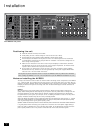
Before making connections
Before connecting your equipment it is important to think about the following points, as these will affect
your choice of connections and subsequent use of the system.
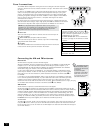
Audio
Wherever possible, connect both analogue and digital outputs of digital sources. This enables use of
a digital input for the main zone with the corresponding analogue input used for recording onto an
analogue tape deck or VCR, or for the Zone 2 output.
Video
The AVR350 allows for conversion between different video formats. This means that the AVR350 can
convert between composite, S-video and component, if required.
For example, if you are watching a composite input from a VCR, you may view it from the S-video or
Component/RGB video outputs of the AVR350. This allows you to use a single (typically high-quality
Component/RGB) connection between the AVR350 and your display device.
However, neither the record loops nor Zone 2 work from the video converter. This means that to record
a S-video or composite signal, a S-video or composite signal (respectively) must be supplied; to
view video in Zone 2, a composite signal is required.
The video quality hierarchy is as follows:
<
Component/RGB – highest
<
S-video – middle
<
Composite – lowest
If all the video inputs are connected simultaneously from one device, e.g., a DVD player, the
AVR350 will select automatically the best format available.
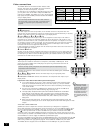
Digital video (HDMI)
The AVR350 is tted with two HDMI inputs and one HDMI output, allowing switching of HDMI
signals. In most cases, HDMI provides the highest quality video connection between your source
and your display. The AVR350 does not perform conversion between analogue audio/video and
HDMI.
HDMI signals cannot be routed to Zone 2. If you are using an HDMI connection and you wish to
have the same audio and video in Zone 2, then you will need additionally to provide analogue
audio and video connections (as described above).
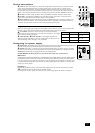
Zone 2
A line-level signal from the stereo analogue audio together with the composite video inputs
are available for Zone 2. The analogue inputs from source components are required because
the AVR350 provides no analogue-to-digital, DSP processing or digital-to-analogue conversion;
the composite video connections are required since the AVR350 does not perform video format
conversion for Zone 2.
For these reasons, we recommend that source devices that have a digital connection are also connected
to the analogue inputs. High quality YUV/RGB and S-video sources should also have their composite
outputs connected to the AVR350 for use in Zone 2.
Using the remote control
The operation of the remote control is described on pages 19–20 of this manual.
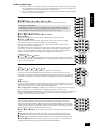
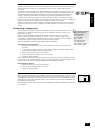
Notes on the remote control batteries
<
The CR100 remote requires four ‘AAA’ batteries. To insert the batteries, please
follow the instructions in the side panel diagram.
<
Incorrect use of batteries can result in hazards such as leakage and bursting. Do
not mix old and new batteries together.
<
Do not use different kinds of battery together – although they may look similar,
different batteries may have different voltages.
<
Remove batteries from equipment that is not going to be used for a month or
more.
<
When disposing of used batteries, please comply with governmental (or other)
regulations that apply in your country or area.
Reliable use
Please keep in mind the following when using the remote control:
<
Ensure that there are no obstacles between the remote control and the remote
sensor on the AVR350. The remote has a range of about 7 metres. (If the
remote sensor is obscured, the remote control input jack on the rear panel is
available. Please contact your dealer for further information.)
<
Remote operation may become unreliable if strong sunlight or uorescent light is
shining on the remote sensor of the AVR350.
<
Replace the batteries when you notice a reduction in the operating range of the
remote control.
Multimedia Interface)
use with DVD players,
Visual Interface (DVI)
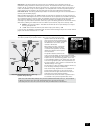
1. Open the battery
compartment by pressing
the button on the back of the
handset.
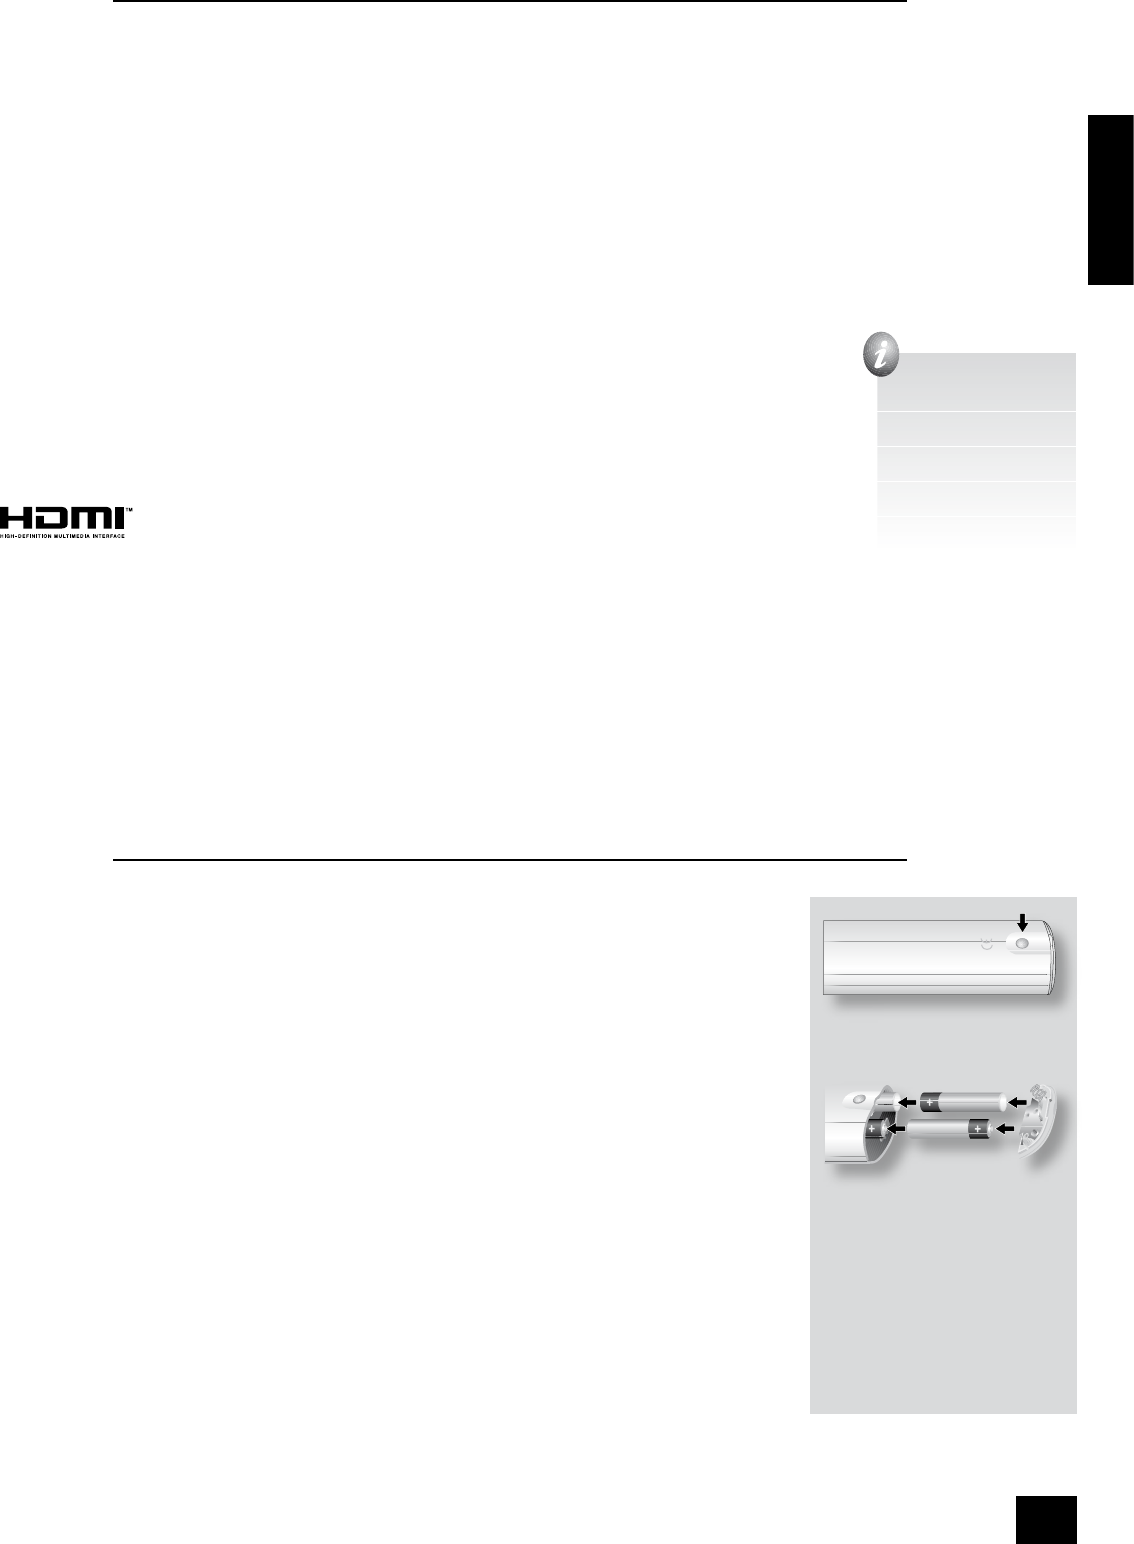
2. Insert four AAA batteries into
the battery compartment:
two with ‘+’ facing the top of
the handset, and two with ‘+’
facing the end cap, as in the
diagram.
3. Lower the end cap onto the
plastic locating plate in the
handset. This acts as a hinge,
and you can now push the
end cap rmly into its locked
position with a click.