


AVR350
11
English
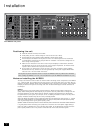
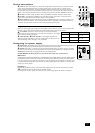
Control connections
es
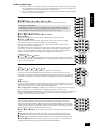
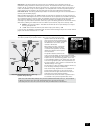
(REMOTE) OUT. This outputs any remote control signal that is received by one of the two remote
control inputs described below (but not signals received from the front-panel). It allows remote
control of source components; control is possible by either connecting this output to the devices to
be controlled via the 3.5mm IR jack socket (Arcam units only) or by using an IR emitter stuck to the
centre of the IR sensor window on the source component (such as a Xantech 283MW mini emitter).
et
IN LOCAL. Use with a local IR receiver when the AVR350 front panel IR receiver is obstructed.
fk
IN ZONE 2. This allows the AVR350 to be controlled remotely from Zone 2 via infrared remote
control (see section ‘Zone 2 connections’ above for further details).
fn
RS232 CONTROL Use with control devices having an RS232 serial port (for example, Crestron and
AMX touch screen controllers). This connection is also used for upgrading control software. See the
sections at the end of this manual for control and programming information.
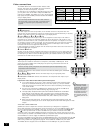
Trigger outputs
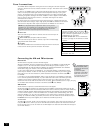
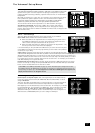
There are three trigger output sockets on the AVR350, each of which is a 3.5mm stereo jack with two
contacts, ‘tip’ and ‘ring’. See the tables for technical information on the trigger outputs.
er
12V TRIGGER. This can be used for turning on and off automatically
power amps or source equipment for the main zone and Zone 2. The trigger
lead is wired as shown in the panel.
fm
VIDEO TRIGGER 1,
fl
VIDEO TRIGGER 2. These trigger outputs have
different functions depending on how the ‘Video Status’ has been set in the
‘General Settings’ menu. See page 10 for full details.
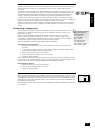
Connecting to a power supply
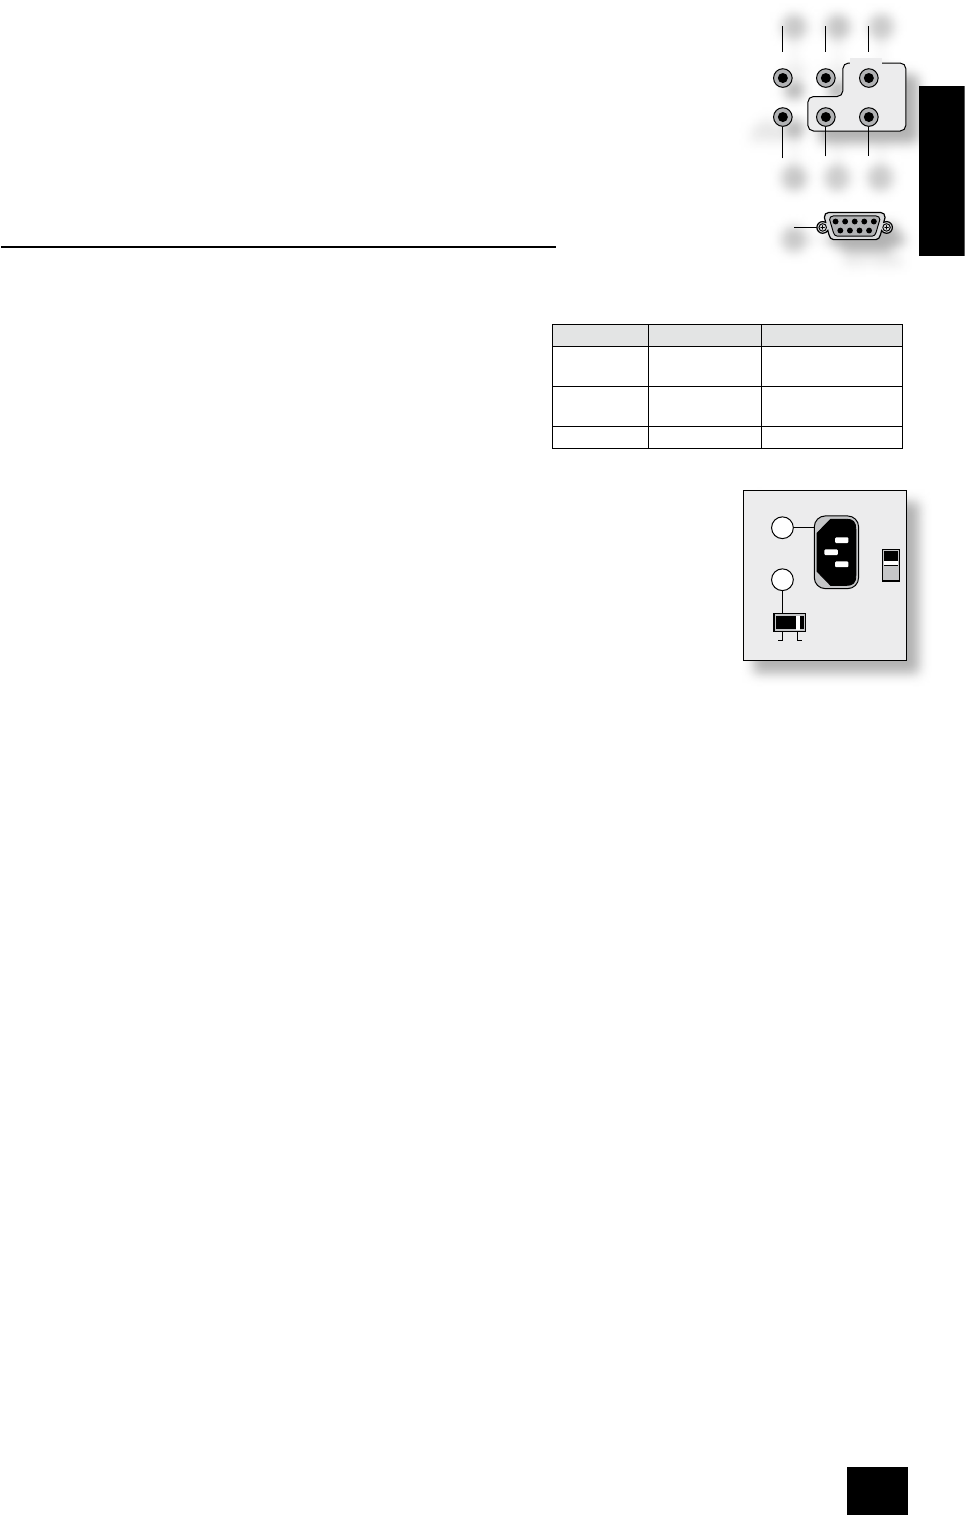
fo
POWER INLET. The AVR350 has a dual voltage power supply that can be switched between 120V and
230V AC. As supplied, this switch should be set correctly for your local supply.
fp
GROUND LIFT switch. In complex set-ups that include satellite inputs or radio antennas, grounding
the unit may increase the level of background hum or buzz in the loudspeakers. If this occurs, set the
GROUND LIFT switch to lift the signal ground from the chassis ground.
DO NOT REMOVE the safety earth from the mains cable under any circumstances.
Mains lead
The appliance is normally supplied with a moulded mains plug already tted to the lead. Check that the
plug supplied with the unit ts your supply. If your mains plug is different, consult your Arcam dealer.
If for any reason the plug needs to be removed, it must be disposed of immediately and securely, as it
is a potential shock hazard when inserted into the mains socket. Should you require a new mains lead,
contact your Arcam dealer.
Plugging in
Push the plug (IEC line socket) of the power cable supplied with the unit into the power input socket
(
fo
) in the back of the unit. Make sure it is pushed in rmly.
Put the plug on the other end of the cable into your power supply socket and switch the socket on.
REMOTE
RS232 CONTROL
IN
ZONE
2
IN
LOCAL
OUT
1/RGB 2/S-VID
12V
TRIGGER
(Z1 & Z2)
Connection Function Voltage
Tip Main zone on On = 12V, 30mA
Off = 0V
Ring Zone 2 on On = 12V, 30mA
Off = 0V
Sleeve Ground 0V
AC
INLET
GROUND
LIFT
GROUND
230
fo
fp