Page 12
CABLE OR PAIR IDENTIFICATION
Transmitter Setup
Transmitter setup is the same to identify cables or pairs. However, Receiver
setups are different.
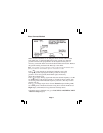
Perform a battery test; then, connect the Dyna-Coupler to the Transmitter
front panel jack using the coupler cable.
Note: Cable Identification requires two Dyna-Couplers: one at the
Transmitter and one at the Receiver.
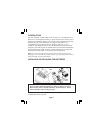
Clamp the Dyna-Coupler around either the cable or both tip and ring of a
pair and make sure the jaws fully close.
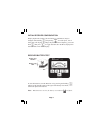
Press to turn the Transmitter on and select the 33 kHz frequency.
LED indicates the frequency selection.
Press
to change the high output level.
Receiver Setup
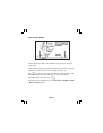
Connect a second Dyna-Coupler to the Receiver accessory jack another
coupler cable.
Note: Cable Identification requires two Dyna-Couplers: one at the
Transmitter and one at the Receiver.
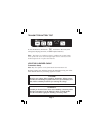
Press
to turn the Receiver on.
Press to select the highest toning frequency.
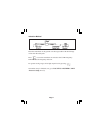
Check the first cable in the group by clamping the Dyna-Coupler around
the cable. Press and observe the numeric display, which is relative
signal strength. Remember the number and continue by clamping the
Dyna-Coupler around the next cable in the group. If the signal strength is
greater than the previous observation, press
. If the signal strength is
less than before, ignore it. After checking all the cables in the group, the
cable with the highest reading is the one being identified.


