


80
SET MENU
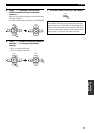
■ Speaker distance C)SP DISTANCE
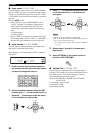
Use this feature to manually adjust the distance of each
speaker and the delay applied to the respective channel.
Ideally, each speaker should be the same distance from the
main listening position. However, this is not possible in
most home situations. Thus, a certain amount of delay
must be applied to the sound from each speaker so that all
sounds will arrive at the listening position at the same
time.
Unit UNIT
Choices: meters (m), feet (ft)
Initial setting:
[U.S.A. and Canada models]: feet (ft)
[Other models]: meters (m)
• Select “meters” to adjust speaker distances in meters.
• Select “feet” to adjust speaker distances in feet.
Speaker distances
Control range: 0.30 to 24.00 m (1.0 to 80.0 ft)
Control step: 0.10 m (0.5 ft)
• Select “FRONT L” to adjust the distance of the front
left speaker.
Initial setting: 3.00 m (10.0 ft)
• Select “FRONT R” to adjust the distance of the front
right speaker.
Initial setting: 3.00 m (10.0 ft)
• Select “CENTER” to adjust the distance of the center
speaker.
Initial setting: 3.00 m (10.0 ft)
• Select “SUR. L” to adjust the distance of the surround
left speaker.
Initial setting: 3.00 m (10.0 ft)
• Select “SUR. R” to adjust the distance of the surround
right speaker.
Initial setting: 3.00 m (10.0 ft)
• Select “SUR. B” to adjust the distance of the surround
back speaker.
Initial setting: 2.10 m (7.0 ft)
• Select “SWFR” to adjust the distance of the subwoofer.
Initial setting: 3.00 m (10.0 ft)
“CENTER”, “SUR. L”, “SUR.R”, “SUR. B” and “SWFR”
cannot be adjusted if “CENTER” (see page 78), “SUR. LR” (see
page 78), “SUR. B” (see page 78) and “BASS OUT” (see
page 79) are set to “NONE” respectively.
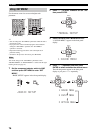
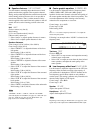
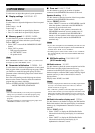
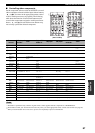
■ Center graphic equalizer D)CENTER GEQ
Use this feature to adjust the built-in 5-frequency band
(100Hz, 300Hz, 1kHz, 3kHz and 10kHz) graphic
equalizer for the center channel so that the tonal quality of
the center speaker matches that of the front speakers. You
can make adjustments while listening to the currently
selected source component or a test tone.
Control range: –6 to +6 dB
Control step: 0.5 dB
Initial setting: 0 dB
y
Press u / d to select a frequency band and j / i to adjust the
selected frequency band.
Following is an example where “100 Hz” is selected as the
frequency band.
Test tone TEST
Choices: OFF, ON
• Select “OFF” to stop test tones and output the currently
selected source component.
• Select “ON” to output test tones from the front left and
center speakers, and adjust the tonal quality of the
center speaker.
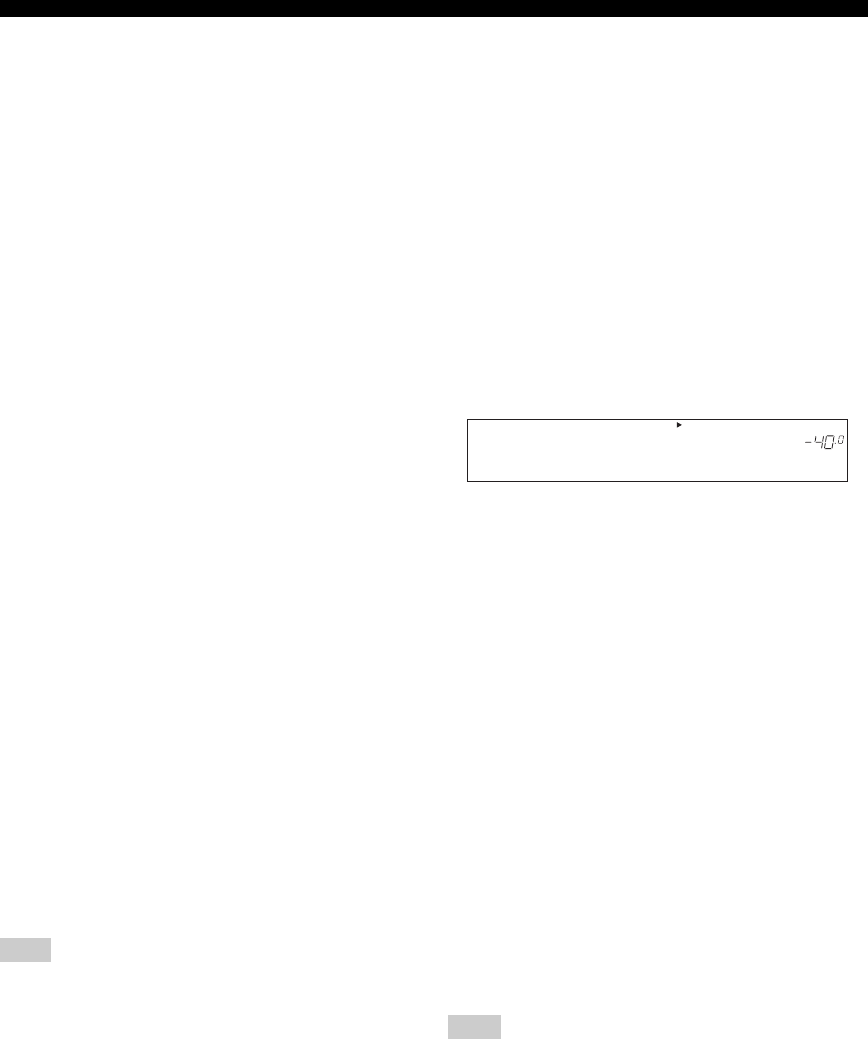
■ Low-frequency effect level E)LFE LEVEL
Use this feature to adjust the output level of the LFE (low-
frequency effect) channel according to the capacity of
your subwoofer or headphones. The LFE channel carries
low-frequency special effects which are only added to
certain scenes. This setting is effective only when this unit
decodes Dolby Digital or DTS signals.
Control range: –20 to 0 dB
Control step: 1 dB
Speaker SP LFE
Adjusts the speaker LFE level.
Headphone HP LFE
Adjusts the headphone LFE level.
Depending on the settings of “BASS OUT” (see page 79), some
signals may not be output at the SUBWOOFER OUTPUT jack.
Note
Note
DVR
p
DVD CD
XM
V-AUX DTV/CBL
MD/CD-R
TUNER
VOLUME
A
SP
dB
dB
100Hz--||-- 0