


E-5
English
Preparations and connections
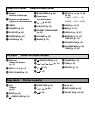
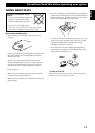
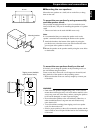
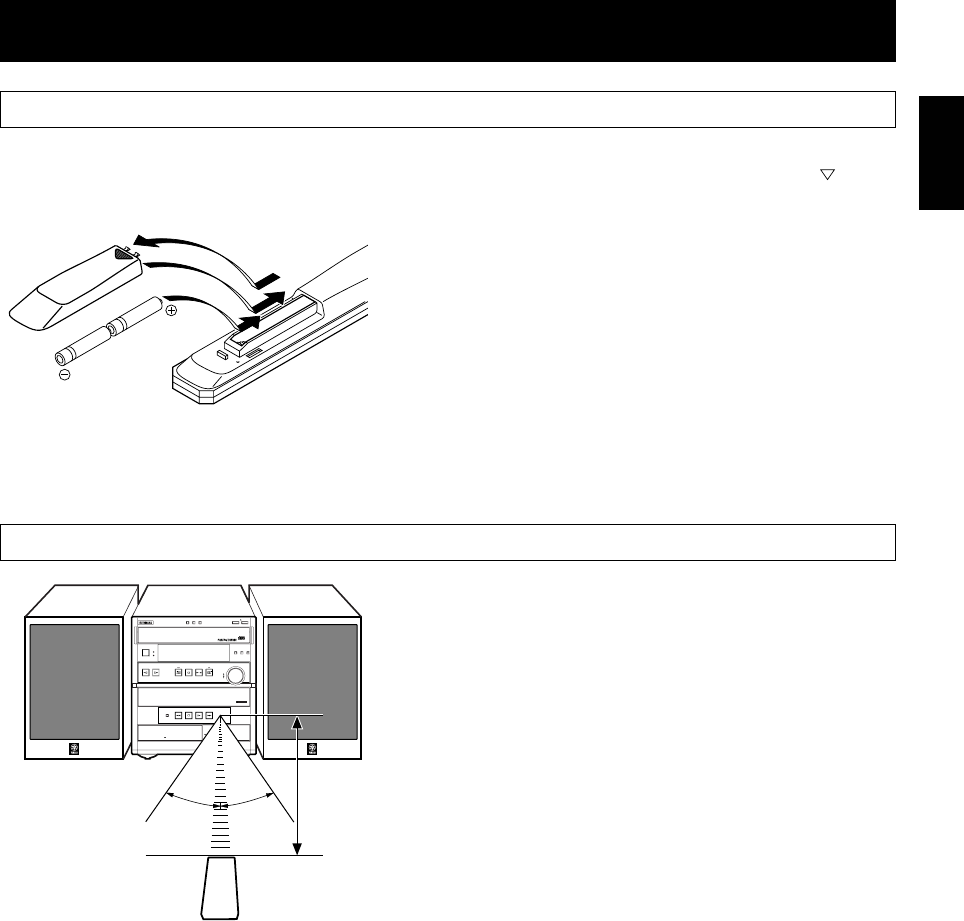
1Turn the remote control over and remove the battery
compartment cover by sliding it in the direction of the
mark.
2Insert the batteries (AA, R6, UM-3 type) according to the
polarity markings on the inside of the battery compartment.
3Attach the battery compartment cover.
Notes
• Be sure the polarities are correct. (see the illustration inside the battery
compartment.)
• Remove the batteries if the remote control is not used for an extended
period of time.
• If batteries leak, dispose of them immediately. Avoid touching the leaked
material or letting it come in contact with clothing, etc. Clean the battery
compartment thoroughly before installing new batteries.
• Be sure to use the same type of batteries.
• Do not use a new battery and an old battery together.
Notes
• The area between the remote control and the main unit must be clear of
large obstacles.
• Do not expose the remote control sensor to strong lighting, in particular,
an inverter type fluorescent lamp. Otherwise, the remote control may not
work properly. If necessary, position the main unit away from direct
lighting.
Battery replacement
If you find that the remote control must be used closer to the main
unit, the batteries are weak. Replace both batteries with new ones.
2
1
3
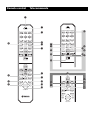
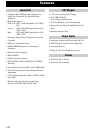
DISC
3
OPEN
/
CLOSE
DISC CHANGE
DISC
2
DISC
1
3–DISC CD CHANGER
STANDBY
/
ON
STANDBY
TIMER
PROGRAMB.BOOST MUSIC
INPUT
PRESET
/
TUNING
/
BAND A
/
B
/
C
/
D
/
E
/
VOLUME
UP
DOWN
DIRECTION
AUTO REVERSE CASSETTE DECK
MINI COMPONENT SYSTEM GX
–
707
DOLBY B NR
OPEN
/
CLOSE
DOLBY SURROUND
PRO•LOGIC
DIGITAL AUDIO
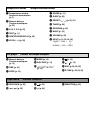
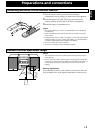
30°
30°
0.2 m – 6 m
(8” – 20’)
Installing batteries in the remote control
Remote control operation range