


E-26
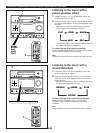
Dubbing
•
During dubbing, adjusting the VOLUME control and using
the built-in graphic equalizer and sound field processor
have no effect on the recorded sound.
•
Try to use the same tape formula and length for the
recording tape as for the master tape.
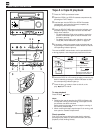
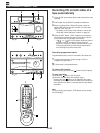
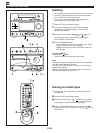
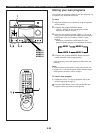
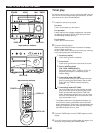
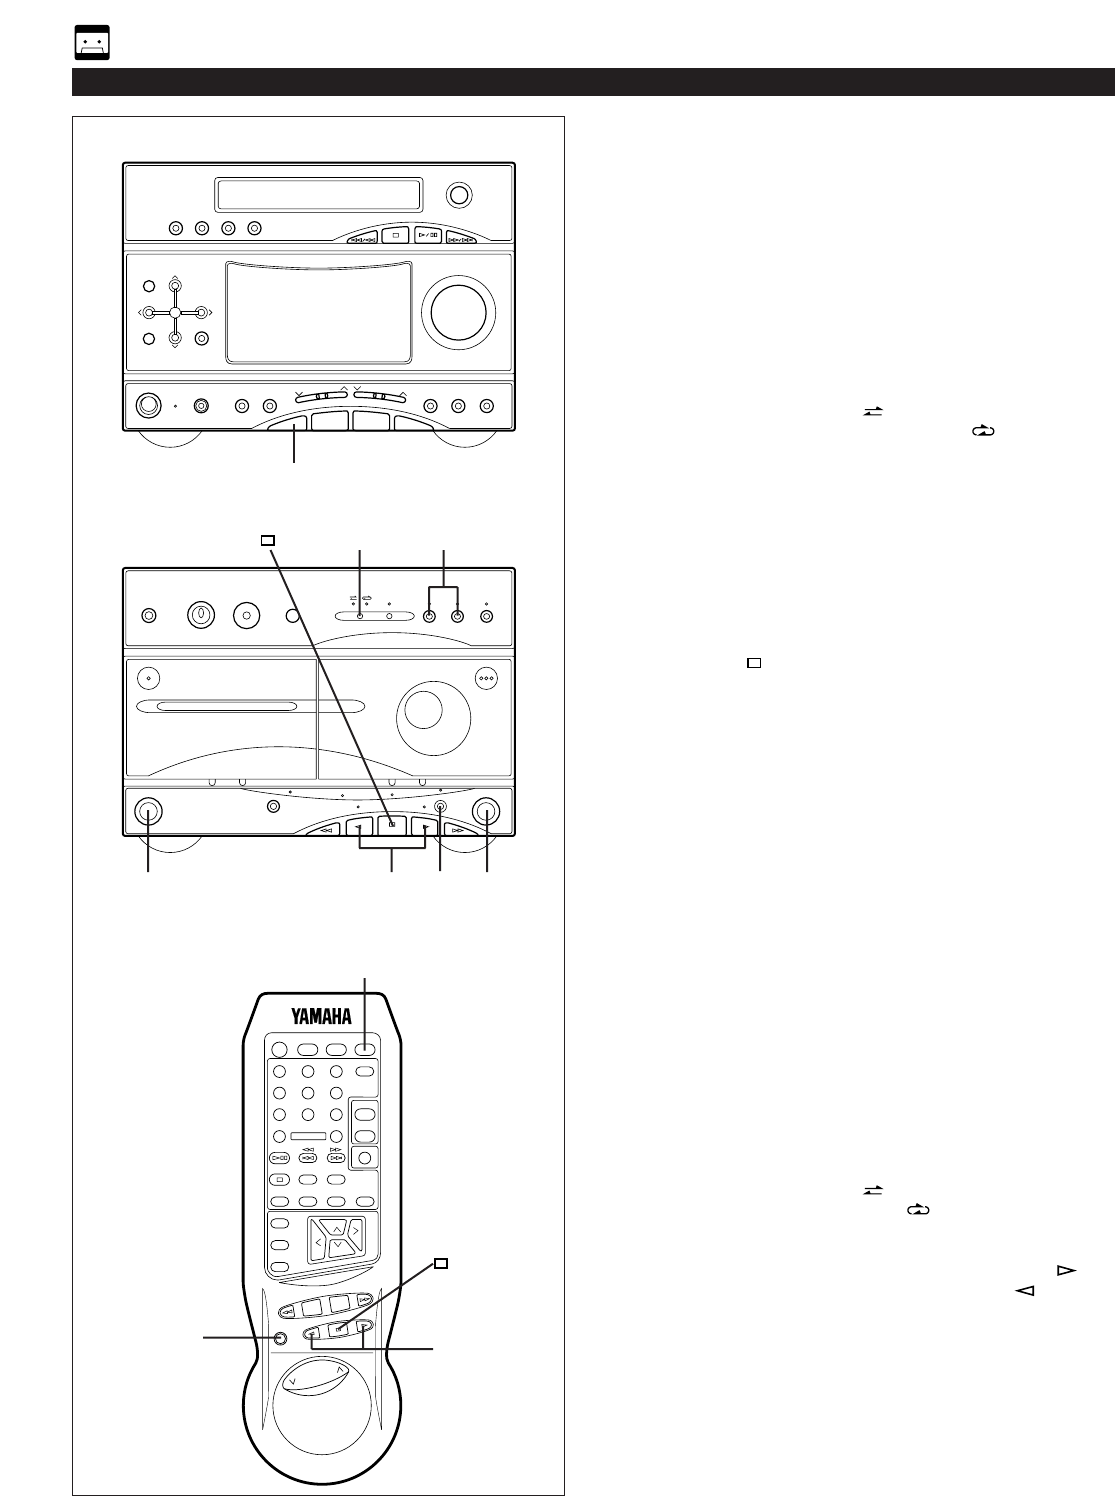
1 Press the TAPE input selector button.
2 Load a prerecorded tape into the DECK A cassette
compartment. Insert a blank tape into the DECK B
cassette compartment.
3 Select the reverse mode “ ” to record on only one
side, or “ ” for
continuous recording on both sides by pressing the
reverse MODE selector button.
4 Press the DUBBING button.
* Press “NORMAL” to dub at normal speed, and “HIGH”
to dub at about twice the normal speed.
* Dubbing will begin from side A regardless of the side
now selected.
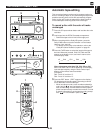
To stop dubbing
Press the stop button.
* Tape A and tape B will stop at the same time.
Note
Only tapes originally encoded with Dolby NR will be dubbed
onto tapes with Dolby NR encoding.
The use of Dolby NR will have no effect on the recording of
tape B during dubbing.
However, the playback tonal quality of tape A will change
according as Dolby NR is used or not.
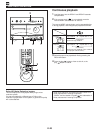
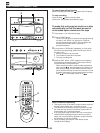
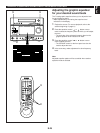
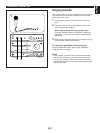
Erasing recorded tapes
11 Load the tape to be erased into the DECK B cassette
compartment.
22 Press the TAPE input selector button.
33 Select the reverse mode “ ” to erase only one side or
“ ” to erase both sides
by pressing the reverse MODE selector button.
44 Press the REC/PAUSE button, then press the play
button to erase side A of the tape, or the play button to
erase side B.
OTHER RECORDINGS
1, 22
3, 33
44
44
1, 22
44
2
4
2, 11
44
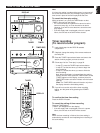
CD
TUNER
TAPE
POWER
123
123
FM/AM
456
456
789
789
0
0
CD/TUNER
+
10
DISPLAY
SLEEP
AUX
PLAY/PAUSE
TIME
REPEAT
STOP
TAPE
EDITPROG
RANDOM
MUSIC
LOCATION
USER
VOLUME
TAPE
A
B
REC/
PAUSE
DECK