


E-25
English
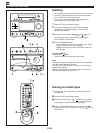
• When recording important selections, be sure to make a
preliminary test to ensure that the desired source material
is being properly recorded with good sound quality.
• The automatic recording level control circuit automatically
controls the level of the input signal used for recording.
• Adjusting the VOLUME control and using the built-in
graphic equalizer and sound field processor have no
effect on the recorded sound.
• For the tape deck, the deck which can be used for
recording is the DECK B only. When recording, be sure to
load a tape into the DECK B cassette compartment.
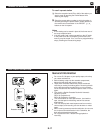
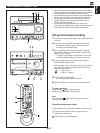
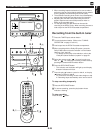
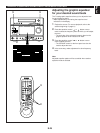
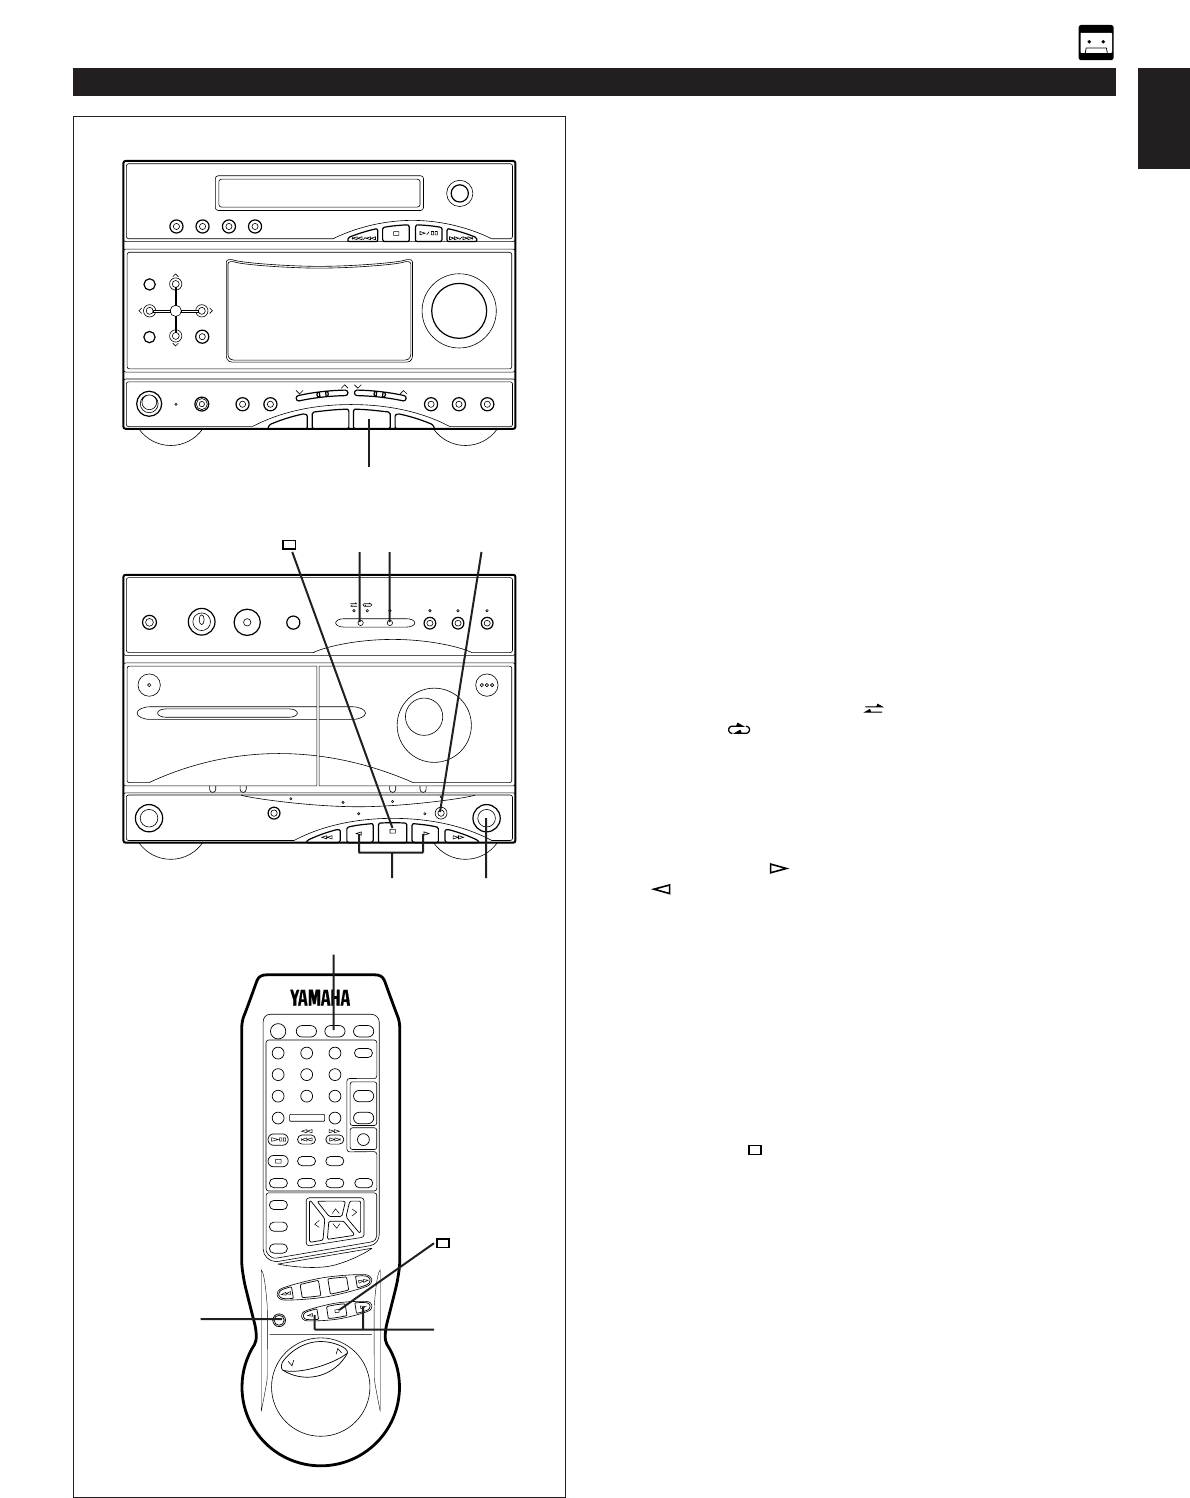
Recording from the built-in tuner
1 Press the TUNER input selector button.
2 Tune to the desired station. (Refer to the “TUNING
OPERATION” on page 15 and 16.)
3 Load a tape into the DECK B cassette compartment.
4 When recording with the Dolby NR system, press the
Dolby B NR button so that the indicator over the button
lights up. If not, set it off.
* For details on the Dolby noise reduction, refer to the
“Dolby NR (Noise Reduction) system” on page 20.
5 Select the reverse mode “ ” to record on only one
side, or “ ” for continuous recording on both sides by
pressing the reverse MODE selector button.
6 Press the REC/PAUSE button.
* The indicator over the button will light up and the play
direction indicators will flash.
7 Press the play button to record on side A, or the play
button to record on side B.
* For continuous recording on both sides, begin on side
A. Recording stops automatically at the end of side B.
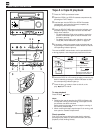
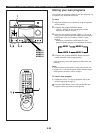
To stop recording temporarily
11 Press the REC/PAUSE button.
22 To resume recording, press the play button whose
indicator is flashing.
To stop recording
Press the stop button.
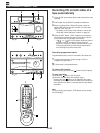
OTHER RECORDINGS
1
6, 11
54
7, 22 3
1
6, 11
7, 22
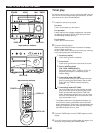
CD
TUNER
TAPE
POWER
123
123
FM/AM
456
456
789
789
0
0
CD/TUNER
+
10
DISPLAY
SLEEP
AUX
PLAY/PAUSE
TIME
REPEAT
STOP
TAPE
EDITPROG
RANDOM
MUSIC
LOCATION
USER
VOLUME
TAPE
A
B
REC/
PAUSE
DECK