


E-23
English
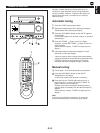
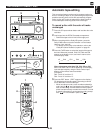
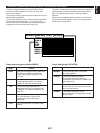
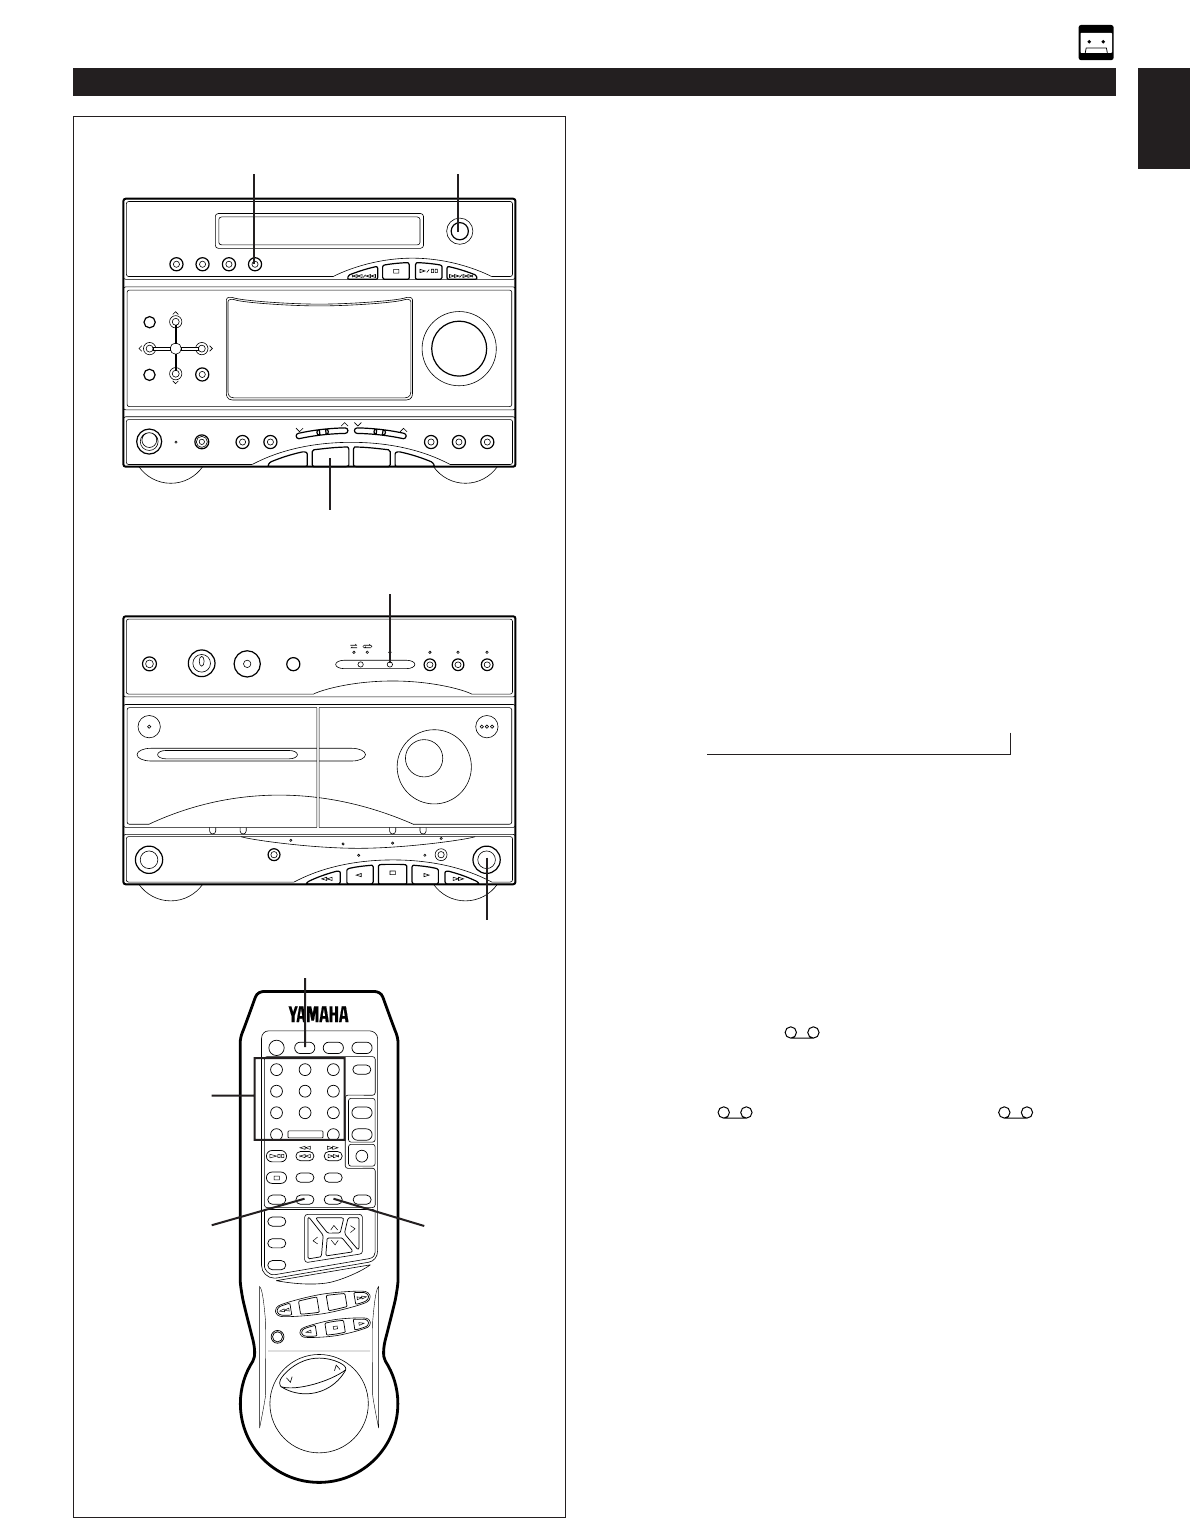
Automatic tape-editing
This convenient feature can be used to program tracks on a
disc for recording to tape. By only memorizing the tape’s total
possible recording time, the unit will automatically program
tracks so they will fit onto the tape with the least amount of
unrecorded space remaining at each end of the tape.
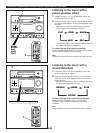
To record a disc with the order of tracks
unchanged
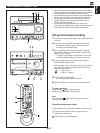
1 Press the CD input selector button and load the disc to be
recorded.
2 Load a tape into the DECK B cassette compartment.
* Rewind the tape to the full end of the supply reel.
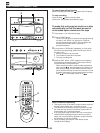
3 When recording with the Dolby NR system, press the
Dolby B NR button so that the indicator over the button
lights up. If not, set it off.
* For details on the Dolby noise reduction, refer to the
“Dolby NR (Noise Reduction) system” on page 20.
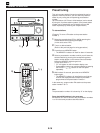
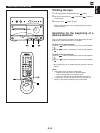
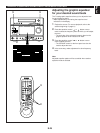
4 Press the TAPE button to select the length of the tape to
be used. Whenever pressed, C46, C54, C60 and C90
appear on the display in turn, and next it returns to the
normal display mode.
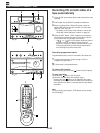
When using tapes other than C46, C54, C60 or C90
When C46, C54, C60 or C90 is appearing on the display,
input the tape length by using the track number input
buttons on the remote control transmitter
(Examples)
C62: Press “6” and then “2”.
C30: Press “3” and then “0”.
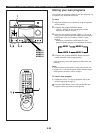
5 Press the EDIT button. (“EDIT” appears on the display.)
CD playback and recording starts. Recording is carried
out on both side A and B of the tape.
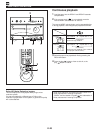
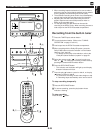
* While recording on side A, track numbers selected for
side A and “A ” are illuminated on the display. The
track number being recorded flashes and the number
which has been already recorded is turned off. For side
B, display information is as the same as side A except
that “ B” is illuminated in place of “A ”.
off C46 C54 C60 C90
→
→
→→
→
RECORDING A COMPACT DISC
5
2
5
1
4
1
1
3
CD
TUNER
TAPE
POWER
123
123
FM/AM
456
456
789
789
0
0
CD/TUNER
+
10
DISPLAY
SLEEP
AUX
PLAY/PAUSE
TIME
REPEAT
STOP
TAPE
EDITPROG
RANDOM
MUSIC
LOCATION
USER
VOLUME
TAPE
A
B
REC/
PAUSE
DECK
4