


E-22
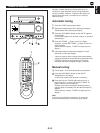
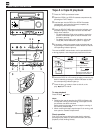
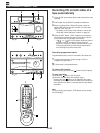
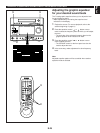
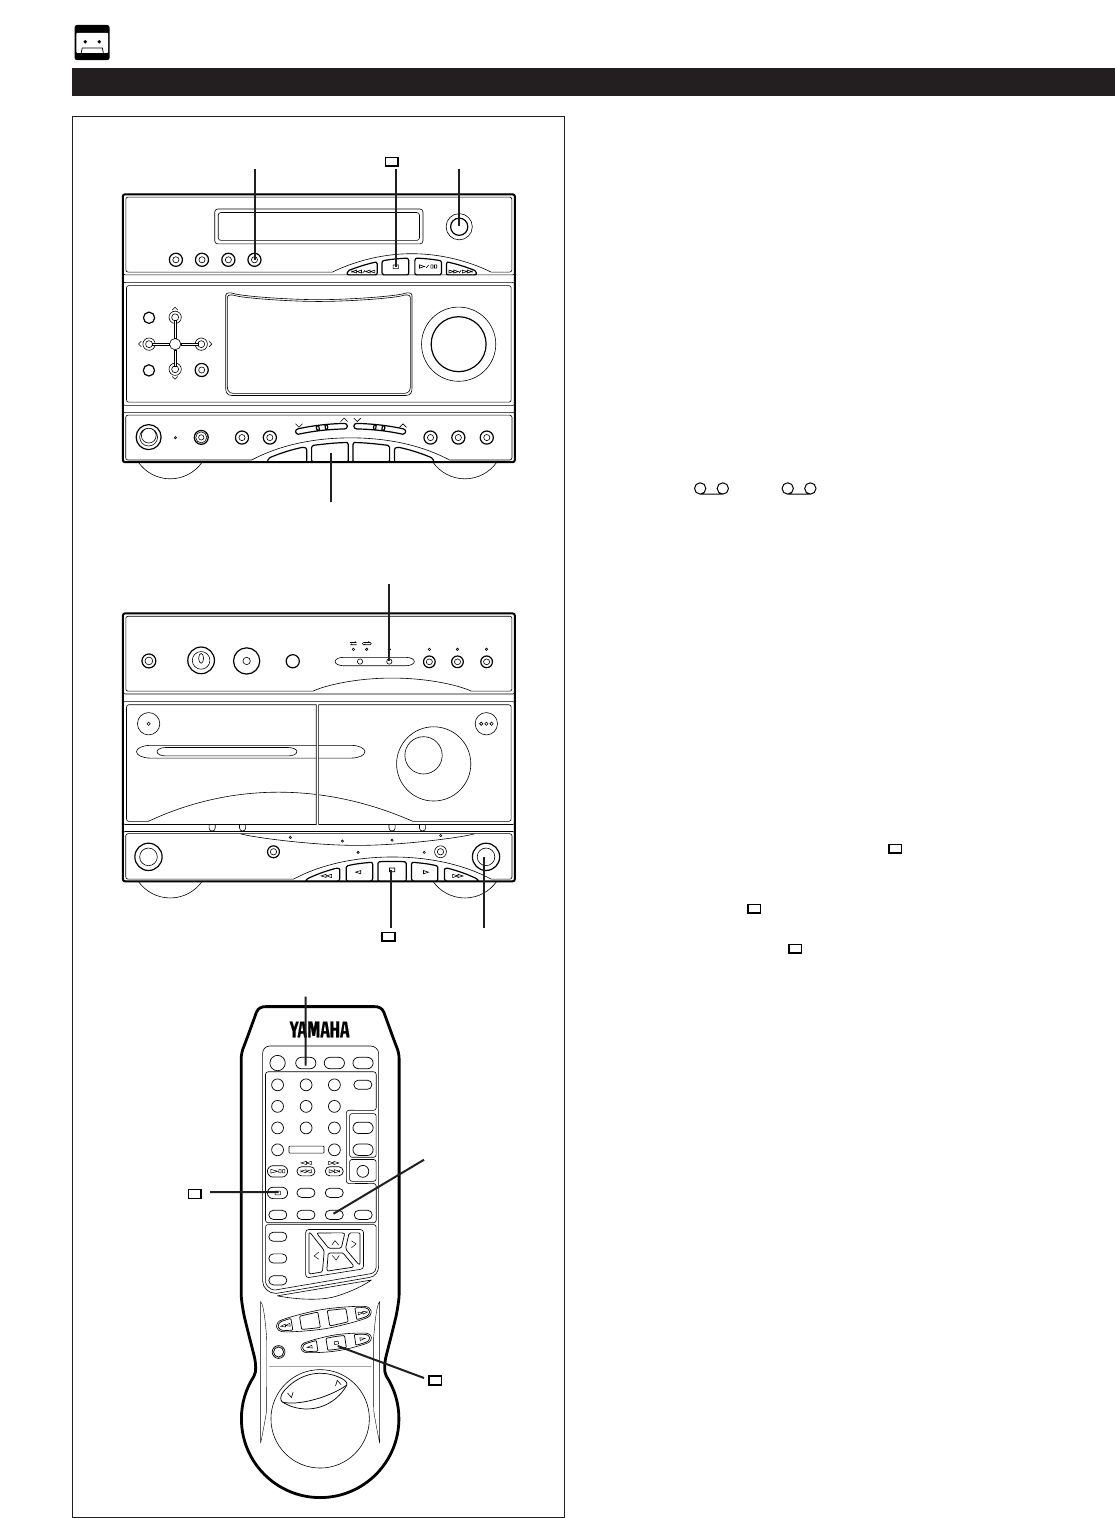
Recording CD on both sides of a
tape automatically
1 Press the CD input selector button and load the disc to be
recorded.
2 Load a tape into the DECK B cassette compartment.
3 When recording with the Dolby NR system, press the
Dolby B NR button so that the indicator over the button
lights up. If not, set it off.
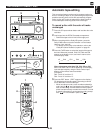
* For details on the Dolby noise reduction, refer to the
“Dolby NR (Noise Reduction) system” on page 20.
4 Press the EDIT button. (“EDIT” appears on the display.)
CD playback and recording starts. Recording is carried
out on side A and B of the tape continuously.
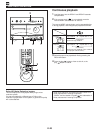
* “A ” (or “ B”) on the display shows the side of
the tape on which recording is being carried out.
* When the recording on side A is finished while a track
is being played back, the recording on side B starts
from the beginning of the same track.
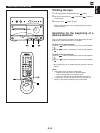
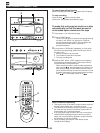
Recording programmed tracks
Programmed tracks can also be recorded in the same way.
11 Program desired tracks. (Refer to page 12 for the
programming procedure.)
22 Follow steps 2–4 described above.
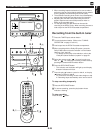
To cancel this function
Before recording, press the stop button of the CD player.
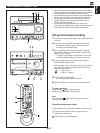
To stop recording
Press the stop button of the CD player.
(At this time, the tape deck automatically stops.)
* Pressing the stop button of the tape deck also stops
recording. However, this method makes the unit accept no
other operation for about 10 seconds after the stop button
is pressed.
Note
During recording, pressing the TIME button cannot change
the time display.
RECORDING A COMPACT DISC
41
1
3
4
1
2
CD
TUNER
TAPE
POWER
123
123
FM/AM
456
456
789
789
0
0
CD/TUNER
+
10
DISPLAY
SLEEP
AUX
PLAY/PAUSE
TIME
REPEAT
STOP
TAPE
EDITPROG
RANDOM
MUSIC
LOCATION
USER
VOLUME
TAPE
A
B
REC/
PAUSE
DECK