


16
AUDIOGRAM 3 Owner’s Manual
Quick Guide
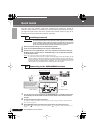
In this section we’ll try mixing down multiple recorded audio tracks to stereo, and creating a
wav file. Mixes can be stored as WAV or AIFF files, which can then be recorded to audio CDs.
1
Launch Cubase AI and open a project file.
2
Click the [Start] button on the Transport Panel.
3
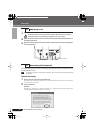
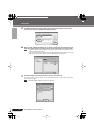
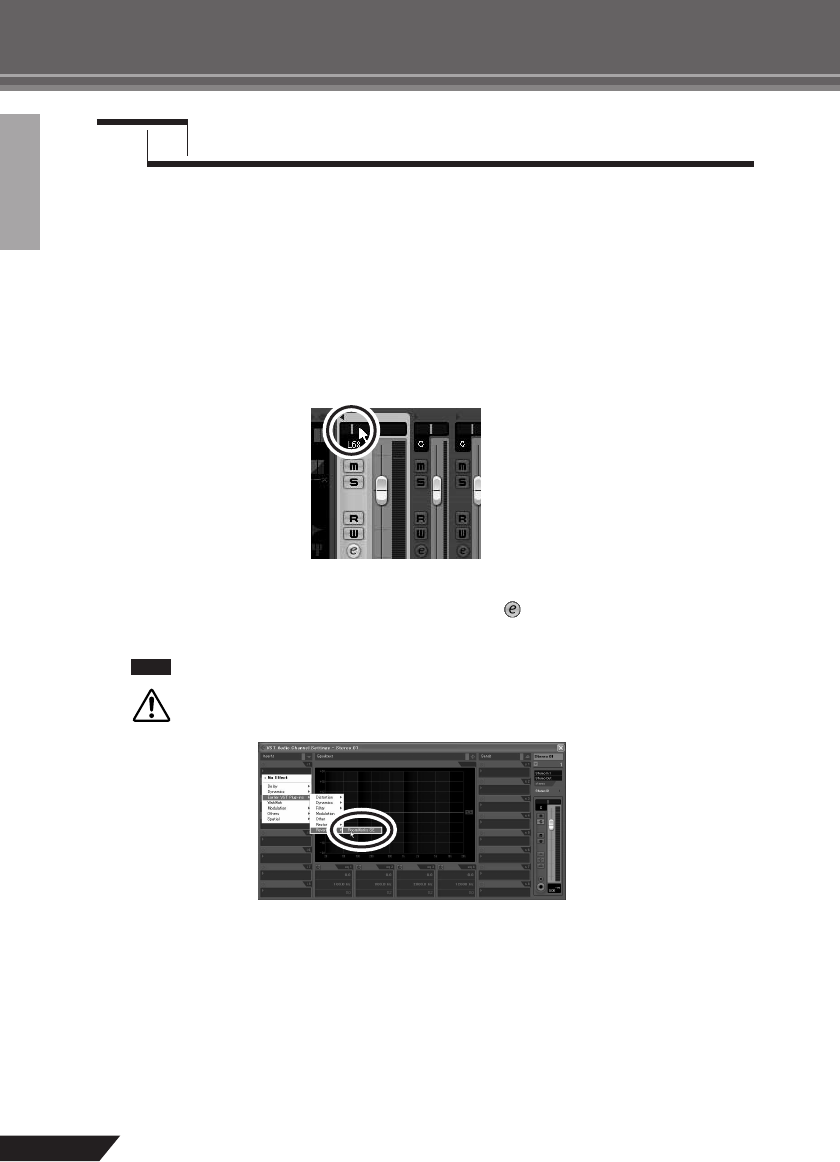
While listening to playback, drag the channel strip level faders up and down to create
the desired initial balance, then adjust the overall volume using the bus volume fader.
4
Drag the pan controls on the top of the channel strips left and right to set the stereo
position of each track.
5
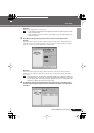
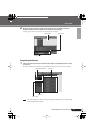
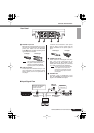
At this point you can begin to use EQ to refine your mix, and add effects.
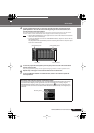
As an example let’s try adding reverb. Click the [Edit] button ( ) on the left side of the channel strip to
open the VST audio channel settings window. Click Insert 1 and select Earlier VST Plug-ins
→
Reverb
→
RoomWorks SE.
For further details refer to the pdf manual provided with the Cubase AI software.
It’s a good idea to lower the channel fader a bit before adding an effect, since the effect
can cause an increase in the overall channel level.
6
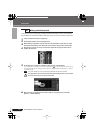
When the final mix adjustments have been made, go to the [File] menu and select
[Export]
→
[Audio Mixdown].
Step
6
Mixing with Cubase AI
NOTE
CAUTION