


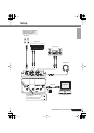

Quick Guide
15
AUDIOGRAM 3 Owner’s Manual
4
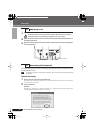
To hear playback of the track you have just recorded, use either the Transport panel
[Rewind] button or the ruler to rewind to the beginning of the recorded section, then
click the Transport panel [Start] button.
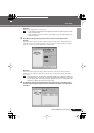
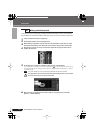
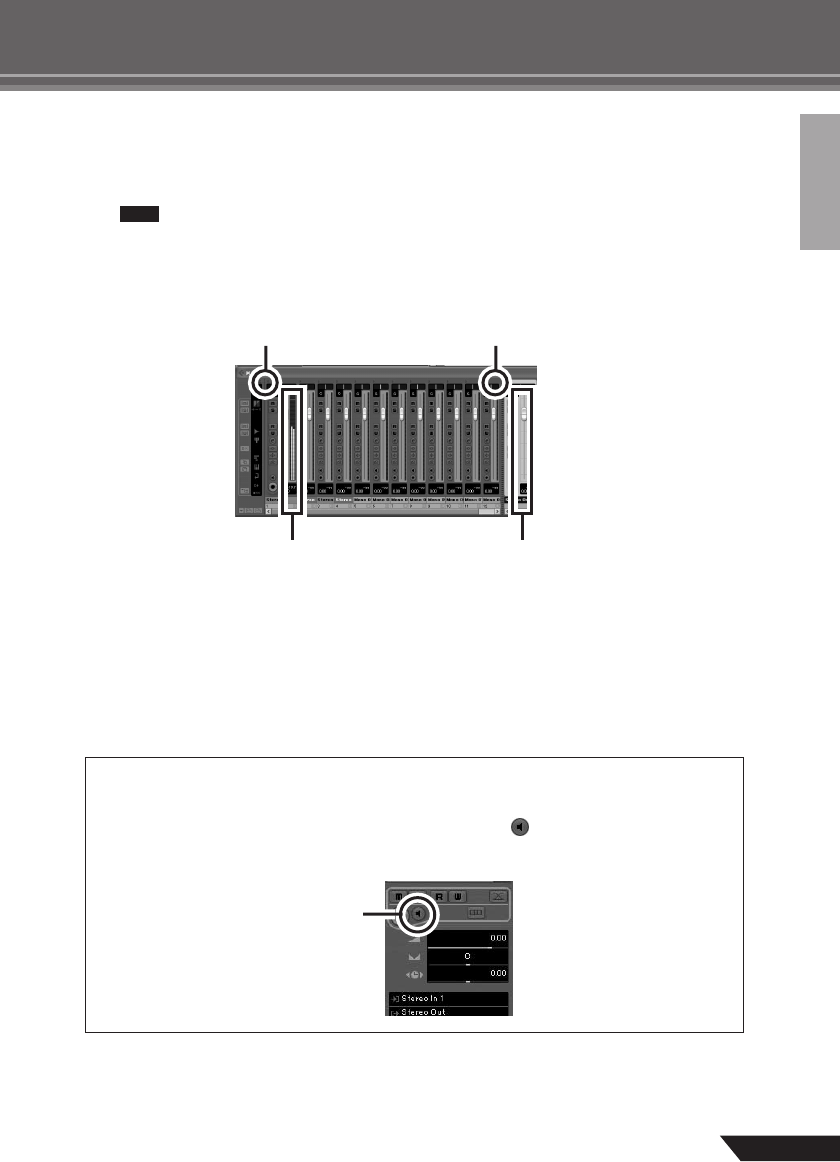
The overall playback level will be displayed via the master section bus level meter on the right side of
the mixer window, and the channel level will be displayed via the channel strip level meter.
• Click the [Narrow/Wide] button in the upper left corner of the mixer window to increase the
width of the mixer’s channel strips.
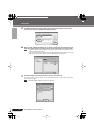
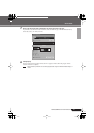
•To hear the playback sound via the AUDIOGRAM interface, adjust the volume with the
OUT LEVEL control.
The playback level will approximately match the recording level when the computer output
is set to the maximum level.
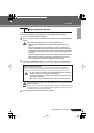
5
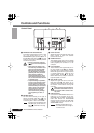
To save the project file select [Save] from the [File] menu and enter a file name before
actually saving the file.
Save your project file frequently to insure against losing large amounts of data if a problem occurs.
6
Repeat steps 1 through 5 to record further material on the same track.
7
To record additional material on a different track, select a new track and repeat the
record procedure.
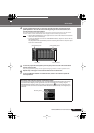
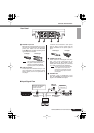
Recording with maximum quality and minimum noise:
For optimum sound quality with minimum noise, the AUDIOGRAM signal levels should be set as high
as possible without clipping. Check signal levels to be sent to Cubase AI for recording using the
AUDIOGRAM level indicators while the Cubase monitoring button ( ) is turned off. Adjust the chan-
nel LEVEL controls so that the level indicator PEAK LEDs flash only occasionally on the highest input
transients.
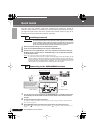
NOTE
Level meter
[Narrow/Wide] button
Bus level meter
[Narrow/Wide] button
Monitoring button