


52
Using SKYFi
3
and Your PC
53
Using SKYFi
3
and Your PC
Setup
1. Before you install XM+Napster, make sure that your radio is activated
and that you know your Radio ID (page 2). You’ll need it to register for
XM+Napster.
2. Make sure your SKYFi
3
is not connected to your PC.
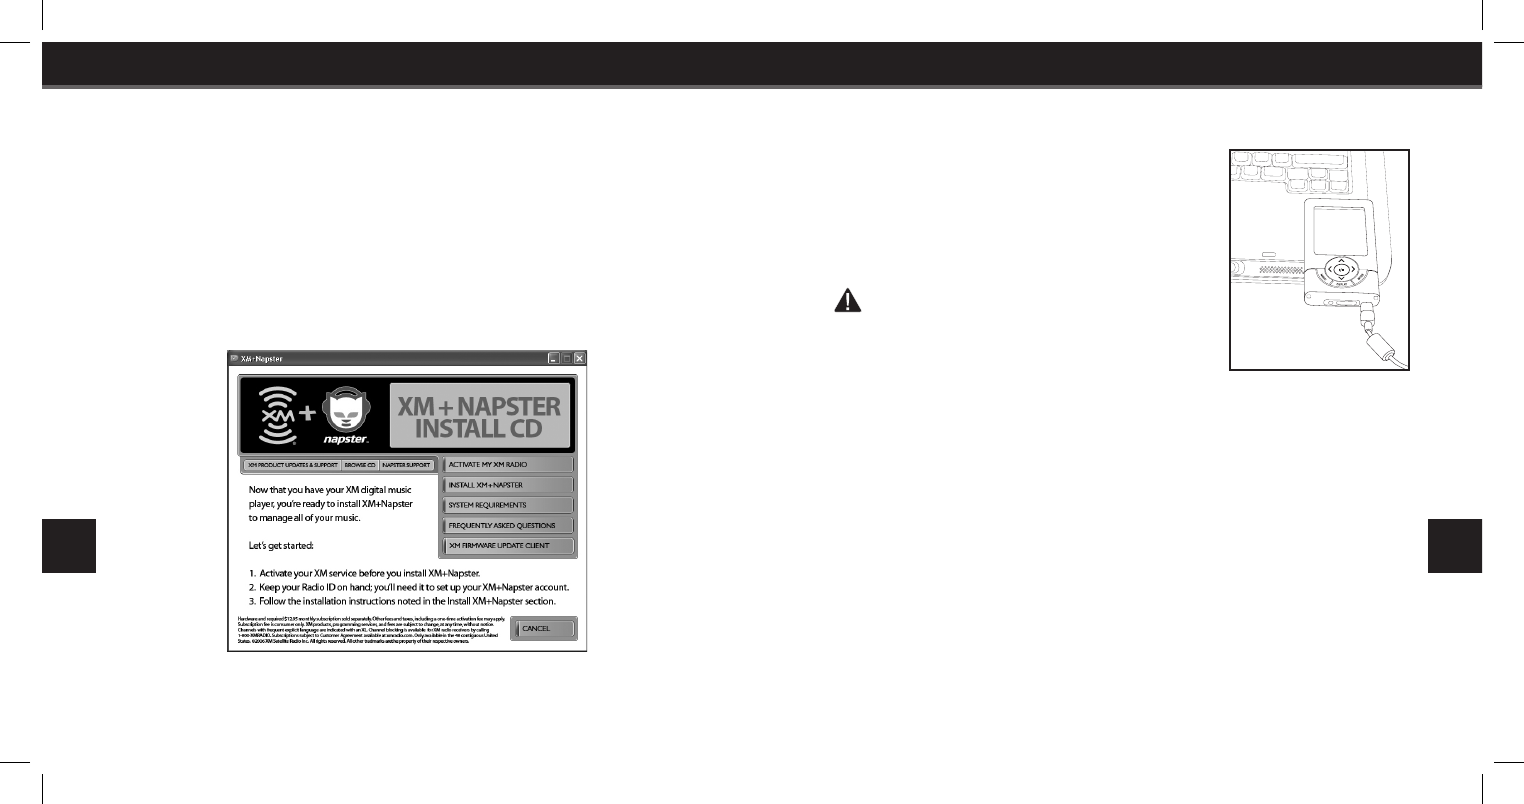
3. Insert the included CD into your computer’s CD drive. Choose the
“XM+Napster Install” option from the main menu to view the installa-
tion menu.
3. Start the installation by clicking on the “Install XM+Napster” button. Fol-
low the onscreen directions to complete the process.
4. Once installation is complete, close the
XM+Napster CD window, eject the CD, and
restart your computer. Once your computer
restarts, launch XM+Napster, plug your SKYFi
3
into your PC using the USB cable, and you’re
ready to go.
Warning: make sure you use the supplied
USB cable - other cables may not allow your
SKYFi
3
to charge or communicate with your PC.
You can connect your SKYFi
3
through a powered
USB hub. Do not use an unpowered USB hub.
NOTE: If you are using a Macintosh, your SKYFi
3
will mount as an external
drive. You can copy files to your SKYFi
3
using the Macintosh Finder. How-
ever, you will be unable to use XM+Napster to transfer and organize your
files.
Disconnecting Your SKYFi
3
Before unplugging the USB cable, safely disconnect SKYFi
3
from your PC by
using one of the following methods:
1. In Windows, right click on the “Safely Remove Hardware” icon on the
right side of the Windows taskbar. Select “USB Mass Storage Device”
and click Stop.
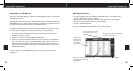
2. In XM+Napster, click on the “Disconnect Device” icon or
select “File” and “Disconnect Portable Device” from the pull down
menu.