user manual
TCS Compact series
TCS-C50T manual
page 9
Installation Procedure
1. Select the ceiling tile(s) to be used for mounting the loudspeaker(s) and remove it
from the ceiling. Mark the cutout either by tracing from the cardboard template
supplied with the loudspeaker, or by placing the tile bridge on the rear side of the
tile, making sure that it is centred in both directions. Cut the hole with a knife or with
a circular cutter set to 240mm (9 7/16”).
Ø240
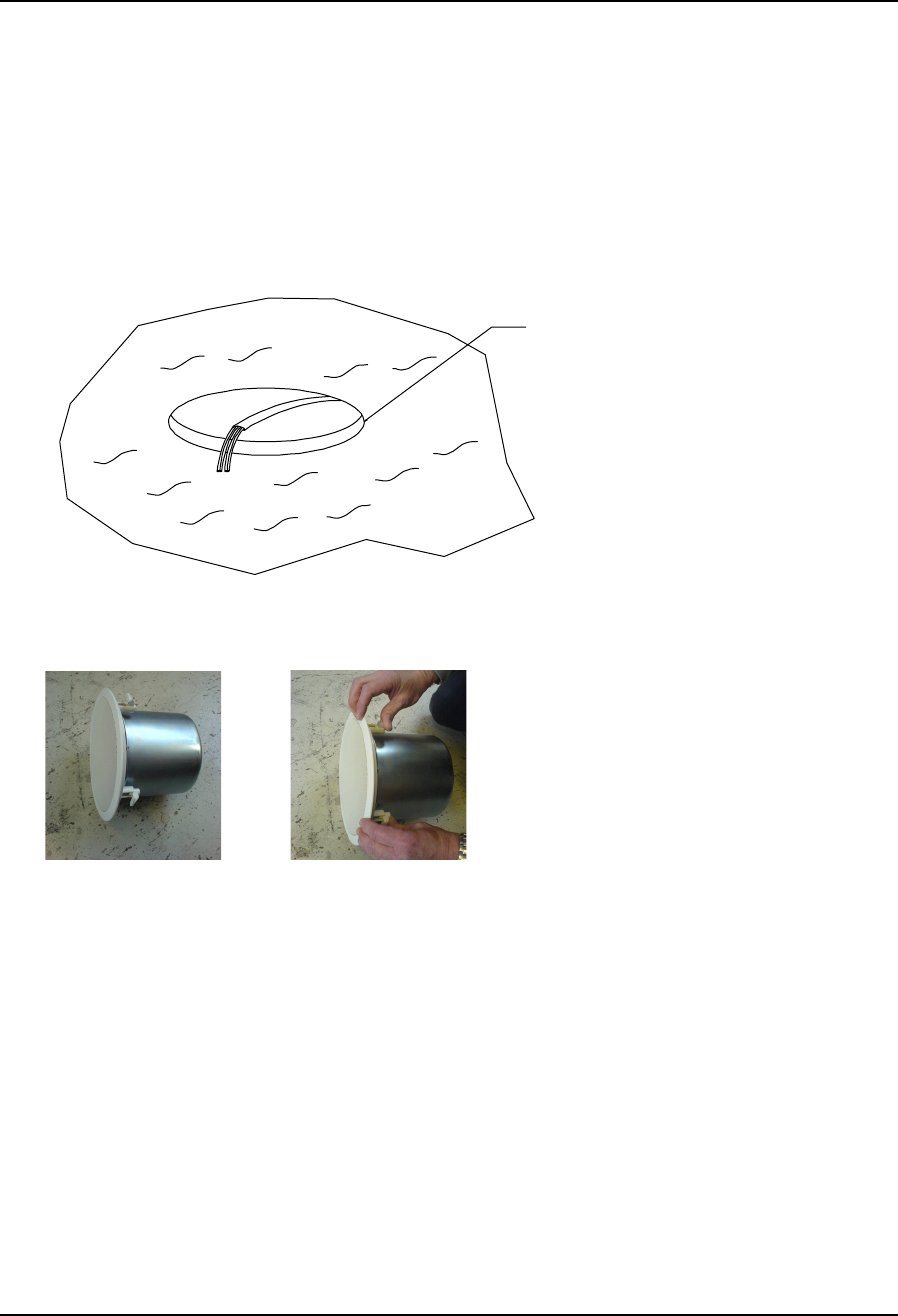
2. Remove the loudspeaker grille by pushing on the speaker attachment tabs.
Loosen the four attachment screws and fold the tabs sideways until they touch the
steel back can, allowing the speaker to pass freely through the cutout. Assemble the
speaker, tile bridge and tile together and tighten the attachment screws to tighten
the mounting tabs. Note that the first 1/4 turn rotates the tab outwards and away
from the can, and subsequent turns tighten the tab down onto the ceiling tile. DO
NOT OVERTIGHTEN.
3. The tile grid is designed to fit either 24” or 600mm wide tiles. The tile grid does not
physically attach to the T-grid struts; instead the inverted V-shapes at the ends sit
over the top of the T-grid struts. During normal circumstances the speaker is
supported by the edge of the tile. In the unlikely event that the tile should come out
or fall apart, the ends of the tile grid are designed to catch onto the T-grid, thereby
preventing the loudspeaker from falling.


