


4 – Basic operations
12 TASCAM CD-D1x4
audio) until a final table of contents (TOC) has been
written at the start of the disc.
The process of writing this table of contents is known
as “finalizing” and is performed automatically by the
CD-D1x4. Once this has been done, no further data
can be written to the disc.
In the case of a CD-RW disc which has been final-
ized, the whole of the disc may be erased, and the
disc re-used.
Additional copy modes
This is an option accessed from the SETUP menu,
allowing you to set the different copy modes. There
are five such modes:
• Copying (
COPY), which copies the contents of a
disc from the master drive to any slave drives with
discs inserted.
• Verifying already copied data (
VERIFY).
NOTE
The verify option is not available for the following
types of disc: CD-DA (audio CDs), CD-ROM XA Form 2
discs and CD-EXTRA discs.
• Copying with verification (COPY+V). Copying
followed by verification (as above). The same
restrictions apply to the verification process as
apply to verification alone. During this process, the
display shows
COPY+V/C during the copy
phase of the operation, followed by
COPY+V/V
during the verification phase.
• Read check (
RD CHECK). This provides a check
as to whether the target discs can be read correctly
after they have been copied.
NOTE
Note that when an audio disc is checked after copying
or recording, no error will be shown unless the disc is
very badly damaged (large audible errors). Any check-
ing on a disc containing errors may take a significantly
longer time than checking a good disc.
• Copy with read check (COPY+R). Copying, fol-
lowed by the read check as described above. Dur-
ing this process, the display shows
COPY+R/C
during the copy phase, followed by
COPY+R/R
during the read check.
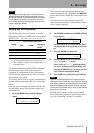
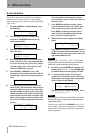
1 Press the
MODE key until the display shows:
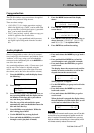
2 Press
ENTER, The screen should show:.
The bottom line of the screen may be differ-
ent, depending on the currently-set mode.
3 Press
ENTER again.
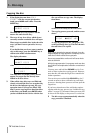
4 Press the
MODE key until the mode to be
used appears on the screen (from the list
above). Press
ENTER to confirm the setting.
Pressing the
ESCAPE key takes you back a
level without changing anything.
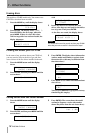
5 If you select the verification or read check
operations, you should press
ESCAPE until
the screen shows:
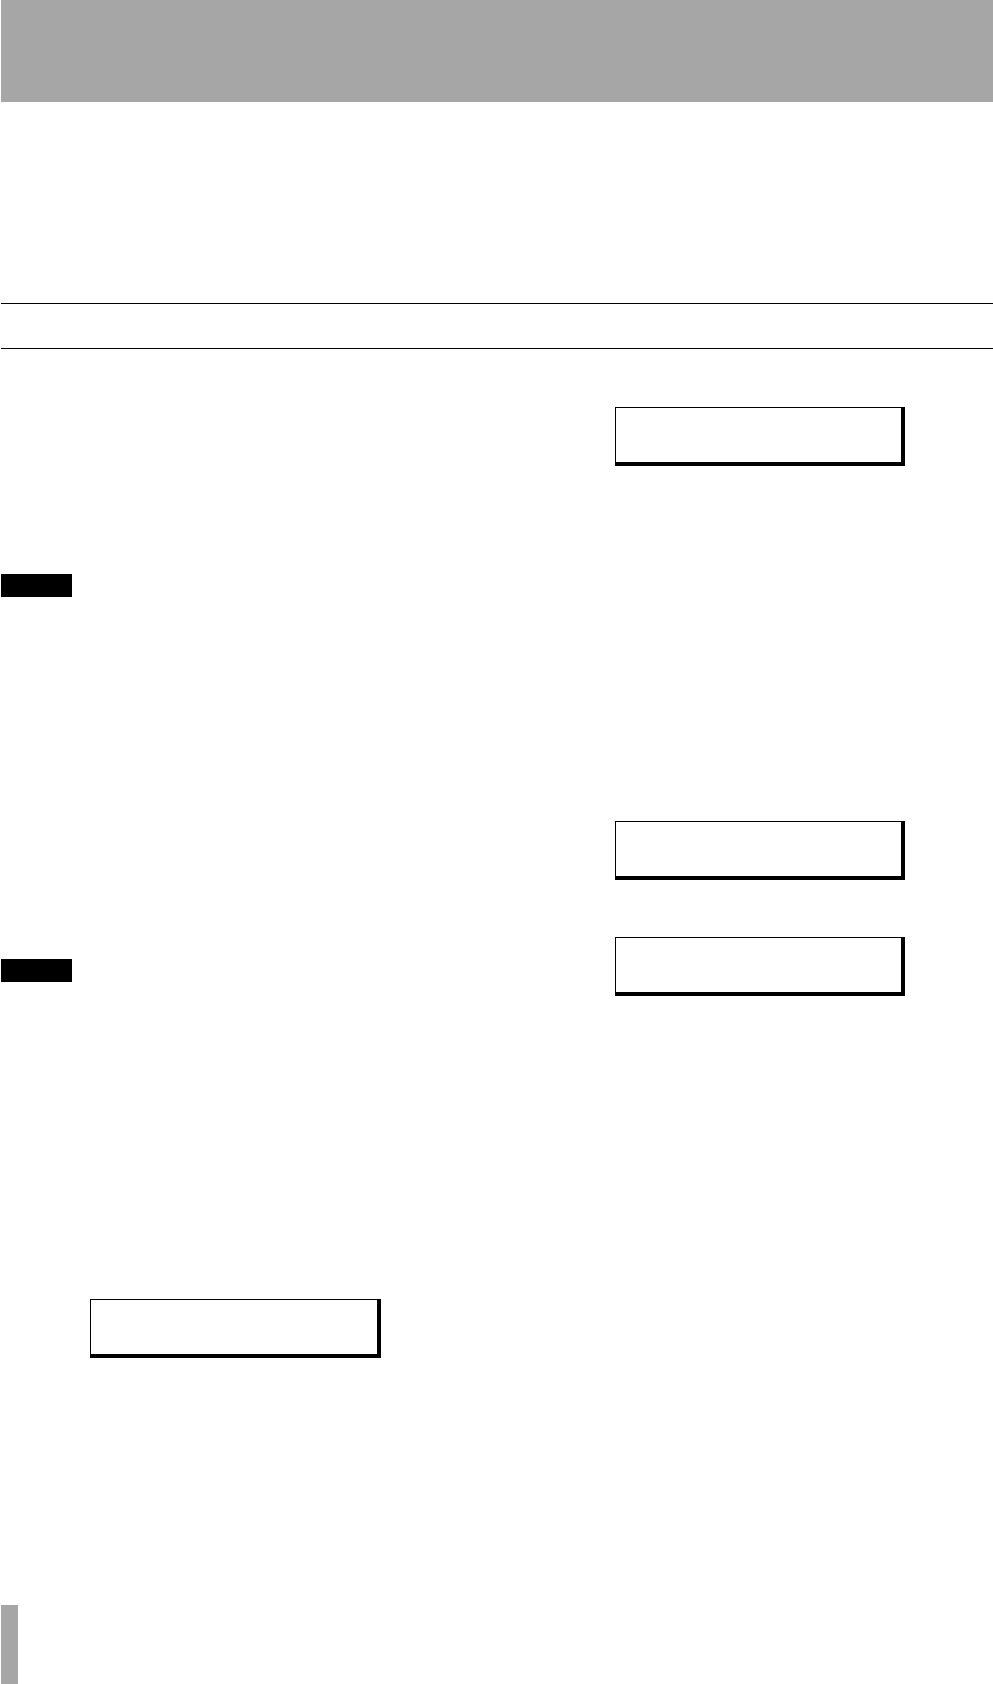
or
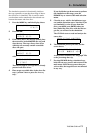
6 Press
ENTER to start the operation. The
drive trays open automatically. Put the discs
to be verified or checked into the drives, and
when this is done, the drives have been
closed, and the unit has recognized all the
discs (the drive indicators have gone out),
press
ENTER.
The verification or read check process then
starts.
SETUP?
(MODE CHANGE)
>MODE SELECT?
(COPY)
VERIFY START?
RD CHECK START?