


11
RackPack
'PS*OTUBMMBOE3FNPWBMPG3BDL1BDL.PEVMFT1MFBTFSFGFSUP.BOVBMGPSEFUBJMT .BEFJO(FSNBOZ
$0//&$5038*3*/(9-31JO(/%1JO)PU1JO°$PME'PSPUIFSDPOOFDUPSTQMFBTFSFGFSUP.BOVBMGPSEFUBJMT
4&3*"-/6.#&3
4PVOE
1FSGPSNBODF
-BCPSBUPSZ
3BDL1BDL
.PEFM
50
146
(/%-*'5
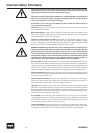
503&%6$&3*4,0''*3&03&-&$53*$4)0$,%0/05
&9104&5)*46/*5503"*/03.0*4563&
%*4$0//&$5."*/4#&'03&3&.07*/($07&3
5)*4&26*1.&/5.645#&&"35)&%
"7*43*426&%&$)0$c-&$53*26&/&1"40673*3
3*4,0'&-&$53*$4)0$,
%0/0501&/
$"65*0/
8"3/*/(
XXXTPVOEQFSGPSNBODFMBCDPN
0
6
5
1
6
5
0
6
5
1
6
5
0
6
5
1
6
5
0
6
5
1
6
5
*
/
1
6
5
*
/
1
6
5
3BDL1BDL
0
6
5
1
6
5
0
6
5
1
6
5
0
6
5
1
6
5
0
6
5
1
6
5
*
/
1
6
5
*
/
1
6
5
3BDL1BDL
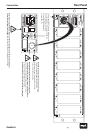
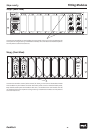
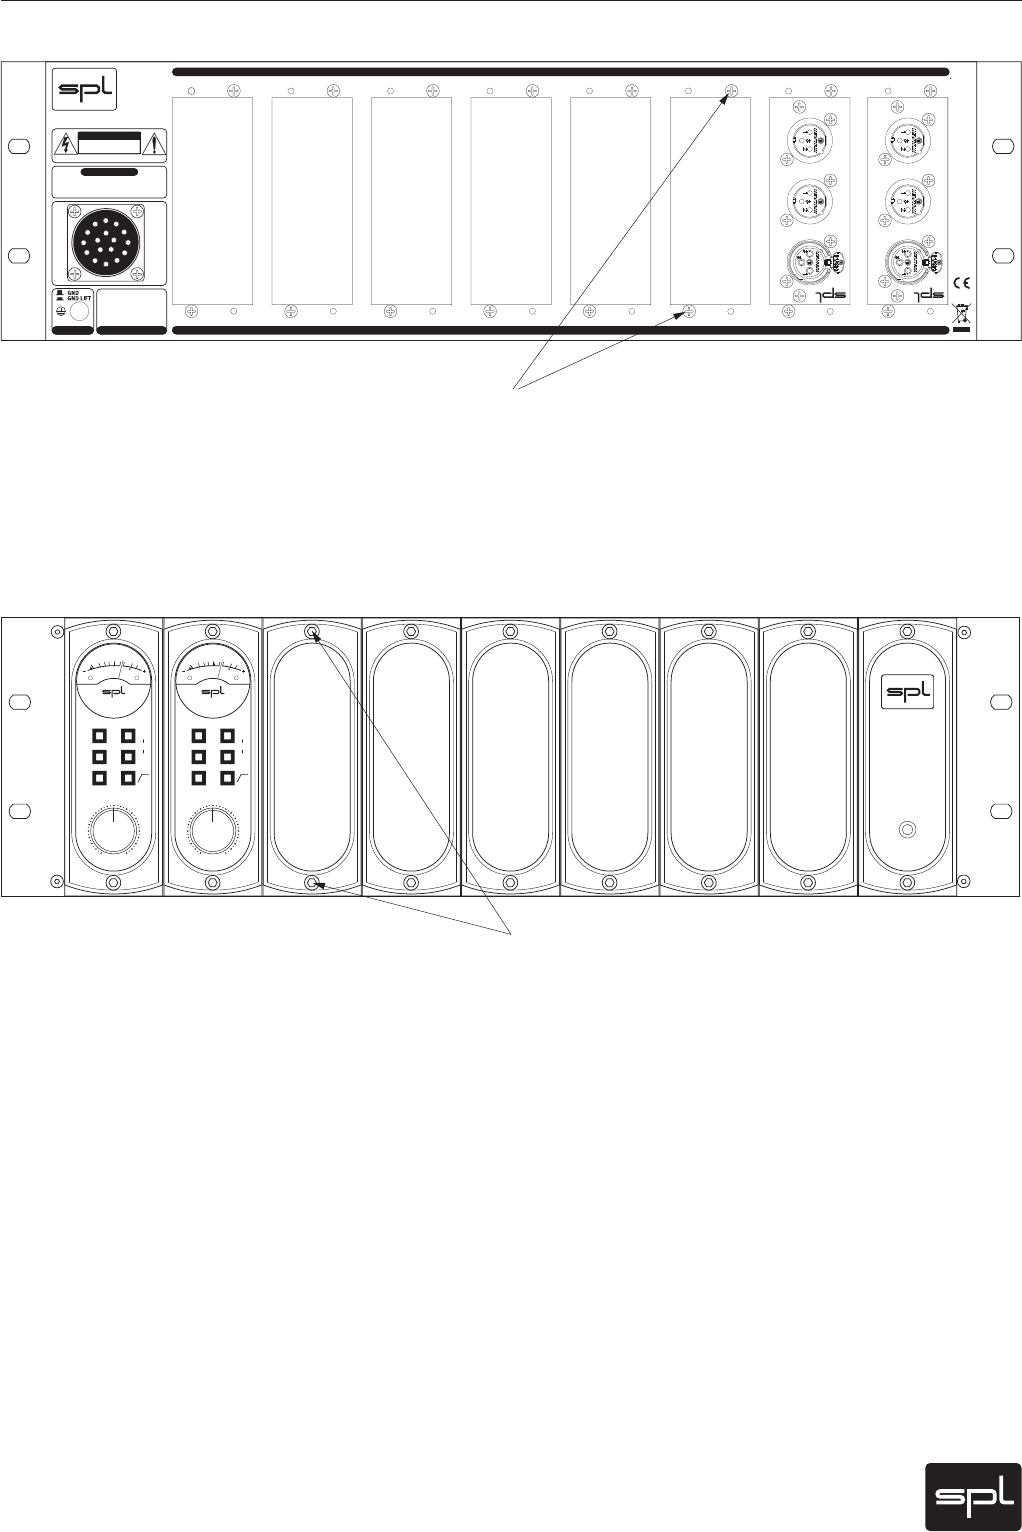
Step 2 (Rear View)
Unscrew the two Phillips screws holding the cover panel of slot #3 on the rear. Remove the
cover panel. As long as slot #3 is tted with a module, the cover will not be needed anymore.
You may want to store it for future use.
Step 3 (Front View)
Unscrew the two Allen screws (socket screws) of slot #3 on the front of the RackPack frame
with the Allen key and remove the silver decoration panel as well as the blank black panel.
Keep the decoration panel and handle it with care, it is needed for the new module. You will
not need the black cover anymore as long as slot #3 is tted with a module. You may want to
store it for future use.
Fitting Modules
Step 2 and 3
11.
°
76
7
1"%
E#
.
*
$
(
"
*
/
1
3
&
.
*
6
.
.
*
$
1
3
&
E#
.
*
$
(
"
*
/
1
3
&
.
*
6
.
.
*
$
1
3
&
20
SIG OVL
10
7
5
3
1
0
3
5
VU
11.
°
76
7
1"%
E#
.
*
$
(
"
*
/
1
3
&
.
*
6
.
.
*
$
1
3
&
E#
.
*
$
(
"
*
/
1
3
&
.
*
6
.
.
*
$
1
3
&
20
SIG OVL
10
7
5
3
1
0
3
5
VU
3BDL
1BDL
.
"
%
&
*
/
(
&
3
.
"
/
:
1
0
8
&
3