62
Additional Information
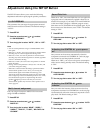
Remote Button Description
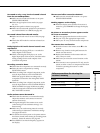
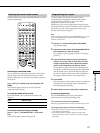
Notes
• The indicator turns off while a valid button is pressed.
• In step 2, if several function buttons are pressed, only the last
pressed button is valid.
• In step 3, if a function button is pressed, the new function is
selected and the programming procedure returns to the
beginning of step 3.
• For the numeric codes, only the first three numbers entered are
valid.
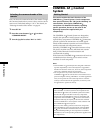
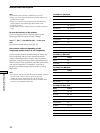
To clear the memory of the remote
To clear all programmed and learned signals, do the
following to reset the remote to factory settings.
Press ?/1, AV ?/1 and MASTER VOL – at the same
time.
The indicator flashes 3 times, then goes off.
The numeric codes corresponding to the
component and the maker of the component
Use the numeric codes in the tables below to control non-
Sony components and also Sony components that the
remote is normally unable to control. Since the remote
signal that a component accepts differs depending on the
model and year of the component, more than one numeric
code may be assigned to a component. If you fail to
program your remote using one of the codes, try using
other codes.
Notes
• The numeric codes are based on the latest information available
for each brand. There is a chance, however, that your
component will not respond to some or all of the codes.
• All of the functions on this remote may not be available when
used with your particular component.
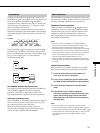
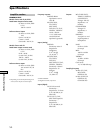
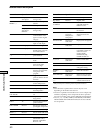
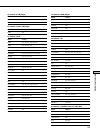
To control a CD player
Maker Code(s)
SONY 101, 102, 103
DENON 104, 123
JVC 105, 106, 107
KENWOOD 108, 109, 110
MAGNAVOX 111, 116
MARANTZ 116
ONKYO 112, 113, 114
PANASONIC 115
PHILIPS 116
PIONEER 117
TECHNICS 115, 118, 119
YAMAHA 120, 121, 122
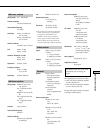
To control a DAT deck
Maker Code(s)
SONY 203
PIONEER 219
To control an MD deck
Maker Code(s)
SONY 301
DENON 302
JVC 303
KENWOOD 304
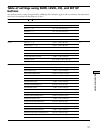
To control a tape deck
Maker Code(s)
SONY 201, 202
DENON 204, 205
KENWOOD 206, 207, 208, 209
NAKAMICHI 210
PANASONIC 216
PHILIPS 211, 212
PIONEER 213, 214
TECHNICS 215, 216
YAMAHA 217, 218


