44
Receiving Broadcasts
bb
35
1
b
0
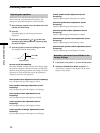
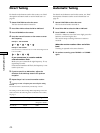
Direct Tuning
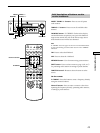
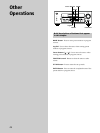
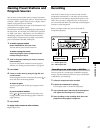
For details on the buttons used in this section, see “Brief
descriptions of buttons used to receive broadcasts” on
page 43.
1 Rotate FUNCTION to select the tuner.
The last received station is tuned in.
2 Press FM or AM to select the FM or AM band.
3 Press D.TUNING on the remote.
4 Press the numeric buttons on the remote to enter
the frequency.
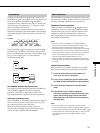
Example 1: FM 102.50 MHz
Example 2: AM 1350 kHz
(You don’t have to enter the last “0” when the tuning interval
is set to 10 kHz)
If you cannot tune in a station and the
entered numbers flash
Make sure you’ve entered the right frequency. If not,
repeat Steps 3 and 4.
If the entered numbers still flash, the frequency is not
used in your area.
5 If you’ve tuned in an AM station, adjust the
direction of the AM loop antenna for optimum
reception.
6 Repeat Steps 2 to 5 to receive another station.
z
If you try to enter a frequency not covered by the tuning
interval
The entered value is automatically rounded up or down.
The tuning scale for direct tuning differs depending on the area
code as shown in the following table. For details on area codes,
see page 3.
Area code FM tuning scale AM tuning scale
E2, E3 50kHz 9kHz (can be
changed to 10kHz)*
AU, CN, SP 50kHz 9kHz
* To change the AM tuning scale, see page 55.
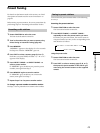
Automatic Tuning
For details on the buttons used in this section, see “Brief
descriptions of buttons used to receive broadcasts” on
page 43.
1 Rotate FUNCTION to select the tuner.
The last received station is tuned in.
2 Press FM or AM to select the FM or AM band.
3 Press TUNING + or TUNING –.
Press the + button to scan from low to high; press the –
button to scan from high to low.
The receiver stops scanning whenever a station is
received.
When the receiver reaches either end of the
band
Scanning is repeated in the same direction.
4 To continue scanning, press TUNING + or TUNING –
again.
bbbb
025
0
1


