10
GB
Getting Started
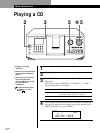
I / u
+100
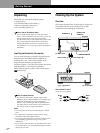
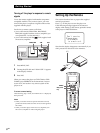
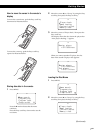
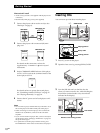
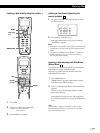
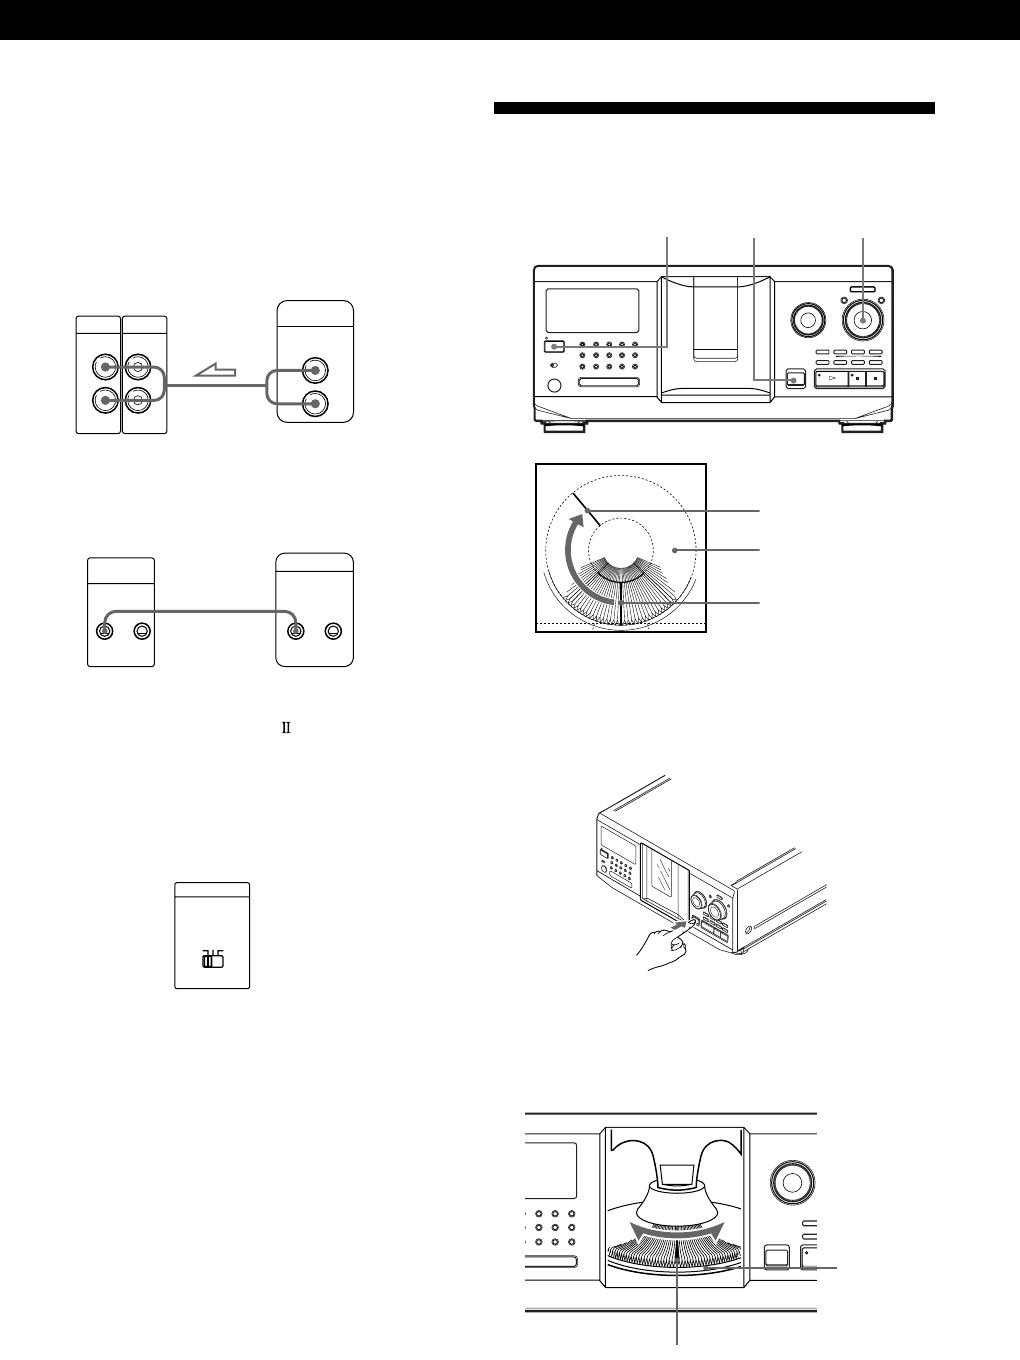
3 Turn the JOG dial until you find the disc slot
where you want to insert a disc, while checking the
disc number (written beside every slot and also
indicated in the display).
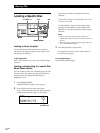
Disc slot at the loading position
Inserting CDs
You can insert up to 300 discs into this player.
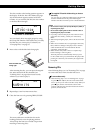
1 Press I/u to turn on the player.
2 Open the front cover by pressing OPEN/CLOSE.
I/u
OPEN/CLOSE
JOG
Rotary table
Loading position
Playing position
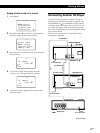
What cords will I need?
• Audio cord (1) (Use the cord supplied with the player to be
connected.)
• Monaural (2P) mini-plug cord (1) (not supplied)
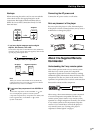
1 Connect the players with an audio cord (see also
“Hookups” on page 5).
2 Connect the players with a monaural (2P) mini-
plug cord.
CDP-CX350
For details on this connection, refer to the
supplementary “
CONTROL A1 Control System”
instructions.
3 Set the COMMAND MODE selector of this player
to CD 1 or CD 2, and set the command mode of the
second player to CD 3.
For details on how to operate the second player,
see “Controlling Another CD Player” on page 27
and “Playing Alternately” on page 29.
4 Connect the AC power cord of both players to AC
outlets.
Notes
• Do not connect a player other than that you intend to use as
the second player to the 2ND CD IN jacks of this player.
• When connecting a second CD player, do not connect the
DIGITAL OUT (OPTICAL) connector of this unit to the
amplifier.
• If you connect another CD player after you have already set
up the remote, follow “Setting Up the Remote” on page 6 to
set up the remote again.
• To operate the second CD player with the remote, press
PLAYER SELECT on the remote to select the second player.
CDP-CX230, etc.
CDP-CX230, etc.
CDP-CX350
LINE2ND CD
IN OUT
L
R
L
R
LINE OUT
L
R
COMMAND MODE
CD
132
Disc number
CONTROL A1
CONTROL A1II
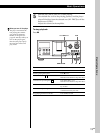
I / u
+100


