


42
US
1 Press OPTIONS during playback.
The options menu appears.
2 Press X/x to select [Video Settings],
then press .
The [Video Settings] screen appears.
3 Press X/x to select an item, then press
.
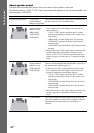
[Picture Quality Mode]
Optimizes the picture settings for different
lighting environments.
• [Standard]
• [Brighter Room]
• [Theater Room]
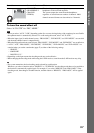
[FNR]
Reduces random noise appearing in the
picture.
•[Off]
•[Auto]
[BNR]
Reduces mosaic-like block noise in the
picture.
•[Off]
•[Auto]
[MNR]
Reduces minor noise around the picture
outlines (mosquito noise).
•[Off]
•[Auto]
4 Press C/X/x/c to select or adjust the
settings, then press .
To adjust any other items, repeat steps 3 and
4.
Note
•Set the picture setting of your TV to [Standard] before
changing [Picture Quality Mode].
•[Video Settings] is disabled when the connected TV
is set to Theater Mode (page 64).
•Depending on the disc or the scene being played,
[FNR], [BNR], or [MNR] effects may be hard to
discern.
When the sound does not match the pictures on
the TV screen, you can adjust the delay between
the picture and sound.
1 Press SYSTEM MENU.
2 Press X/x repeatedly until “AUDIO
MENU” appears in the front panel
display, then press or c.
3 Press X/x repeatedly until “A/V SYNC”
appears in the front panel display, then
press or c.
4 Press X/x to adjust the delay between
the picture and sound.
You can adjust from 0 ms to 300 ms in 25
ms increments.
5 Press .
The setting is made.
6 Press SYSTEM MENU.
The system menu turns off.
Note
• Depending on the input stream, A/V SYNC may not
be effective.
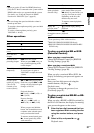
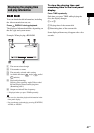
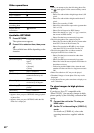
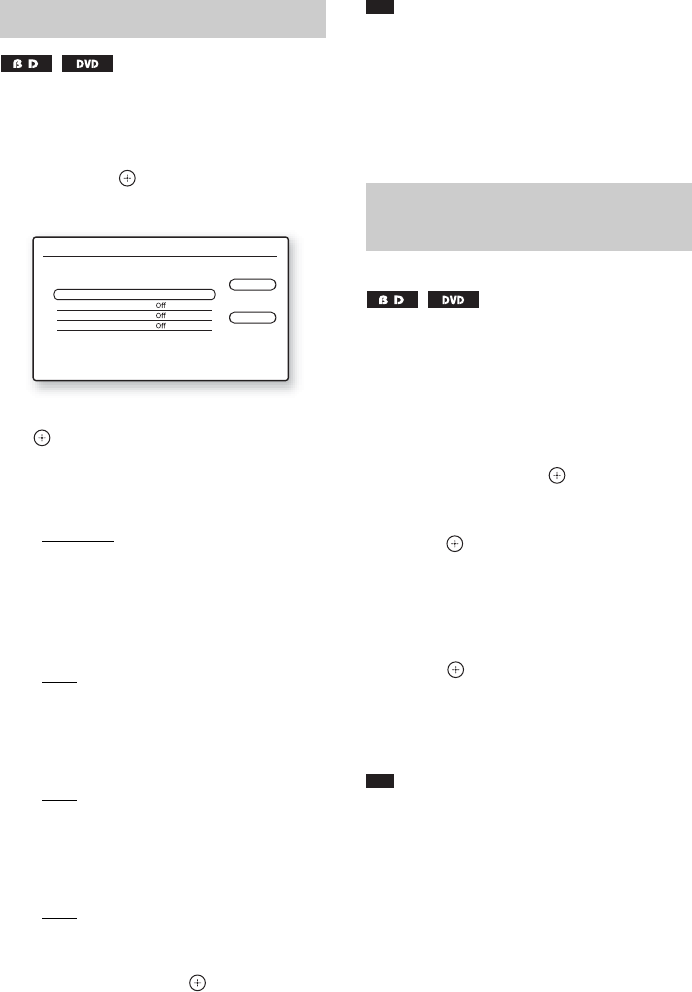
Adjusting pictures for videos
Video Settings
Standard
Close
Standard
Picture Quality Mode
FNR
BNR
MNR
Select the item you want to change.
Adjusting the delay between
the picture and sound
(A/V SYNC)