SONAMP
®
ASAP3D SE STEREO POWER AMPLIFIER
8
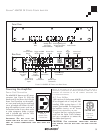
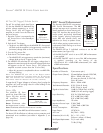
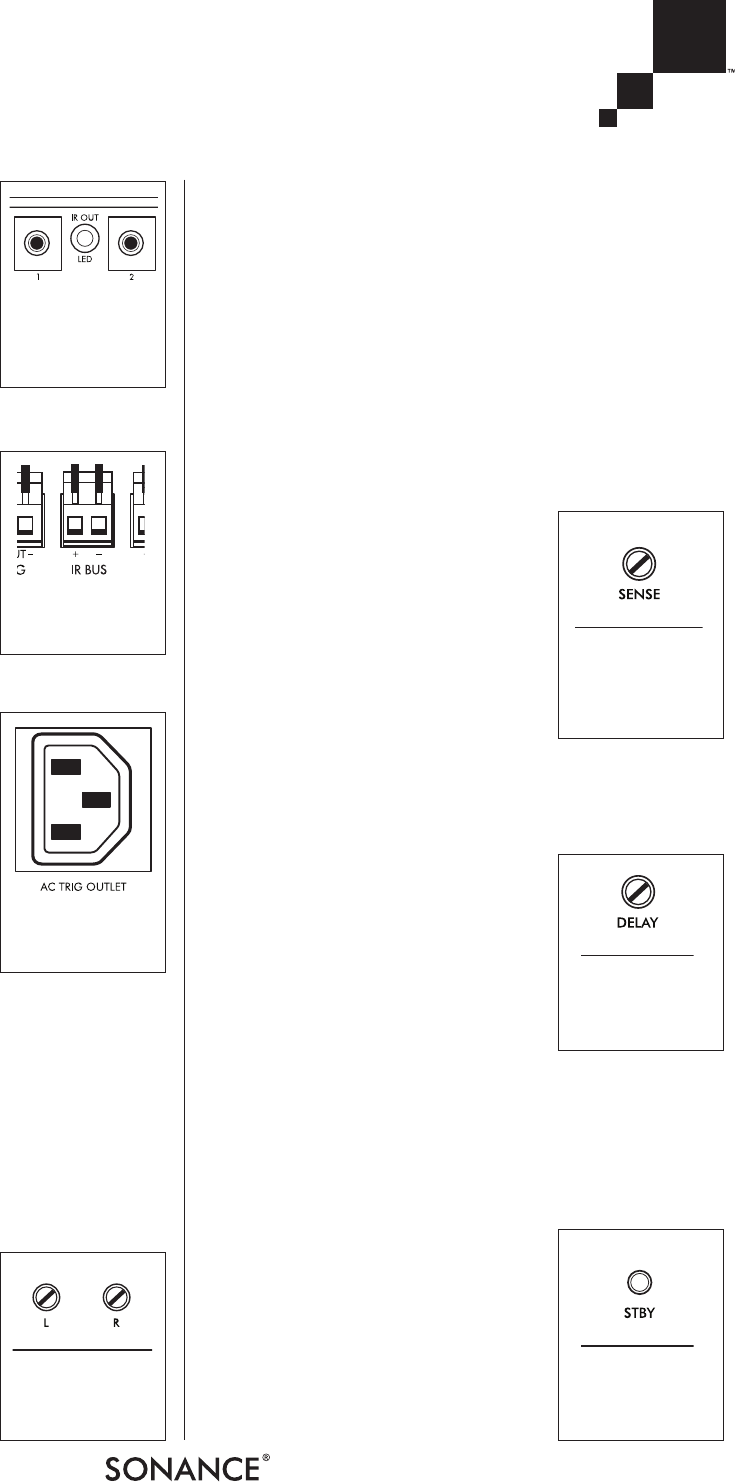
IR Pass-Thru Outputs
The IR PASS-T
HRU OUTPUT connectors
(see
Figure 14
) pass IR signals
received at the IR I
NPUT connector (see
above) and IR Bus input. They are
designed for connection of IR emitters
like the Sonance E1, E2, VE1 and VE2.
The connectors accept 3.5mm mono
male plugs. A red LED located between
the connectors flashes to indicate IR activity.
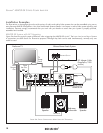
IR Bus Connection
The IR Bus connection (see
Figure 15
)
links IR P
ASS THRU OUTPUT signals
between multiple ASAP3D SE
amplifiers, so that a single set of IR
emitters can respond to commands
from multiple IR controllers. This is
useful if a single set of source compo-
nents is being shared by different
amplifiers for different zones.
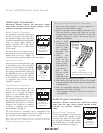
AC Trigger Outlet
The ASAP3D SE will sense when a TV
connected to the AC T
RIGGER OUTLET
(see
Figure 16
) is turned ON and will
switch to the Local source as long as
the AC T
RIGGER OUTLET is supplying
current to the TV. When the current
draw ceases the amplifier will switch
back to the House source.
The 120V version of the ASAP3D SE
includes an IEC power cable with one
end designed to connect to a TV’s power cable. The other
end has a male IEC power connector that is designed to con-
nect to the amplifier’s AC T
RIGGER OUTLET.
To maximize the ASAP3D SE’s compatibility with a variety of
TVs, the trigger sensitivity of the AC T
RIGGER OUTLET is user-
adjustable. See
AC Trigger Button
, next column.
NOTE: THE AC TRIGGER OUTLET IS NOT FUSED. THE REAR-PANEL
AC FUSE PROTECTS THE ASAP3D SE CIRCUITRY ONLY.
Front Panel Indicators and Controls
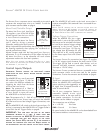
Level Control Adjustment
IN ALL TRIGGER MODES EXCEPT FOR IR: The
front-panel Level Control [L, R] poten-
tiometers (see
Figure 17
) control the
volume of the source connected to the
L
OCAL LINE IN or LOCAL SPEAKER IN jacks.
These can be used to balance the
volume of the Local source against the volume of the House
source (the volume of which is determined by the source com-
ponent feeding the H
OUSE SPEAKER IN connections). Use a
small screwdriver or similar tool to adjust the potentiometers.
I
N THE IR TRIGGER MODE: The L [left] Level Control potentiometer
sets the maximum volume level that both amplifier channels
will achieve when responding to IR volume commands.
Volume commands above that level will be ignored.
N
OTE: AMPLIFIER VOLUME, MUTING AND BBE ON/OFF
CAN BE
CONTROLLED VIA
IR REGARDLESS OF WHICH TRIGGER MODE IS
SELECTED
.
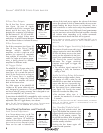
SENSE [Audio Trigger Sensitivity] Adjustment
The amount of Local source audio input
voltage required to switch the ASAP3D
SE from the House source to the Local
source can be adjusted with the front-
panel S
ENSE potentiometer (see
Figure
18
). Turning the control clockwise
decreases the trigger sensitivity
(requires more signal to trigger the
input change).
• The minimum signal required for
triggering is 5mV; the maximum is 4.5V. The factory
setting is 5mV.
Audio Switching Delay Adjustment
When the AUDIO trigger mode is active,
the amount of time it takes for the
ASAP3D SE to revert back to the House
source after the L
OCAL input audio sig-
nal has ceased can be adjusted with
the front-panel D
ELAY potentiometer
(see
Figure 19
). Turning the control
clockwise increases the delay time.
• The minimum delay time is 3
seconds; the maximum is 2 minutes. The factory setting is
3 seconds.
NOTE: IN THE
V
OLTAGE
AND
AC
TRIGGER MODES, REVERSION
BACK TO THE
HOUSE SOURCE IS INSTANTANEOUS AFTER THE
TRIGGERING EVENT CEASES
.
STBY [Standby] Pinhole Switch
Pushing the STBY pinhole switch (see
Figure 20
) disables the automatic input
triggering and passes the House source
through to the speaker outputs. The
H
OUSE LED (see
Status LEDs
, on page 9)
will flash once every 5 seconds to indi-
cate the standby condition.
Pushing the S
TBY button again will
restore normal operation.
FIGURE 16:
AC T
RIGGER
OUTLET
FIGURE 17:
L
EVEL CONTROL
ADJUSTMENTS
FIGURE 19:
S
WITCHING DELAY
ADJUSTMENT
FIGURE 20:
S
TBY [STANDBY]
B
UTTON
FIGURE 18:
A
UDIO TRIGGER
S
ENSITIVITY
ADJUSTMENT
FIGURE 15:
IR B
US
CONNECTIONS
FIGURE 14:
IR P
ASS-THRU
OUTPUT
CONNECTORS


