SONAMP
®
ASAP3D SE STEREO POWER AMPLIFIER
6
Audio Input Connections
IMPORTANT
: ALWAYS UNPLUG THE AMPLIFIER
’S POWER
CORD FROM THE WALL OUTLET BEFORE MAKING AUDIO
,
CONTROL OR SPEAKER CONNECTIONS
.
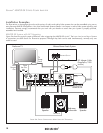
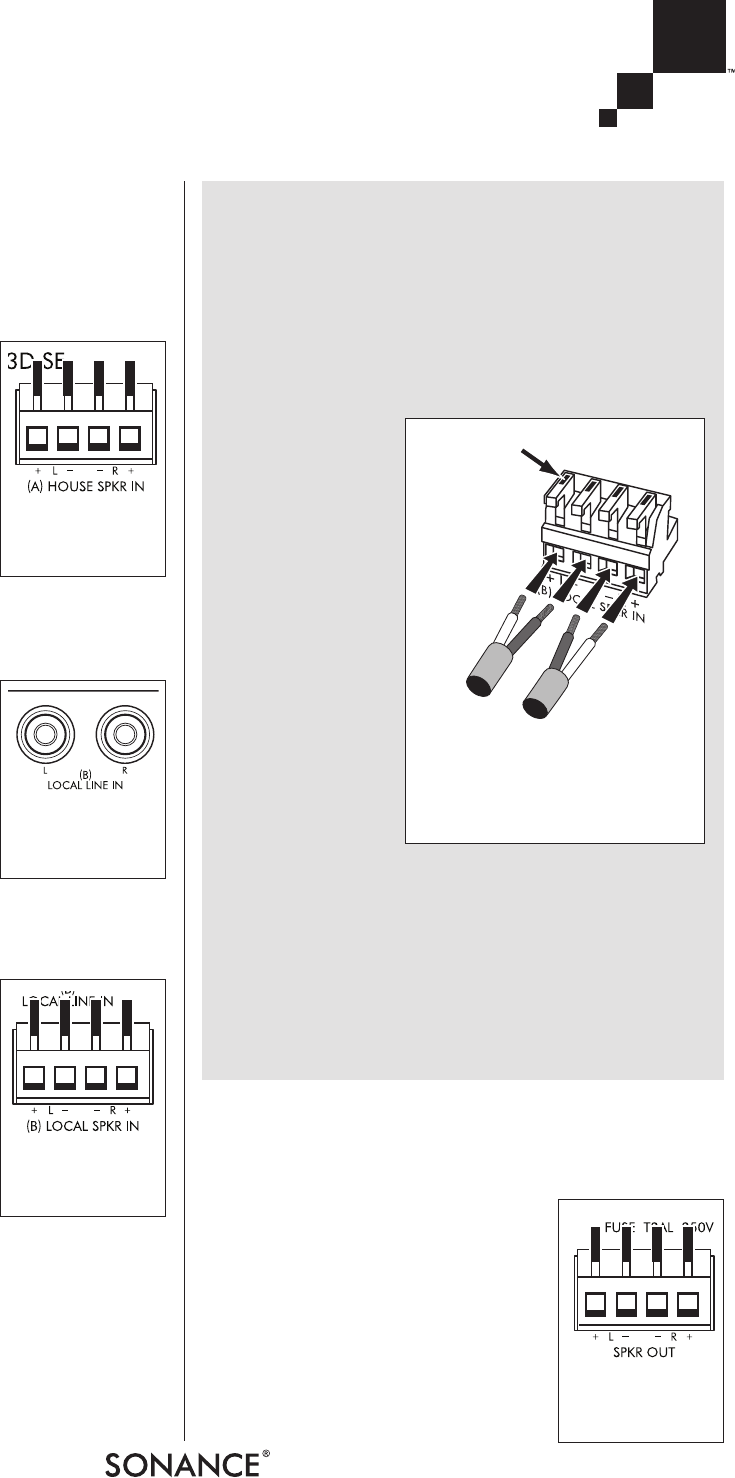
HOUSE SPEAKER IN Connector
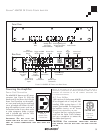
The component connected to the HOUSE
SPEAKER IN connector (see
Figure 5
) is
the amplifier’s default input signal that
is passed (unamplified) to the speakers
when no control trigger stimulus is
applied. Typically, this is the room’s
speaker output from a whole-house
audio system.
The H
OUSE SPEAKER IN connector uses a
removable 4-wire quick connector that
accepts bare wire up to 14AWG. To
wire the connector see the sidebar in the next column.
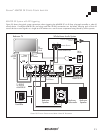
LOCAL LINE IN Jacks
If the local source component has a set
of Line Output jacks, use a stereo RCA
cable to connect them to the ASAP3D
SE’s L
OCAL LINE IN jacks (see
Figure 6
).
The signal at the Local Line In jacks will
be amplified and sent to the ASAP3D
SE’s S
PEAKER OUTPUT connector whenev-
er the amplifier’s automatic switching
is triggered (see
Control Inputs/
Outputs
, on page 7).
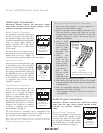
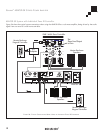
LOCAL SPEAKER IN Connector
If the local source component does not
have a set of Line Output jacks, use
speaker wire to connect its Speaker
Outputs to the ASAP3D SE’s L
OCAL
SPEAKER IN connector (see
Figure 7
).
The signal at the L
OCAL SPEAKER IN con-
nector will be amplified and sent to the
ASAP3D SE’s S
PEAKER OUTPUT connector
whenever the amplifier’s automatic
switching is triggered (see
Control
Inputs/Outputs
, on page 7).
The L
OCAL SPEAKER IN connector uses a removable 4-wire
quick connector that accepts bare wire up to 14AWG. To wire
the connector see the sidebar in the next column.
NOTE: THE
L
OCAL
S
PEAKER
I
N
CIRCUIT IS COMPLETELY ISOLATED
FROM GROUND AND IS COMPATIBLE WITH FLOATING GROUND OR
BRIDGED AMPLIFIER OUTPUT SIGNALS
.
Audio Output Connections
I
MPORTANT: ALWAYS UNPLUG THE AMPLIFIER’S POWER
CORD FROM THE WALL OUTLET BEFORE MAKING AUDIO,
CONTROL OR SPEAKER CONNEC
-
TIONS
.
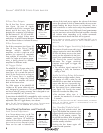
SPEAKER OUTPUT Connector
Connect the speakers in the local area
to the ASAP3D SE’s Speaker Output
connector (see
Figure 9
). These speak-
ers will play whichever input source
the ASAP3D SE has switched ON (see
Control Inputs/Outputs
, on page 7).
FIGURE 7:
L
OCAL SPEAKER IN
CONNECTOR
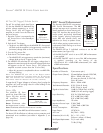
Wiring the Removable Quick Connectors
1. Mark each wire’s positive (“+”) and negative (“–”)
leads and its channel (left or right).
2. Strip no more than
1
/8” of insulation from each wire.
Twist the strands to ensure that there are no stray
strands. (Stray strands that touch other or touch the
amplifier chassis can cause a short-circuit that can
damage the amplifier.)
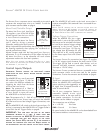
3. Insert a small
screwdriver into
the slot on each
lever to open
the connector
terminals (see
Figure 8
).
4. Insert the
exposed por-
tions of the
wires into the
terminal open-
ings. Make sure
to insert the ‘+’
and ’–’ leads
into the correct
openings as
indicated in the
chassis markings below the connector.
5. After making sure that there are no stray wire strands
touching each other, flip the levers down to lock the wires
in the terminals.
6. Press the removable connector into the rear-panel
connector until it locks into place.
• The removable connectors will only fit one way on
the amplifier.
+
+
–
–
L Speaker
R S
p
eaker
Insert Small
Screwdriver
into Slots to
Flip Levers
Open
F
IGURE 8:
M
AKING CONNECTIONS TO THE
REMOVABLE QUICK CONNECTORS
F
IGURE 5:
H
OUSE SPEAKER IN
CONNECTOR
F
IGURE 6:
L
OCAL LINE IN
JACKS
FIGURE 9:
S
PEAKER OUTPUT
CONNECTOR


